A trail camera lets you learn what is on the land without being there. Used well, it tells you what animals use an area and roughly when. Used poorly, it adds pressure and wastes batteries. This guide covers camera choice, placement, settings, checking schedules, and how to read what you get. It works alongside scouting basics and feeds into your stand placement.
Choosing a camera
You do not need the most expensive model. Look for:
- Fast trigger speed: reduces photos of empty frames and animal backsides.
- Reliable battery life: lithium batteries often last longer in cold weather. Check the manufacturer’s recommendation.
- Low-glow or no-glow infrared: less likely to spook animals at night.
- SD card support: a decent-sized card from a known brand.
- Strong housing and a way to lock it: a security box or cable lock.
- Optional cellular models: these send images to your phone and reduce visits. They require a data plan, and rules on their use may vary, so check regulations.
Where to place cameras
Good locations
- Trails and travel corridors, especially near pinch points
- Field edges and food sources
- Creek crossings and water
- Scrapes and mineral sites, where legal
Setup
- Mount the camera on a sturdy tree, about waist to chest height, angled slightly down.
- Face it north or south, when possible, to avoid sun glare at sunrise and sunset.
- Clear branches and tall grass in front of the lens, which can trigger false photos.
- Aim across the trail instead of straight down it, so animals stay in frame longer.
- Place it 10 to 20 feet from where you expect animals to walk.
- Take a test photo while at the camera to confirm the view.
Settings
Defaults vary by brand, but these are a good starting point:
- Mode: photo, or photo with a short video for behavior.
- Burst or multi-shot: 2 to 3 photos per trigger.
- Delay: short, such as 10 to 30 seconds, to avoid filling the card with the same animal.
- Sensitivity: medium, and lower it if wind and moving branches create false triggers.
- Time and date stamp: turn it on, and check it is correct.
Check them sparingly
Every visit leaves scent and disturbance. Decide on a schedule and stick to it.
- Check cameras every few weeks, not every few days.
- Visit at midday when animals are least likely to be nearby.
- Approach from downwind.
- Swap cards quickly, and review photos on a phone, tablet, or computer at home.
- Carry spare batteries and cards.
Cellular cameras reduce trips, but they also tempt you to hunt on every photo. Use them as information, not instructions.
Reading photos
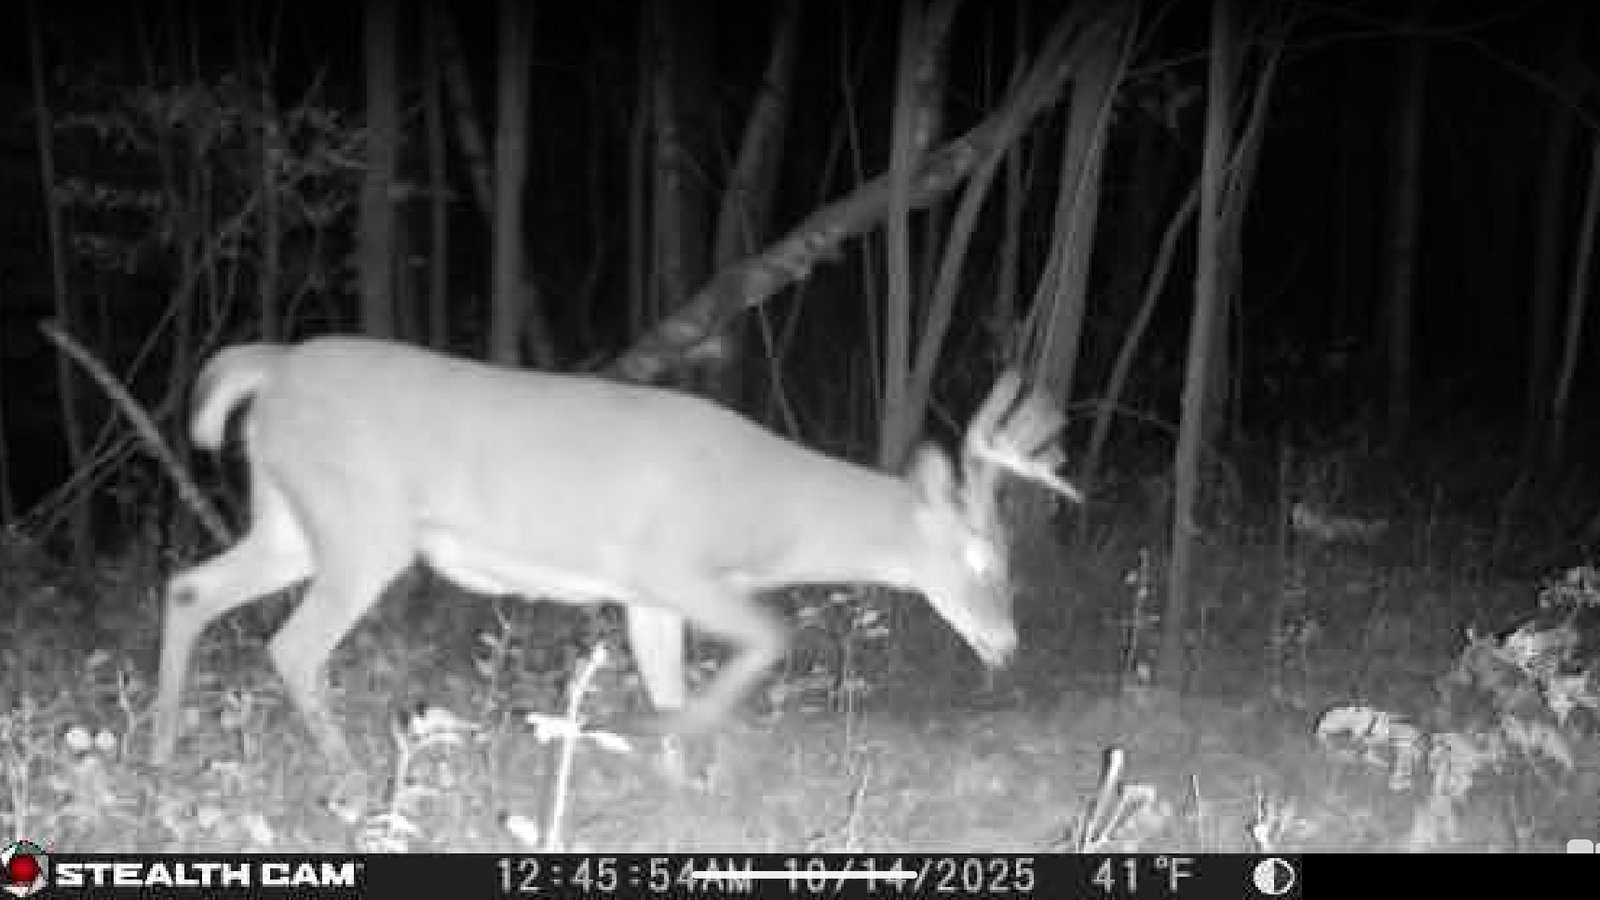
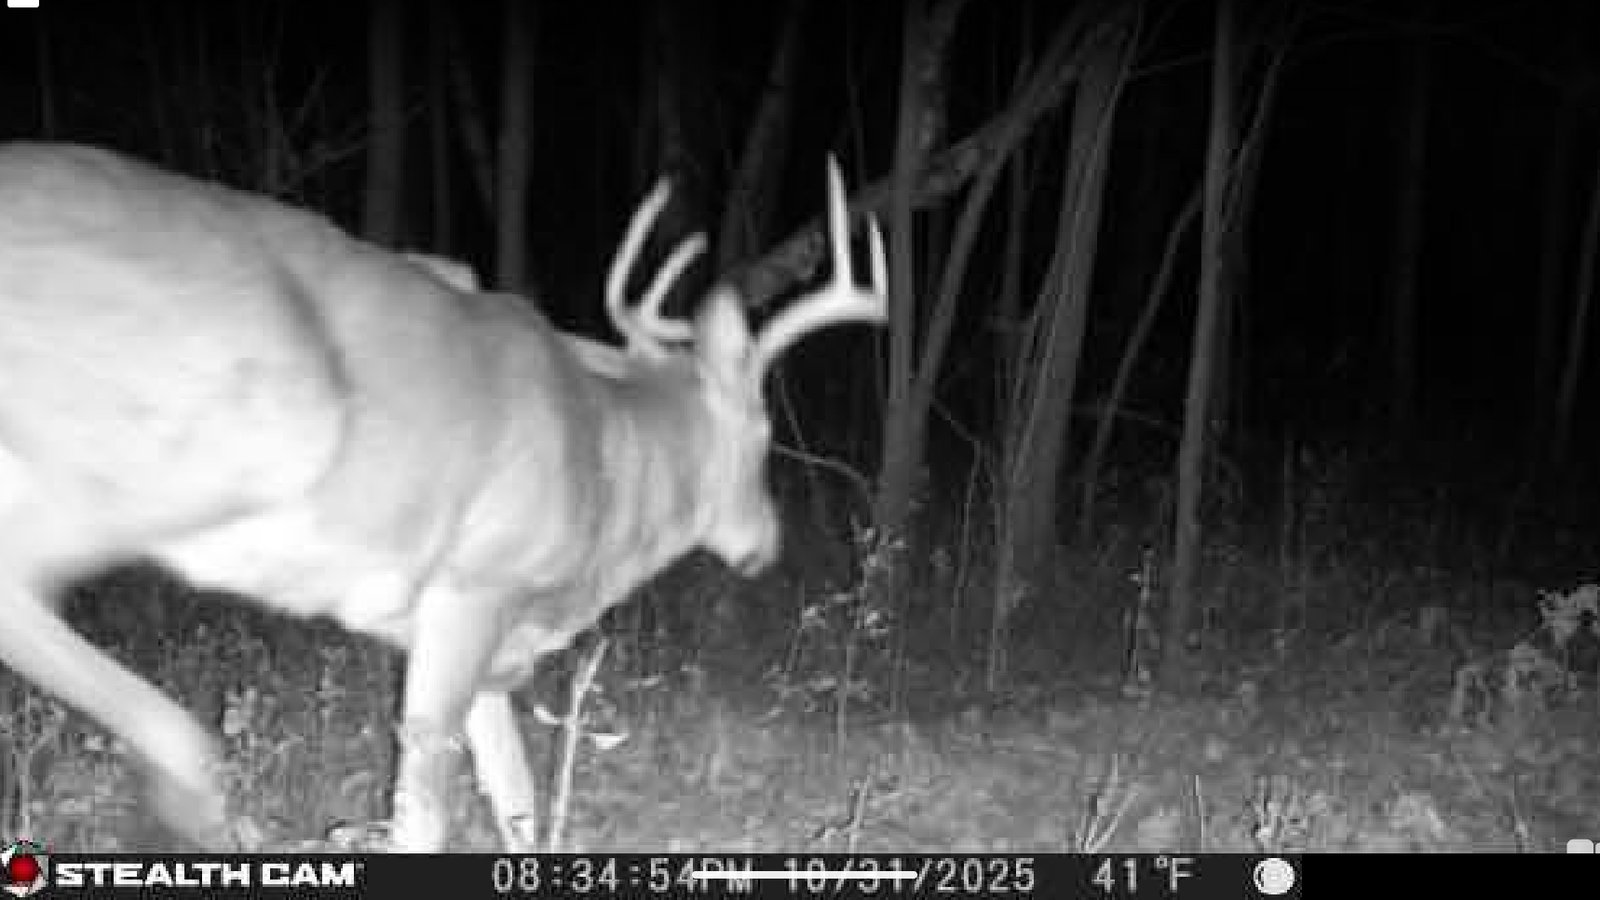
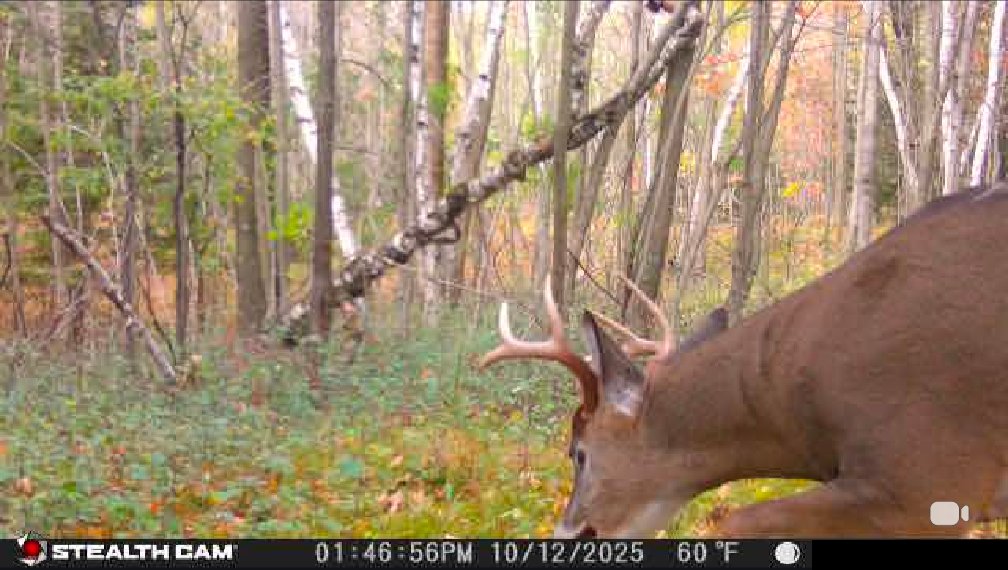
- Time of day: shows when animals use an area. Look for patterns, not single events.
- Direction of travel: helps you see where animals come from and go to.
- Number and type: buck-to-doe ratios and fawn counts across the area help with management decisions.
- Condition: body condition, antler growth, and any signs of illness.
- Moon and weather: you may notice patterns tied to temperature or wind.
Take care when interpreting results. A camera shows one spot, and animals can avoid cameras. A few photos do not prove how many animals are present.
Keep records
Use a simple spreadsheet with columns for camera name, location, date, time, species, count, and notes. After a season you will have a record you can use in planning.
Rules and etiquette
- Get permission from the landowner before placing a camera on private property.
- Rules for cameras on public land differ by property. Some require identification on the camera, limit the time it may remain, or restrict use during certain seasons. Check DNR regulations and the specific property.
- Do not point cameras at areas where people expect privacy, such as neighbors’ yards.
- Do not post identifiable images of other people.
- Lock cameras to a tree where theft is a concern, and record the serial number.
- Be careful about sharing images that reveal exact hunting locations.
Common mistakes
- Placing a camera in direct sun, causing false photos and bad exposure
- Using old batteries, then finding a dead camera
- Checking too often and leaving scent on every visit
- Setting too many cameras and not reviewing the data
- Forgetting to remove cameras at the end of the season or when required
FAQ
How many cameras do I need?
Start with one or two in the best places. More cameras mean more data, but also more work and more disturbance.
When should I set cameras?
Before the season, to learn about patterns without pressuring animals, and again later if you need updated information.
Do cameras scare deer?
Some animals notice them, especially with flashing or noisy models. No-glow models and quiet checks reduce this.
Rudy hunts and fishes in southwest Wisconsin and has for 35+ years.
Leave a Reply