Rudy's Hunting

Hunting how-tos, gear, and field notes

Category: Deer

  • How to use a deer decoy for Wisconsin hunting

    How to use a deer decoy for Wisconsin hunting

    A deer decoy is a visual fake that can pull a buck into bow range when calls alone leave him hanging at 60 yards. Set wrong, it can also spook every doe on the ridge and educate a mature buck for the rest of the season.
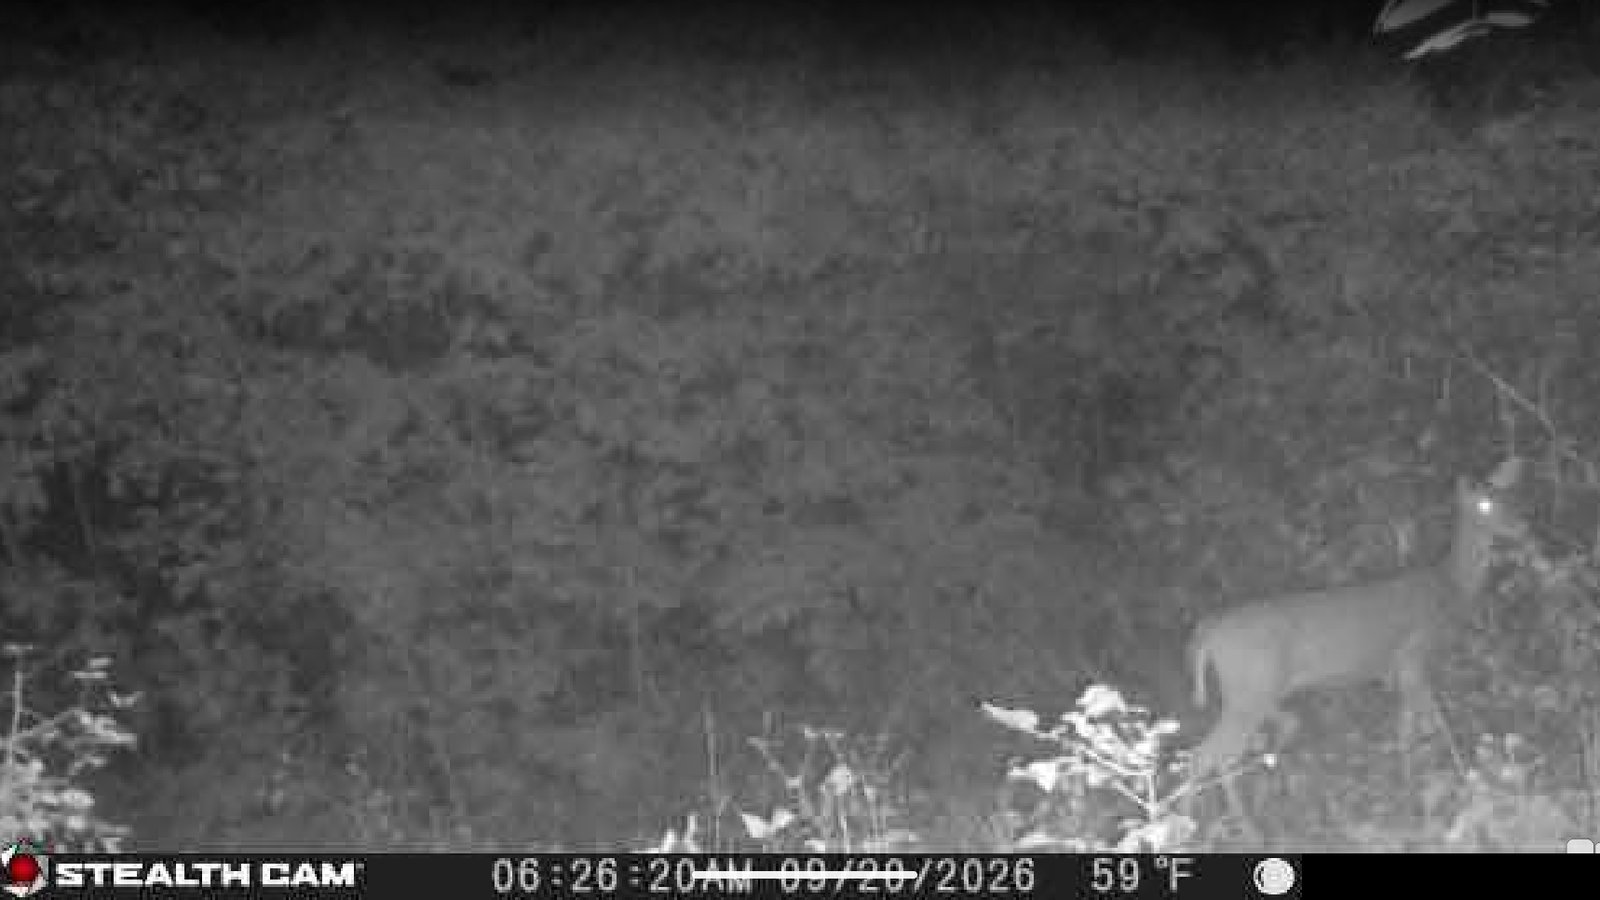
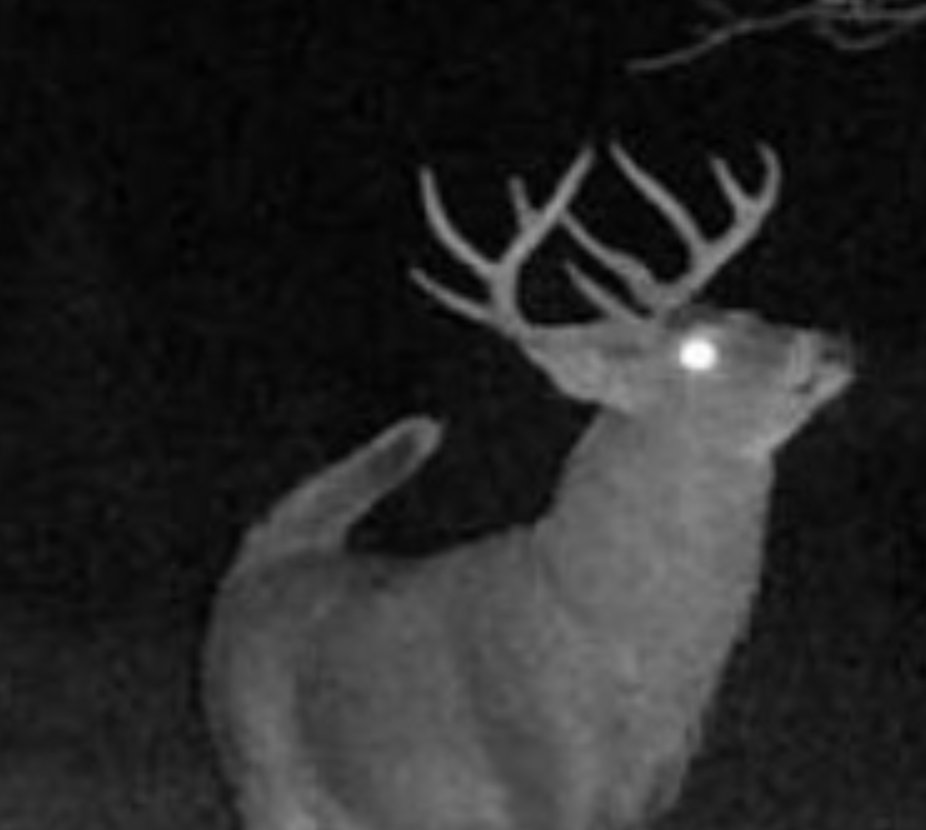
    Deer at the edge of a clearing at night, trail camera photo

    This guide covers benefits and downsides, how decoy quality actually matters, placement and facing direction, timing for Wisconsin’s pre-rut and rut, pairing with calls and scent, safety (including verified Wisconsin DNR rules), and what to do when deer hang up or blow out.

    Benefits of hunting with a deer decoy

    • Closes the last stretch. A buck that hears a grunt often stops just out of range. A visible “deer” gives him a reason to walk in.
    • Locks his attention. When he’s locked on the decoy, you can draw a bow or settle a gun with less chance he picks you up.
    • Creates better shot angles. With the right facing direction, an approaching buck often ends up broadside or quartering away between you and the decoy.
    • Works for bow and gun. Bowhunters use them most; gun hunters on field edges can too — with extra safety discipline.
    • Fits Wisconsin open country. Food-plot corners, ag edges, and oak flats where deer can see a decoy from far off are common setups.

    Downsides (be honest before you drag one in)

    • Spooks wary does. A lone buck decoy can terrify local does. Once they stomp and blow, the group — and any buck with them — is gone.
    • Educates bucks. A decoy that smells like you or glistens with frost teaches mature deer that fakes equal danger.
    • Pack weight and noise. Full-body decoys are bulky, and plastic parts clank on long public-land walks.
    • Public-land risk. Other hunters may see your decoy as a real deer. Never assume someone else knows it’s fake.
    • Time cost. Setup eats daylight; wrong wind or deer already in the field, and you blow the sit.
    • Not magic. No decoy fixes bad wind, zero scouting, or a stand with no travel reason.

    Decoy quality: what actually matters

    Cheap foam and premium flocked decoys both kill deer. Quality shows up in realism, posture, weight, noise, and scent control.

    Realism (silhouette, flocking, paint)

    Deer judge shape and motion first. A clean silhouette beats a shiny painted toy at 40 yards. Flocked finishes cut glare; avoid glossy plastic that flashes sun.

    Posture: buck vs. doe

    • Buck decoy: Use an alert or slightly aggressive posture — ears back or neutral, not bedded. A medium or “one-antler” look often draws young bucks and challenges bigger ones without looking like a giant that only intimidates.
    • Doe decoy: Standing or feeding postures work. During peak rut, a lone doe can pull cruising bucks hard.
    • Pair: Buck + doe can look like a breeding pair, but two decoys double the pack-in and setup noise.

    Materials, weight, and portability

    Foam and hollow plastic are lighter for backpack hunts; hard shells last longer but punish long hikes. Collapsible or two-piece decoys win on Wisconsin public land. Private field-edge truck hunts can handle a heavier full-body.

    Noise

    Squeaky stakes and clinking hardware will bump deer before you climb. Pad contact points and practice assembly at home.

    Cheap vs. premium

    A budget decoy kept scent-free and placed well beats a premium one that smells like gas. Premium usually buys better flocking, replaceable parts, and sturdier stakes — buy what you’ll actually carry.

    Replaceable and moving parts (ears, tail, head)

    Motion sells the fake. Soft ears and a removable white tail that twitch in the breeze help. Confirm any electronic/moving feature is legal where you hunt. Replaceable ears and tails matter after a buck wrecks your decoy.

    Scent-free handling

    Wear rubber or disposable gloves every time. Store the decoy in its own tote, spray with an odor eliminator after handling, and never set it next to fuel. If you add scent, put a small wick on the ground between the back legs — don’t soak the body.
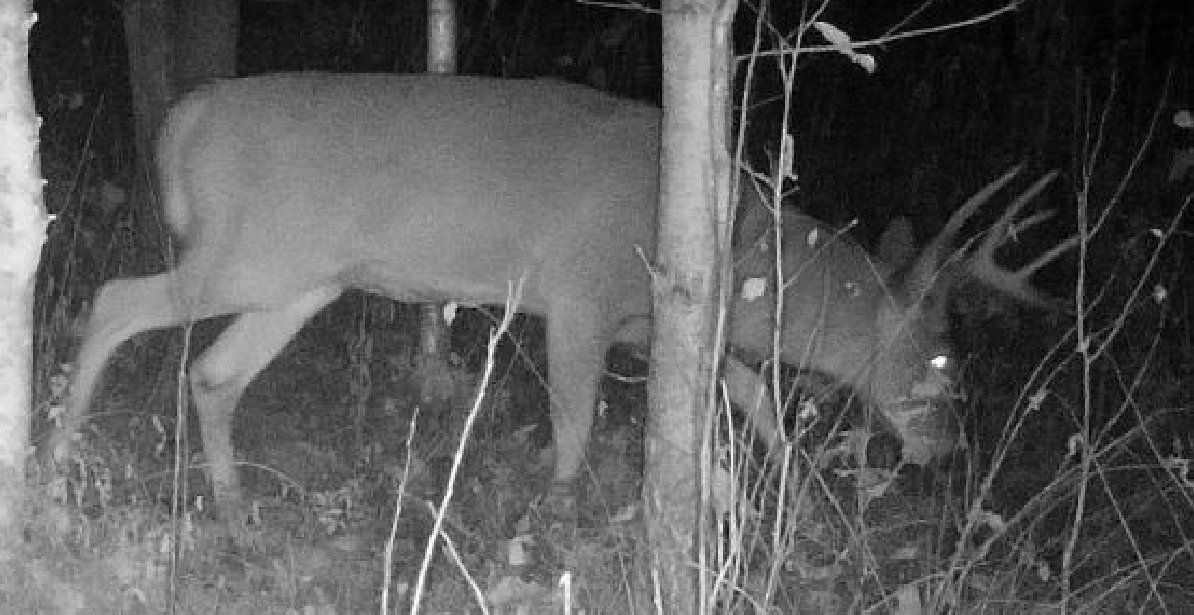
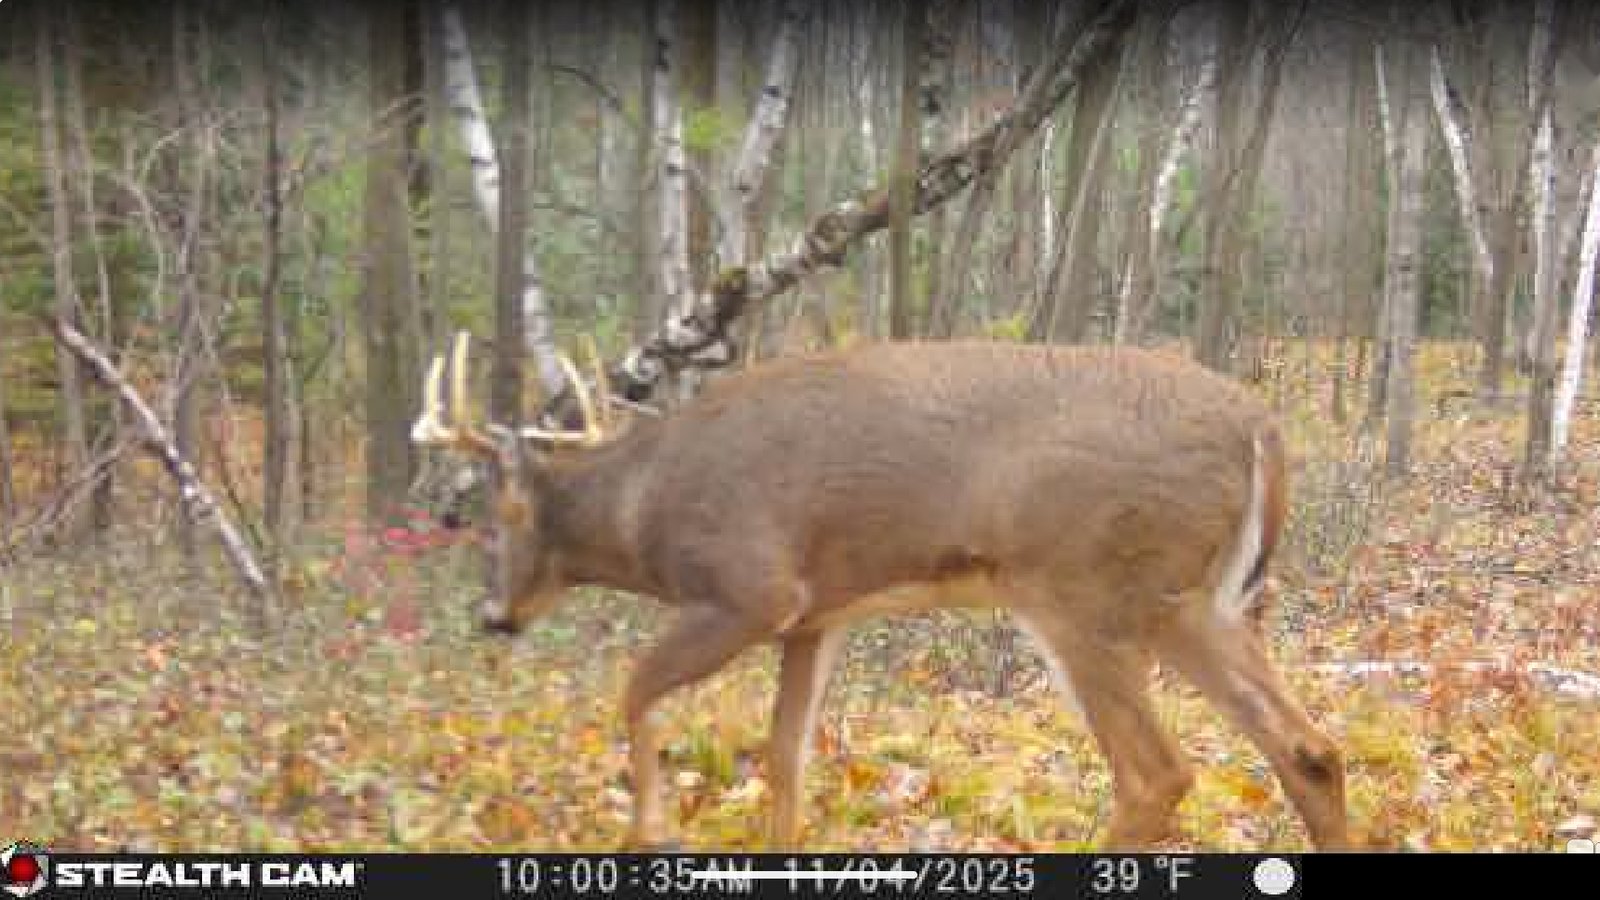
    Buck feeding at night beside a tree, infrared trail camera

    Placement: distance, angle, and facing direction

    Distance for bow shots

    Stake the decoy about 15–25 yards from your stand or blind — close enough that a buck that hangs up just past it is still in bow range, with room to pass between you and the decoy. Gun hunters can stretch that on open fields.

    Facing direction (critical)

    • Buck decoy: Face it toward you or quartering toward you. Aggressive bucks often approach head-on, putting their side or quartering-away angle toward your stand while their eyes stay on the fake.
    • Doe decoy: Face it away from you or quartering away. Bucks commonly circle behind a doe to scent-check, often presenting a quartering-away shot.

    Wind and visibility

    Put the decoy where deer can see it from a distance — field corners, plot points, logging-road intersections, oak openings. Expect bucks to circle downwind. Place yourself so that circle still gives a shot without putting him in your wind. Use terrain as a wind blocker when you can, and keep the decoy’s eyes from lining up into your stand.

    Timing: pre-rut and rut in Wisconsin

    • Pre-rut (roughly mid-October into early November): Buck decoys shine. Bucks are rubbing, scraping, and checking dominance. A medium buck decoy on a travel edge can pull a daylight cruiser.
    • Peak rut (often early to mid-November in much of Wisconsin): Doe decoys or buck-and-doe pairs work well. Cruising bucks are looking for receptive does. Watch local sign more than the calendar alone.
    • Post-rut / late seasons: Decoying can still work near leftover scrapes or doe feeding areas, but pressure is high. Keep setups simple.

    Mornings often catch bucks returning from a night of searching. Evenings on field corners can pull does first — which helps or hurts depending on whether they buy the fake.

    Pairing with calls, rattling, and scent

    A silent decoy works when a buck already sees it; calls help when he doesn’t.

    • Grunts: Soft contact or tending grunts to turn his head toward the decoy. Stop calling once he’s committed visually.
    • Rattling: Short sequences in the pre-rut and early rut to pull distant bucks into visual range. Don’t overdo it on pressured public land.
    • Scent: Odor-only scents can add realism near a doe decoy (estrus) or buck decoy (tarsal/buck-style lure). In Wisconsin, follow DNR scent rules — see below. Less is more.

    Safety and Wisconsin rules (verified)

    Regulations change. Confirm current rules before you hunt.

    Are deer decoys legal in Wisconsin?

    Yes, as a hunting aid that is not bait. Wisconsin Administrative Code NR 10.001(7e) defines a decoy as “the replica of an animal used to attract wild animals for the purpose of hunting, but does not include any food materials that can be consumed by any wild animal,” and states that for the purposes of that chapter, a decoy is not considered bait. Notes under NR 10.07 also say baiting rules do not prohibit decoys except where other sections already ban certain decoy uses (other species, not a general deer-decoy ban).

    Official sources: NR 10.001 — Definitions (decoy) · NR 10.07 — notes on decoys and baiting

    Do not put food or consumable bait materials on or in the decoy. That can turn a legal decoy into a baiting issue.

    Blaze orange / pink during firearm deer season

    Whenever a firearm deer season is in progress, Wisconsin requires hunters to wear at least 50% blaze orange or fluorescent pink on clothing above the waist, and any head covering must also be at least 50% blaze orange or pink — including archery hunters while a gun deer season is open.

    Official source: Wisconsin DNR — Deer hunting (safety / blaze orange)

    Practical decoy safety (not a substitute for the clothing rule): When carrying a decoy during gun season — especially on public land — wear required blaze orange/pink, and consider draping a blaze vest over the decoy while packing so others don’t mistake the silhouette for a live deer. Uncase and stake only when you’re sure of your backstop.

    Public land and other hunters

    Tell partners where the decoy sits. Avoid staking it on a ridge other hunters drive. Pack it out; don’t leave a full-body fake overnight where another hunter could find it by surprise.

    Scent rules if you add lure

    Wisconsin allows odor-only scents statewide with quantity and placement limits (not accessible for consumption; over two ounces must be removed daily). See the DNR scent section and our tarsal gland guide.

    Official source: Wisconsin DNR — Deer Hunting Regulations (scents)

    Best practices checklist

    1. Scout first — decoy on a real travel or field-entry spot.
    2. Play the wind; expect a downwind circle.
    3. Face buck toward you, doe away.
    4. Stake 15–25 yards for bow range.
    5. Gloves on; keep the decoy scent-free.
    6. Add light calling only until he sees it.
    7. Wear required blaze orange/pink in firearm seasons; stay visible while carrying.
    8. Pull the decoy when you leave the sit.

    When deer hang up or get spooked

    Hung up just out of range

    Don’t panic-call. Soft grunt once, then shut up. If he’s locked on the decoy, wait — many bucks take minutes to close. If he’s wind-checking and stuck, let him walk and try a different wind next sit.

    Does stamp and blow

    Freeze. If the group clears, stay put — a trailing buck may still come. If they educate the ridge, pull the decoy for a few sits or switch tactics on that spot.

    Buck attacks the decoy

    It happens. Be ready before contact. If he knocks it over and bolts, don’t chase. Repair later and carry a spare stake.

    Frost, shine, or overnight leave-outs

    A frosty decoy looks wrong at first light. Don’t leave decoys glazed in the open overnight if you can help it — stash covered in brush, or pack them out.

    Bottom line

    A deer decoy is a visual closer for Wisconsin bow and gun hunters who already have wind, access, and a travel reason. Buy quality you can carry and keep scent-free, face a buck decoy toward you and a doe decoy away, stake it in bow range on a visible edge, and pair it with light calling in the pre-rut and rut. Follow Wisconsin’s verified rules: decoys aren’t bait when used as replicas without food, and blaze orange/pink clothing rules apply whenever a firearm deer season is open. Re-check DNR regs each season.

    Sources checked: NR 10.001 (decoy definition) · NR 10.07 (decoy / baiting note) · WI DNR Deer hunting — blaze orange · WI DNR Deer regs — scents
  • How to use buck tarsal glands for deer hunting

    How to use buck tarsal glands for deer hunting

    If you have field-dressed a rutting buck and caught that sharp musk off the inside of the hocks, you already know the tarsal gland — one of the strongest social signals a whitetail leaves, and easy to misuse.

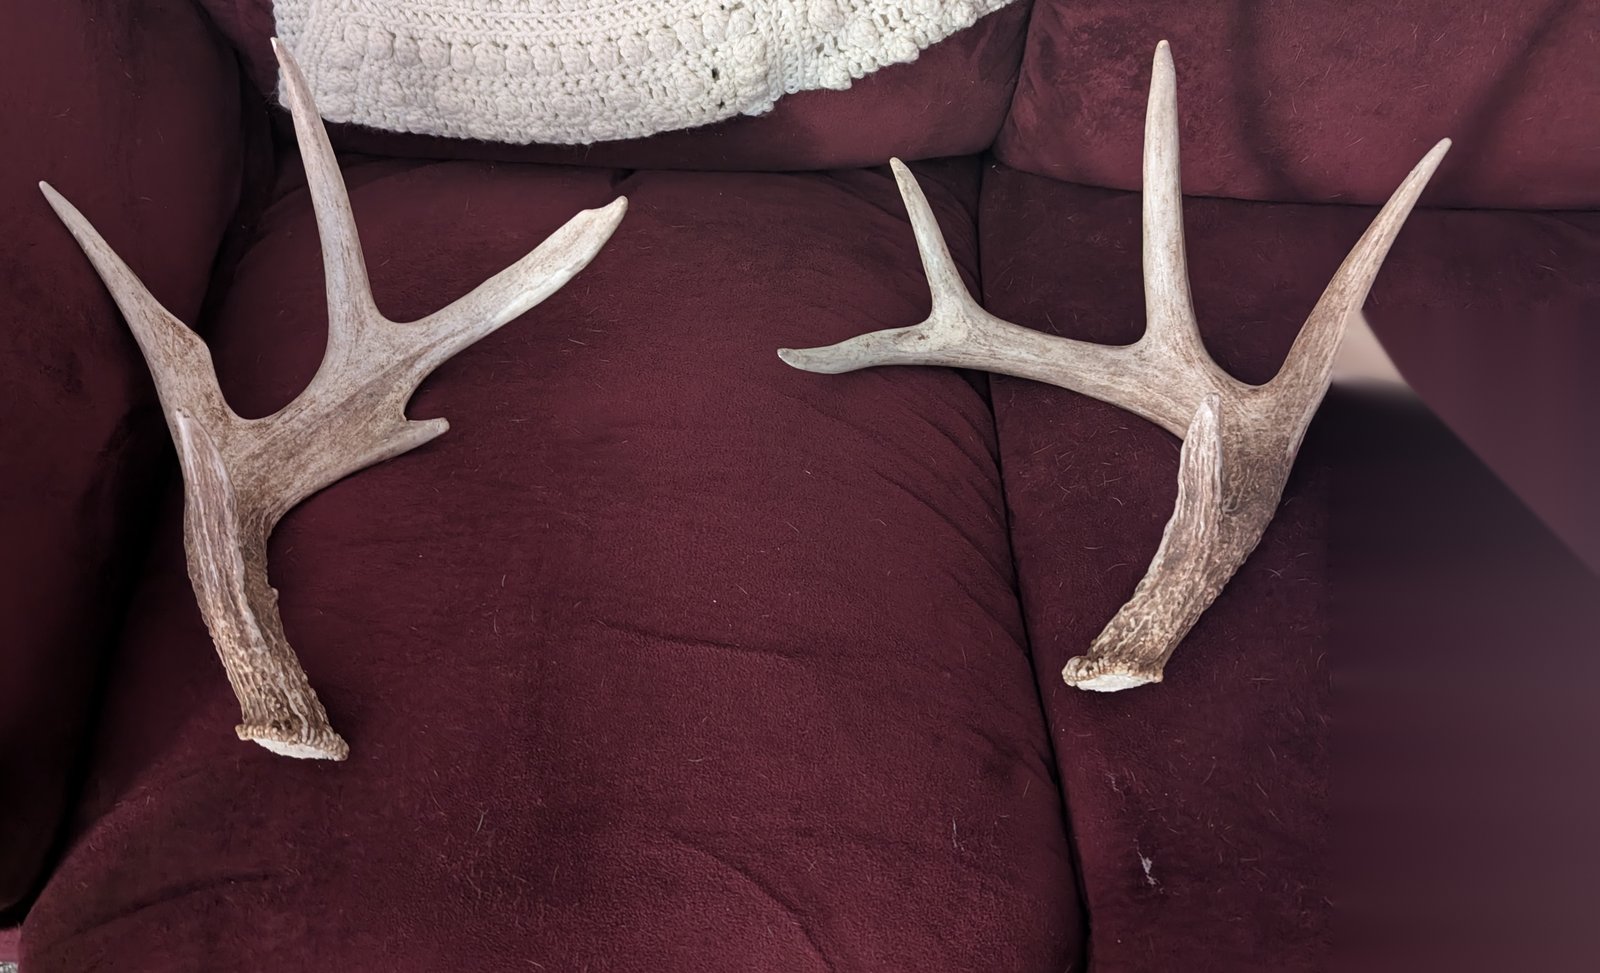
    Matched pair of shed whitetail antlers

    This guide covers what the glands do, when the scent helps, how to harvest and store them, how commercial lures compare, Wisconsin-friendly setups, and current Wisconsin DNR scent and carcass rules.

    What tarsal glands are and why they matter

    Tarsal glands sit on the inside of a deer’s hind legs, just above the dewclaws on the hocks. The hair holds glandular oils and urine. In the breeding season, bucks (and sometimes does) rub-urinate — rubbing the hocks together while urinating so urine soaks the tarsal tufts.

    That mix is the dark, strong “rut smell” on mature bucks. Hair darkens as oils and urine build through fall. Dominant bucks advertise status and breeding readiness; other deer read those cues at scrapes, on trails, and when a buck walks cover.

    For hunters: tarsal scent is a social and breeding signal, not food bait. Used well, it can pull or hold a competitive buck. Used poorly — wrong wind, wrong season, too much scent, or illegal scent — it educates deer and ruins a setup.

    When to use tarsal scent in the Upper Midwest

    Timing matters as much as the scent itself. In Wisconsin and neighboring Upper Midwest states, think in three phases:

    Pre-rut (roughly mid-October into early November)

    Bucks rub, scrape, and check does more, but chasing is not constant. A light drag or mock scrape on a patterned route can spark curiosity — keep it subtle, not a scent bomb.

    Peak rut (often early to mid-November in much of Wisconsin)

    This is when tarsal earns its keep. Pair it with a mock scrape, soft grunt, or light rattling for cruising bucks. Crosswind/upwind placement matters more as bucks move daylight.

    Post-rut (late November into early muzzleloader and late seasons)

    A few bucks still cruise for remaining does, but pressure is high. Tarsal can still work near leftover scrapes or doe edges — keep it light. Watch local sign (fresh rubs, active scrapes, daylight bucks) more than the calendar alone.

    Harvesting tarsal glands from a buck

    If you legally harvest a buck and want natural tarsal scent for later sits, treat the glands like any other scent you care about: gloves on, keep them clean, and store them cold.

    1. Wear disposable gloves. You do not want the musk on your hands, stand clothes, or truck cab.
    2. Work the hocks, not the whole carcass first. After the deer is tagged and registered per your state rules, locate the dark tufts on the inside of each hind leg.
    3. Cut the skin patch, not just the hair. Use a sharp knife to take a small square of hide with the tarsal tuft attached. Avoid slicing into the joint mess or dragging the gland through gut pile, blood, or dirt.
    4. Avoid contamination. Do not set the glands on the ground, in the bed of a dirty truck, or next to your lunch cooler. Keep them away from gas, grease, and food odors.
    5. Bag and freeze. Double zip-bag each gland (or both together if you will use them as a pair). Squeeze out air, label the date, and freeze. Frozen glands keep usable scent for a season or more for most hunters; if they smell “off” in a rotten way rather than musky when thawed, discard them.
    6. Thaw only what you need. Pull one gland for a weekend; leave the rest frozen.

    Fresh glands can hang for a hunt or two right after the kill if legal and kept off your clothes. For multi-week use, freeze them.

    CWD note: Minimize contact with brain, spinal cord, and lymph nodes. Use dedicated knives when you can and clean up afterward (see DNR carcass link below).

    Buck with eyeshine at night, infrared trail camera photo

    Commercial tarsal lures versus natural glands

    Natural glands from your own buck smell authentic and cost nothing after the harvest, but they transfer easily to clothes and raise handling and disease-risk questions.

    Commercial tarsal/rut lures are convenient; quality varies, and some are urine-based from captive deer.

    Fully synthetic / non-urine scents are often the cleaner choice when you want to avoid captive-urine CWD concerns and travel light.

    A practical Wisconsin approach: learn scrapes and wind with legal odor-only scents, prefer synthetic when you want fewer urine-source questions, and treat natural glands as optional only where rules clearly allow them. Read the label, then read your state regs.

    Setups that actually work

    Drag lines

    Tie a gland or wick to a short cord and drag from a side approach toward the stand, ending downwind or crosswind of the shot lane — not through your sit. Give the buck a trail to cut without walking into your wind.

    Hanging a gland or wick

    Hang the gland or a tarsal-soaked wick upwind or crosswind of the stand, about deer-nose height (roughly 2–4 feet), near a scrape or funnel — not on your shooting rail. Let him work the scent in a clear lane, not under your platform.

    Mock scrapes

    Clear a scrape under an overhanging licking branch, freshen the licking branch, and add a small amount of tarsal scent to the scrape soil or a wick above it. Keep quantities modest. Pair with trails you already believe bucks use.

    Rattling and grunts

    Tarsal scent alone rarely “calls” a buck from hundreds of yards. Combine it with light rattling or a contact or tending grunt when you see or hear a buck cruising. The scent gives him a reason to close the last stretch once he is already looking for company or a fight.

    Wind and hunter scent control

    None of this works if your own scent blankets the setup. Play the wind first. Use rubber boots for mock-scrape work when you can, wear gloves handling glands, and store scent gear in its own bag — not in the same tote as your base layers. If the wind is wrong, do not force a tarsal sit just because you thawed a gland.

    Mistakes to avoid

    • Overdoing it. A little tarsal goes a long way. Flooding a scrape with scent looks unnatural and can bump mature bucks.
    • Hanging scent upwind of your body. The deer follows the smell — into your wind cone.
    • Handling glands bare-handed then climbing the stand. You become the loudest tarsal source in the woods.
    • Using tarsal as a substitute for scouting. Scent will not fix a stand with no travel reason.
    • Ignoring season and pressure. Peak-rut tactics on a high-pressure public tract in late season often fail.
    • Assuming natural urine products are fine everywhere. Rules differ by state and change; verify before you buy or deploy.
    • Moving deer parts carelessly across CWD zones. Glands are deer parts. Follow carcass movement rules.

    Legal and CWD note (Wisconsin)

    Regulations change. Always confirm current rules before you hunt.

    Wisconsin scent rules (current DNR guidance)

    According to the Wisconsin DNR deer hunting regulations, scents used only to attract deer by odor may be used for hunting deer statewide, with these limits:

    • The scent may not be placed or deposited in a way that makes it accessible for consumption by deer.
    • Scents greater than two ounces must be removed daily at the end of shooting hours.
    • Scents of two ounces or less do not need to be removed daily and may be placed, used, or deposited in any manner for hunting deer.

    Liquid scents are treated differently from bait: Wisconsin’s baiting rules say animal parts and byproducts in bait do not include liquid scents, and processed-container bans for bait do not apply to scent materials. Baiting itself is restricted or banned in many counties for CWD reasons — that is separate from odor-only scent use. Check the DNR baiting map if you also bait.

    Official source: Wisconsin DNR — Deer Hunting Regulations (Scents)

    Wisconsin does not, on that page, impose a statewide “synthetic-only” ban on natural deer urine. Other states and many agencies encourage synthetic or non-urine scents because captive-deer urine can carry CWD risk. In Wisconsin, follow the odor-only and quantity rules above, then make your own natural-vs-synthetic risk call. If a label or local rule is unclear, ask the DNR or a warden — do not guess.

    Carcass and deer-part movement

    Tarsal glands are deer parts. Wisconsin has CWD-related carcass movement and disposal rules: whole carcasses from CWD-affected areas face transport limits, with exceptions for certain processed meat, quarters without spine, cleaned skulls/antlers, and timely delivery to licensed processors or permitted taxidermists. The DNR recommends landfill disposal of carcass waste when possible.

    Official source: Wisconsin DNR — Carcass movement, processing and disposal

    If you hunt outside Wisconsin: check your own state’s scent, urine, and carcass rules every season. Do not copy another hunter’s truck setup across a state line without reading the regs.

    FAQ

    Do tarsal glands work on does?

    Does investigate scent too, but most hunters use tarsal to influence bucks in the rut. Doe or estrous products are a different tactic with the same legality checks.

    Can I use tarsal scent on a trail-cam scrape?

    Yes, if legal. Check cameras infrequently — weekly pressure plus fresh scent can push bucks nocturnal.

    How long does a frozen gland last?

    Often through the next season if kept solidly frozen and double-bagged. Musky/sharp is normal; spoiled-meat rotten means toss it.

    Is a mock scrape baiting?

    In Wisconsin, odor-only scents under the rules above are not bait piles. Do not add feed or animal-based bait where baiting is restricted. Read the DNR baiting and scent pages together when unsure.

    Worried about CWD with natural glands?

    Synthetic odor lures avoid captive-urine questions. Either way, follow Wisconsin scent and carcass rules and do not scatter deer parts into new areas.

    Bottom line

    Tarsal scent is a rut tool, not magic. Pattern deer first, play the wind, keep the dose small, and put scent where a buck can work it without smelling you. In Wisconsin, odor-only scents are legal statewide under DNR quantity and placement rules — re-check those rules each season and verify the state you actually hunt.

    Sources checked: WI DNR Deer regs — Scents · Carcass movement · Baiting and feeding

  • Low-carb venison stroganoff

    Low-carb venison stroganoff

    Stroganoff is comfort food, and this version swaps the noodles for a low-carb base so you can enjoy it without a heavy carb load. Thin strips of venison are seared quickly, then returned to a mushroom and sour cream sauce. The main technique is keeping the sauce from curdling and the meat from overcooking. It serves 4 and takes about 40 minutes.

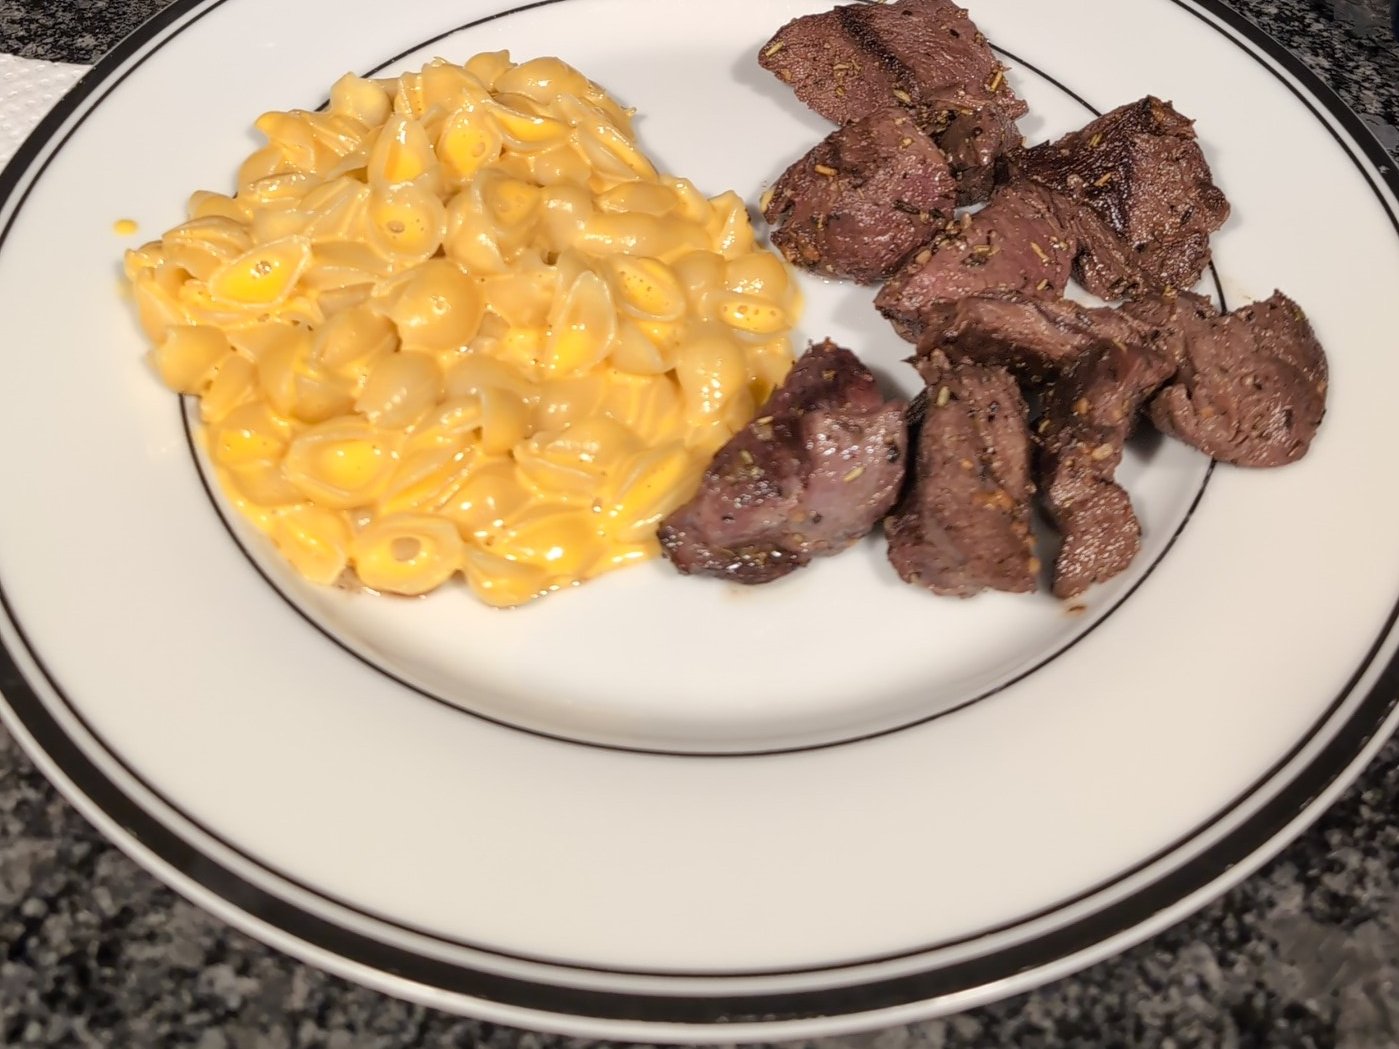
    Cooked venison steak tips with mac and cheese on a plate

    Yield: 4 servings | Prep: 15 minutes | Cook: 25 minutes

    Ingredients

    Venison:

    • 1 1/2 pounds venison steak, such as sirloin or round, trimmed and sliced thin against the grain
    • 3/4 teaspoon kosher salt
    • 1/2 teaspoon black pepper
    • 1 teaspoon paprika

    Sauce:

    • 2 tablespoons butter, divided
    • 1 tablespoon oil
    • 8 ounces cremini or white mushrooms, sliced
    • 1 small onion, thinly sliced
    • 3 cloves garlic, minced
    • 3/4 cup beef or venison stock
    • 1 teaspoon Worcestershire sauce (check the label if you are watching carbs)
    • 1 teaspoon Dijon mustard
    • 1/2 to 3/4 cup full-fat sour cream, at room temperature
    • Salt and pepper to taste
    • Chopped parsley, for finishing

    Low-carb bases (choose one):

    • 1 large head cauliflower, riced (about 4 cups), sauteed in butter for 5 minutes
    • 3 medium zucchini, spiralized and quickly sauteed for 2 minutes
    • 1/2 head green cabbage, shredded and sauteed or steamed until just tender
    • Mashed cauliflower

    Method

    1. Prepare the meat. Pat the venison dry. Toss with salt, pepper, and paprika.
    2. Sear in batches. Heat a large skillet over high heat until hot. Add half the oil and half the butter. Add half the venison in a single layer and sear 1 to 2 minutes, turning once. It should be browned outside and still slightly pink inside. Move to a plate. Repeat with the rest. The meat finishes cooking later in the sauce, so do not cook it through here.
    3. Cook the mushrooms and onions. Add the remaining butter to the pan. Add the mushrooms, spreading them out. Let them sit for 2 minutes without stirring, then stir. Cook 6 to 8 minutes until browned and their liquid evaporates. Add the onion for the last 3 minutes. Add the garlic for 30 seconds.
    4. Make the sauce. Pour in the stock and Worcestershire sauce and scrape the pan. Simmer for 3 to 4 minutes, until reduced by about one third. Whisk in the mustard.
    5. Add sour cream. Remove the pan from the heat, or turn it to its lowest setting. Put the sour cream in a small bowl and stir in a few spoonfuls of the hot sauce to warm it. Then stir the mixture back into the pan until smooth. Do not let the sauce boil after the sour cream goes in.
    6. Add the meat. Return the venison and any juices. Warm gently for 1 to 2 minutes, only until heated through.
    7. Season with salt and pepper.
    8. Prepare the base. While the sauce reduces, cook your cauliflower rice, zucchini noodles, or cabbage.
    9. Serve the stroganoff over the base with parsley.

    Food safety

    The USDA recommends 145°F with a 3-minute rest for whole-muscle meat. Thin strips reheated in a sauce will reach that quickly. If you serve children, older adults, pregnant women, or anyone with a weakened immune system, make sure the strips reach 145°F, which is slightly past medium-rare. Keep raw venison refrigerated at 40°F or below until cooking. Use a clean plate for cooked meat. Refrigerate leftovers within two hours. For guidance on handling meat from the field, see field care after the shot.

    Tips to avoid problems

    • Use full-fat sour cream. Low-fat versions are more likely to separate.
    • Temper the sour cream. Warming it with hot liquid reduces curdling.
    • Do not boil after adding dairy.
    • Dry the mushrooms. Cook them until their water evaporates for better flavor.
    • Slice thin. Cut across the grain. See venison steak strips for prep tips.
    • Do not overcook the meat. Short searing, then a gentle warm-up, keeps it tender.

    Low-carb notes

    • Skip flour and cornstarch thickeners. Reduce the stock to thicken the sauce.
    • A tablespoon of cream cheese adds body.
    • Check labels on Worcestershire and stock, which can contain sugar.
    • Mushrooms and onions contain some carbs. Adjust amounts if you track closely.
    • Serve with a green vegetable.

    Variations

    • Classic version: serve over egg noodles or mashed potatoes.
    • Paprika-forward: add 1 more teaspoon of smoked paprika.
    • Herby: add a teaspoon of fresh thyme to the mushrooms.
    • Dairy-light: replace half of the sour cream with Greek yogurt, stirred in off the heat.
    • With stock: a rich homemade game stock improves the sauce.
    • Tougher cuts: use shoulder meat in a slow braise, then finish with the sour cream.

    Storage

    • Refrigerate in an airtight container up to 3 days.
    • Reheat gently over low heat, adding a splash of stock. Avoid boiling or microwaving on high, which can break the sauce.
    • Dairy-based sauces do not freeze well, since they can separate. If you want to freeze, freeze the meat and mushroom mixture and add the sour cream when reheating.

    Serving

    Serve hot over cauliflower rice or zucchini noodles, garnished with parsley and black pepper. A side salad or roasted green beans fits well.

    FAQ

    Can I use a different meat?

    Beef strips work the same way. Venison is leaner, so cook it briefly.

    What if my sauce curdles?

    Whisk in a spoonful of cream or a splash of stock and keep it off the heat. It may not be perfect but is still edible.

    Can I make it ahead?

    Yes. Make the sauce without sour cream, and add the dairy and meat when reheating.

    Rudy hunts and fishes in southwest Wisconsin and has for 35+ years.

  • Venison chili

    Venison chili

    Chili is one of the best ways to use ground venison and stew meat. Browning the meat well, building flavor with spices, and a slow simmer turn simple pantry items into a pot that feeds a crowd and freezes well. This recipe makes about 6 to 8 servings, and the whole thing takes around 90 minutes, mostly hands-off.

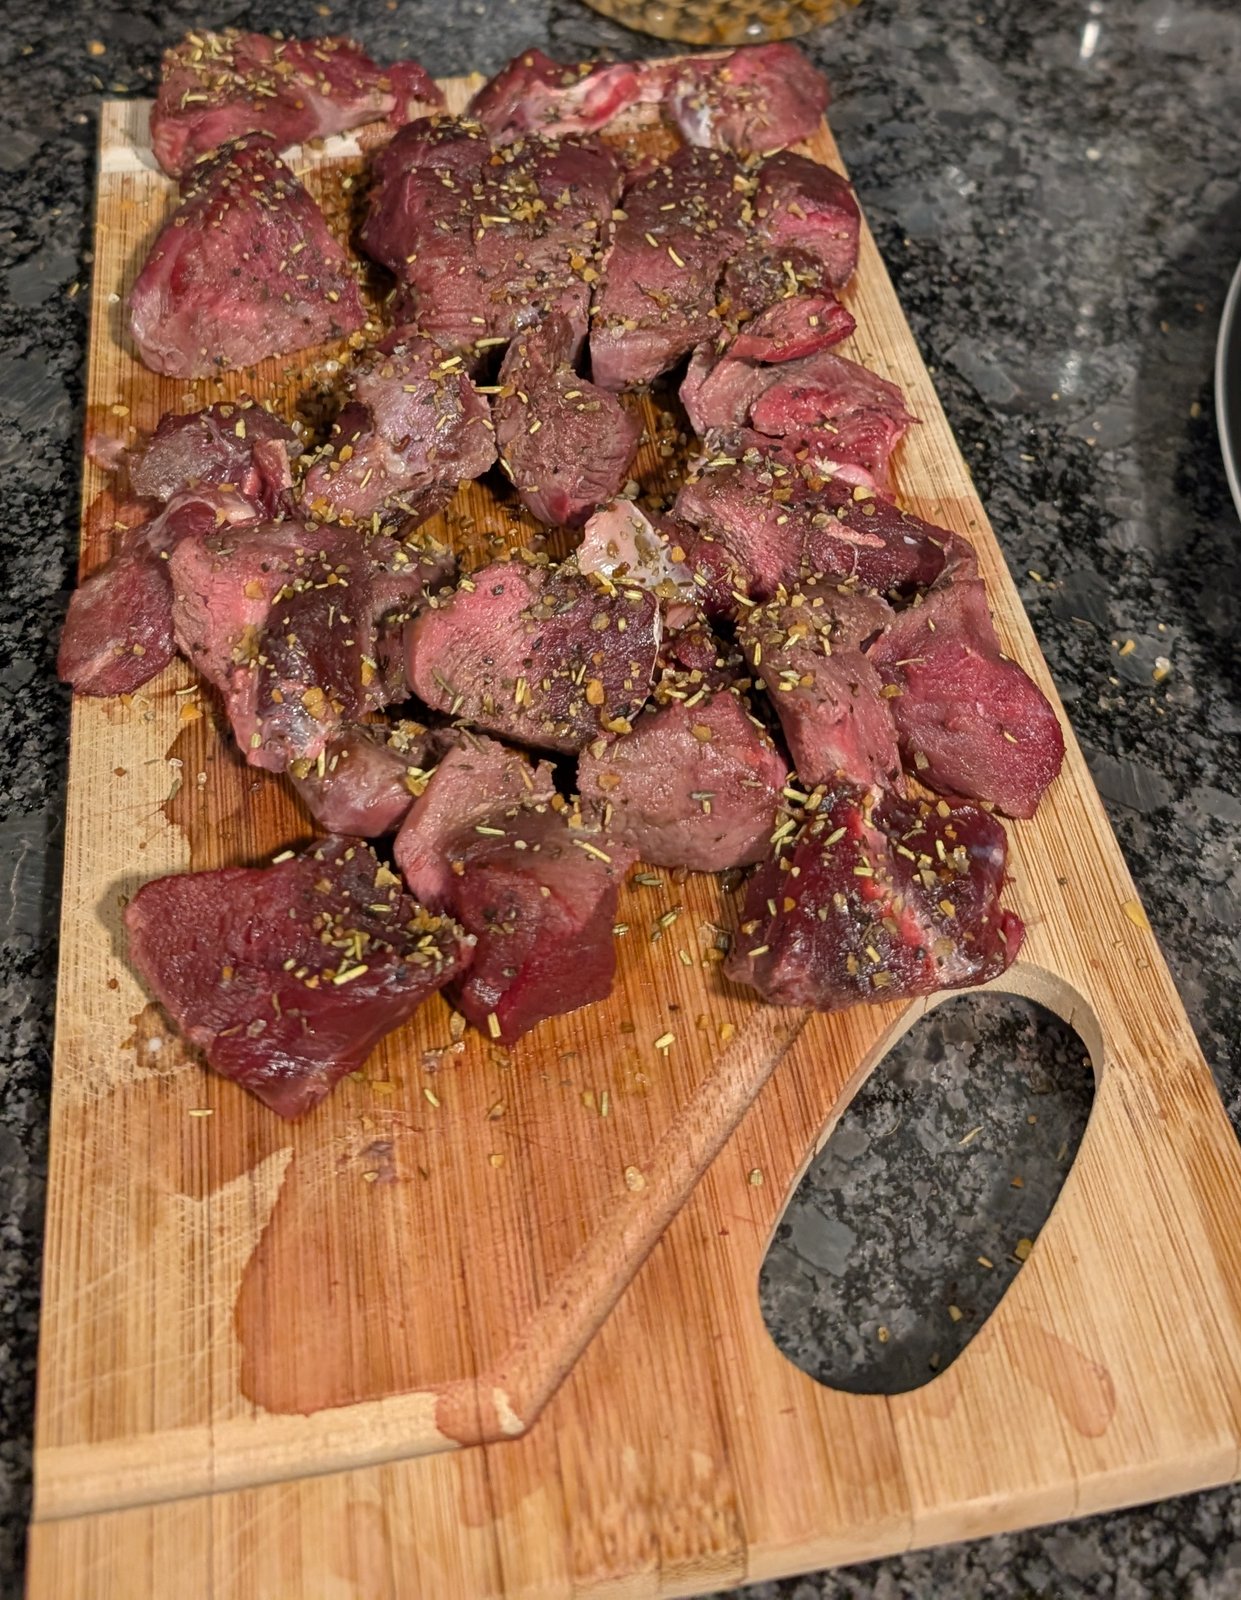
    Seasoned venison steak tips on a cutting board

    Yield: 6 to 8 servings | Prep: 20 minutes | Cook: 1 to 1 1/2 hours

    Ingredients

    • 2 pounds ground venison (or 1 1/2 pounds ground plus 1/2 pound venison stew meat, cut in small cubes)
    • 2 tablespoons oil, plus a few ounces of mild pork or beef fat if the grind is very lean
    • 1 large onion, diced
    • 1 green or red bell pepper, diced
    • 4 cloves garlic, minced
    • 3 tablespoons chili powder
    • 2 teaspoons ground cumin
    • 1 teaspoon smoked paprika
    • 1 teaspoon dried oregano
    • 2 teaspoons kosher salt, plus more to taste
    • 1/2 teaspoon black pepper
    • 2 tablespoons tomato paste
    • 1 can (14.5 ounces) diced tomatoes
    • 1 can (15 ounces) tomato sauce
    • 2 cans (15 ounces each) kidney, pinto, or black beans, drained and rinsed (optional)
    • 2 cups beef or venison stock, or water
    • 1 to 2 jalapenos or 1 chipotle in adobo, minced (optional)
    • 1 tablespoon cider vinegar or juice of 1 lime, to finish
    • 1 teaspoon brown sugar or a spoonful of cocoa powder (optional, to round off acidity)

    Toppings: shredded cheddar, sour cream, chopped onion, cilantro, crackers, or cornbread

    Method

    1. Heat the pot. Warm a large Dutch oven or heavy pot over medium-high heat. Add the oil.
    2. Brown the meat. Add the venison in two batches if the pot is small. Let it sit for 2 to 3 minutes before stirring so it browns, then break it up. Cook for 8 to 10 minutes total until no pink remains and some brown crust forms. Move to a bowl.
    3. Cook the vegetables. In the same pot, add the onion and pepper with a pinch of salt. Cook for 5 to 6 minutes until soft. Add the garlic and jalapeno for 1 minute.
    4. Toast the spices. Add the chili powder, cumin, paprika, oregano, and tomato paste. Stir for 1 minute until the paste darkens slightly and smells fragrant.
    5. Add liquids. Pour in a splash of stock and scrape the bottom of the pot. Add the diced tomatoes, tomato sauce, remaining stock, and browned meat.
    6. Simmer. Bring to a gentle boil, then reduce heat to low. Cover partly and simmer 45 to 60 minutes, stirring every 10 to 15 minutes. If using stew meat cubes, simmer 1 1/2 to 2 hours until they are tender.
    7. Add beans. Stir in the beans for the last 15 to 20 minutes.
    8. Adjust. Taste. Add salt, more chili powder, or heat as desired. Finish with vinegar or lime. If too thin, simmer uncovered; if too thick, add stock.
    9. Rest. Let it sit off the heat for 10 minutes before serving.

    Food safety

    • Ground venison should reach 160°F. Check with a thermometer before moving to the simmer stage, and the long simmer will keep it above that.
    • Do not leave chili at room temperature for more than two hours.
    • Cool leftovers fast: split into shallow containers and refrigerate. Large pots cool too slowly.
    • Reheat to 165°F before serving.
    • If you hunt in an area affected by chronic wasting disease, check testing guidance at dnr.wisconsin.gov before eating.
    • Start with well-handled meat. See field care after the shot.

    Tips

    • Add fat. Lean venison can be dry. A little fat from pork or bacon helps.
    • Brown well. Brown color is flavor. Do not skip it.
    • Salt in layers. Season at several points.
    • Make it a day ahead. Flavor often improves overnight.
    • Control the heat. Add chiles gradually. You can add heat, not remove it.
    • Thicken if needed. Stir in a tablespoon or two of masa harina mixed with water.

    Variations

    • No-bean chili: skip beans and add 1 extra pound of meat or diced sweet potato.
    • Slow cooker: brown meat and vegetables first, then cook on low 6 to 8 hours.
    • Instant Pot: pressure cook for 15 minutes with natural release, after browning.
    • Smoky chili: use chipotle in adobo and smoked paprika.
    • White chili: swap tomatoes for white beans, green chiles, and chicken stock.
    • Chili mac: stir in cooked macaroni at the end.
    • Use stock: a homemade game stock adds depth.
    • Cubed meat: shoulder or neck cubes, prepared as in the slow braise, work well.

    Storage

    • Refrigerator: 3 to 4 days in an airtight container.
    • Freezer: freeze in meal-size portions for up to about 3 to 4 months for best quality. Leave space for expansion.
    • Reheating: thaw in the refrigerator and warm on the stove with a splash of stock.

    Serving

    Top with cheese, sour cream, and green onion. Serve with cornbread, baked potatoes, or over rice. Use leftovers on hot dogs, nachos, or baked potatoes. For a quick weeknight base, see the ground venison skillet.

    FAQ

    Should I add beans?

    It’s a personal choice. Beans stretch the meat and add fiber. Skip them for a no-bean style.

    Why does my chili taste flat?

    Often it needs salt or acid. Add a splash of vinegar or lime near the end.

    Can I freeze it with beans?

    Yes. Beans freeze fine, though they may soften.

    Rudy hunts and fishes in southwest Wisconsin and has for 35+ years.

  • Venison steak strips

    Venison steak strips

    Venison steak strips are a fast, flexible weeknight meal. Cut from round, sirloin, or other lean steaks, thin strips cook in a couple of minutes and go into fajitas, rice bowls, salads, or stir-fries. The keys are slicing thin across the grain, keeping the pan hot, and not crowding the meat. This recipe serves 3 to 4 and takes about 30 minutes, plus marinating time if you choose.

    Seasoned venison steak tips on a cutting board

    Yield: 3 to 4 servings | Prep: 15 minutes (plus 20 to 60 minutes to marinate) | Cook: 10 minutes

    Ingredients

    Meat:

    • 1 to 1 1/2 pounds venison steak, such as round, sirloin, or a trimmed roast cut into steaks

    Quick marinade (optional):

    • 2 tablespoons soy sauce
    • 1 tablespoon Worcestershire sauce
    • 1 tablespoon oil
    • 2 cloves garlic, minced
    • 1 teaspoon chili powder
    • Juice of 1/2 lime

    Pan:

    • 2 tablespoons high smoke point oil, such as canola, divided
    • 1 onion, sliced into strips
    • 1 bell pepper, sliced into strips
    • 2 cloves garlic, minced
    • Salt and black pepper to taste
    • Lime wedges, for serving

    To serve: warm tortillas, cooked rice, or greens

    Preparation

    1. Trim. Cut away all silver skin and hard fat. They turn chewy when cooked.
    2. Partially freeze. Place the steak in the freezer for 20 to 30 minutes. This firms the meat so you can slice it neatly. If starting from frozen, thaw in the refrigerator first and then do this step.
    3. Slice against the grain. Look at the direction of the muscle fibers and cut across them into strips about 1/4 inch thick and 2 to 3 inches long. Cutting across the grain shortens the fibers and makes the meat more tender.
    4. Marinate (optional). Mix the marinade, toss with the strips, and refrigerate for 20 to 60 minutes. Do not marinate longer than a few hours, since acid and salt can make the meat mushy. Always marinate in the refrigerator, never on the counter.
    5. Dry the meat. Remove strips from the marinade and pat dry with paper towels. Wet meat will steam instead of sear. Discard used marinade, or boil it for at least 1 minute if you want to use it as a sauce.

    Cooking

    1. Heat the pan. Set a large skillet or wok over high heat for 2 to 3 minutes. Add 1 tablespoon of oil.
    2. Sear in batches. Add about half of the strips in a single layer, with space between them. Cook for 45 to 90 seconds per side until browned but still slightly pink inside. Move to a plate. Repeat with the rest.
    3. Cook the vegetables. Add the remaining oil, then the onion and pepper. Cook for 3 to 4 minutes until softened and lightly charred. Add the garlic for the last 30 seconds.
    4. Combine. Return the meat and any juices to the pan. Toss for 30 seconds, just to warm through and coat.
    5. Season. Taste, and add salt, pepper, and lime juice.
    6. Serve right away.
    Cooked venison steak tips with mac and cheese on a plate

    Doneness and food safety

    Thin strips cook quickly, and the line between tender and tough is short. The USDA recommends 145°F for whole cuts of meat, plus a 3-minute rest, and 160°F for ground meat. Sliced steak strips are whole-muscle meat, but because they have a lot of cut surface, keep them refrigerated until cooking, handle them with clean utensils, and cook until the center is no longer raw. If you cook to a lower temperature than USDA guidance, you accept more risk. If you serve children, older adults, pregnant women, or anyone with a weakened immune system, cook strips through to 145°F.

    Other points:

    • Keep raw meat at 40°F or below, and thaw in the refrigerator.
    • Use a clean plate for cooked meat.
    • Use clean tools and surfaces. See your knives and processing kit.
    • Refrigerate leftovers within two hours.

    Tips

    • Hot pan, short time. If the pan cools and liquid pools, remove the meat and let the pan reheat.
    • Work in batches. Overcrowding steams the meat.
    • Use the right cut. Tougher cuts such as shoulder are better in a slow braise.
    • Slice before cooking. Thin strips cook evenly. Slice again after cooking if the pieces are too large.

    Variations

    • Fajitas: add 1 teaspoon cumin and 1 teaspoon smoked paprika to the marinade. Serve with warm tortillas, sour cream, and salsa.
    • Rice bowl: add steamed broccoli and a drizzle of teriyaki sauce.
    • Stir-fry: add snap peas, carrots, and a splash of soy and ginger.
    • Salad: serve over greens with cherry tomatoes and a vinaigrette.
    • Stroganoff: use the strips in a low-carb venison stroganoff.
    • Philly-style: pile onto toasted rolls with sauteed onions and melted provolone.

    Storage

    • Refrigerate cooked strips up to 3 to 4 days in an airtight container.
    • Reheat quickly in a hot skillet for a minute, or eat cold in salads. Overheating toughens them.
    • Raw sliced strips can be frozen flat in freezer bags in meal-size portions, for up to several months for best quality.

    Serving

    Serve with warm tortillas, fresh lime, and a side of beans, or over rice with the vegetables. Strips also work for a quick sandwich or wrap.

    FAQ

    Which cuts work best?

    Round, sirloin, and backstrap trimmed into smaller pieces all work. Use backstrap whole if you want a special meal.

    Why are my strips gray and tough?

    The pan was too cool or crowded, or the meat was cooked too long. Heat the pan well and work in batches.

    Can I use a grill?

    Yes. Thread strips on skewers and grill over high heat for 1 to 2 minutes per side.

    Rudy hunts and fishes in southwest Wisconsin and has for 35+ years.

  • Game stock from bones and trim

    Game stock from bones and trim

    Stock turns bones and scraps into the base for soups, stews, gravy, and braises. It is almost free and makes use of the whole animal. This recipe covers venison bones, with notes for waterfowl and other game. It is mostly hands-off but takes time, so plan a day when you are home. It yields about 3 to 4 quarts.

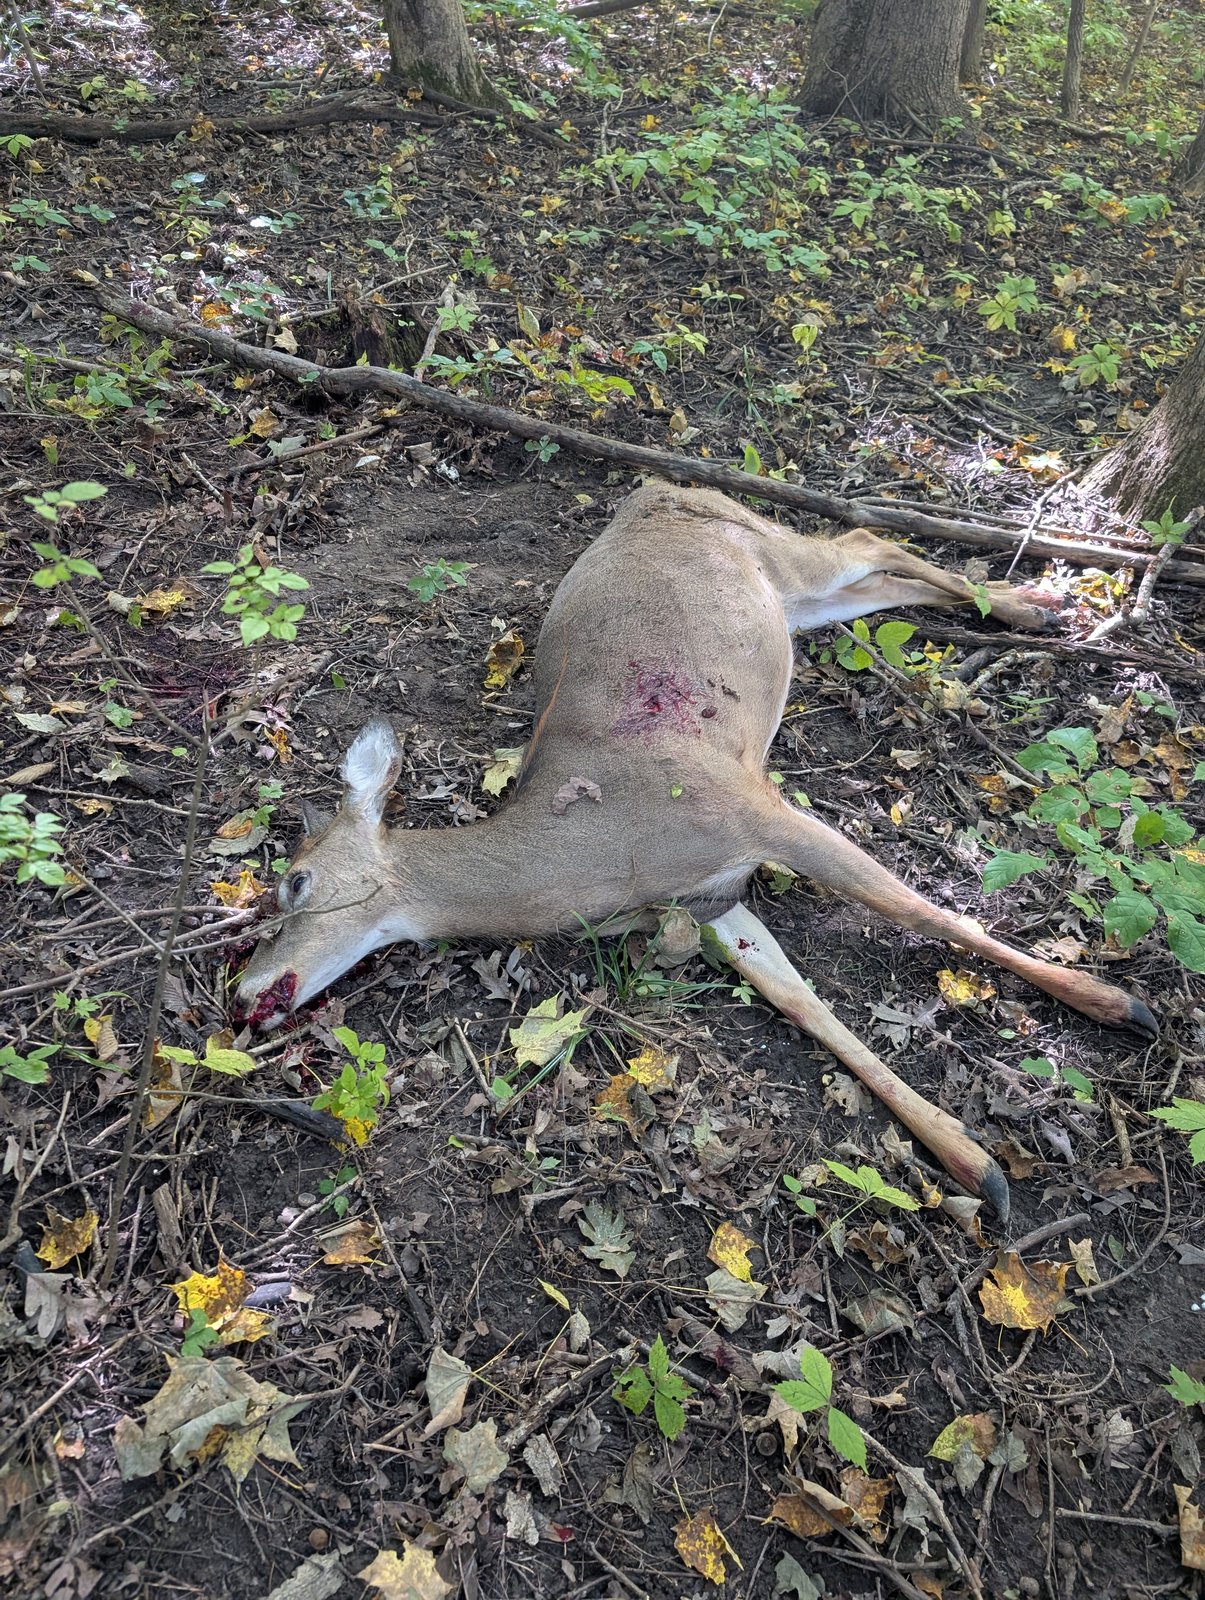
    Harvested doe on the forest floor

    Yield: about 3 to 4 quarts | Prep: 20 minutes | Roast: 40 minutes | Simmer: 4 to 8 hours

    Ingredients

    • 4 to 5 pounds venison bones, such as leg, neck, and rib bones, with some meat and connective tissue
    • 1 tablespoon oil (for roasting)
    • 2 onions, quartered (skins can stay on for color)
    • 3 carrots, cut into large chunks
    • 3 celery ribs, cut into large chunks
    • 1 head garlic, halved crosswise
    • 2 tablespoons tomato paste (optional)
    • 2 bay leaves
    • 1 tablespoon black peppercorns
    • 4 sprigs thyme and a handful of parsley stems
    • 1 tablespoon apple cider vinegar (helps pull minerals from bones)
    • About 5 quarts cold water, enough to cover by 2 inches
    • Salt: add only when using the stock, not during cooking

    Method

    1. Heat the oven to 425°F.
    2. Roast the bones. Spread the bones on a rimmed baking sheet. Toss with oil. Roast 30 to 40 minutes, turning once, until well browned. Add the onions, carrots, celery, and garlic for the last 15 to 20 minutes. Brush the tomato paste on the bones and vegetables for the last 10 minutes if using.
    3. Transfer everything to a large stockpot. Pour off the fat from the pan. Add a cup of water to the baking sheet, scrape up the browned bits, and add them to the pot.
    4. Add water and aromatics. Cover with cold water by about 2 inches. Add vinegar, bay leaves, peppercorns, and herbs.
    5. Heat slowly. Bring just to a gentle simmer over medium heat. Do not boil hard, which clouds the stock. Skim any foam that rises during the first 30 minutes.
    6. Simmer. Reduce to low, keeping a bare simmer with tiny bubbles. Simmer partly covered for 6 to 8 hours for large venison bones. Top up with hot water if bones become exposed.
    7. Strain. Remove the bones with tongs, then pour the stock through a fine-mesh strainer into clean containers. Discard solids.
    8. Cool quickly. See the food safety notes below.
    9. Skim the fat once chilled. A solid fat cap on top can be removed and discarded or saved.

    Food safety

    Stock is a good environment for bacteria if it cools slowly. Follow these steps:

    • Do not leave a large pot on the counter or stove overnight.
    • Divide the hot stock into shallow containers, 2 to 3 inches deep, and place them in the refrigerator or in an ice bath.
    • Aim to get stock cooled and into the refrigerator within two hours.
    • Refrigerate for no more than 3 to 4 days, or freeze.
    • Bring stock to a full boil before using it in a recipe if it has been stored for several days.
    • Use bones from animals that were properly field dressed and cooled. See field care after the shot.
    • In areas with chronic wasting disease, follow DNR guidance on handling and disposing of carcass parts, including bones. Check the DNR CWD and carcass pages before you hunt.

    Notes for other game

    • Waterfowl and upland birds: use carcasses and trimmings, roast for 30 minutes, and simmer only 2 to 3 hours. Longer can bring out bitter or strong flavors.
    • Rabbit and squirrel: simmer 2 to 3 hours for a light stock.
    • Fish: different method, and 30 to 45 minutes is enough.
    • Strongly flavored birds: blanch bones in boiling water for 5 minutes and rinse before the main simmer.

    Tips

    • Keep scraps. Store onion ends, carrot peels, and celery tops in a freezer bag until you make stock.
    • Remove excess fat and sinew, which can add strong flavor.
    • Reduce for storage. Simmering strained stock until it is half the volume makes concentrate that takes less freezer space. Dilute when using.
    • Salt later. Reduced stock gets salty fast.

    Storage

    • Refrigerator: 3 to 4 days.
    • Freezer: freeze in 1-cup and 1-quart portions, leaving space at the top for expansion. Best used within about 4 to 6 months.
    • Ice cube trays: freeze small amounts for pan sauces.
    • Label with date and type.

    Uses

    FAQ

    Why is my stock cloudy?

    It was probably boiled, or foam was not skimmed. It is still fine to eat.

    Why does it smell strong?

    Venison and duck stock smell more intense than beef or chicken stock. Roasting, skimming, and removing excess fat help.

    Can I use a slow cooker or pressure cooker?

    Yes. A slow cooker works on low for 12 to 18 hours. A pressure cooker takes around 1.5 to 2 hours on high.

    Rudy hunts and fishes in southwest Wisconsin and has for 35+ years.

  • Slow braise for tough cuts

    Slow braise for tough cuts

    Shoulders, shanks, neck roasts, and trim from a deer have plenty of connective tissue. Fast cooking makes them tough, but a long, gentle braise converts that collagen into tender, silky meat. This recipe is a basic method that works for venison and, with small changes, for older ducks or geese. It serves 6 and mostly cooks itself, with about 3 hours in the oven.

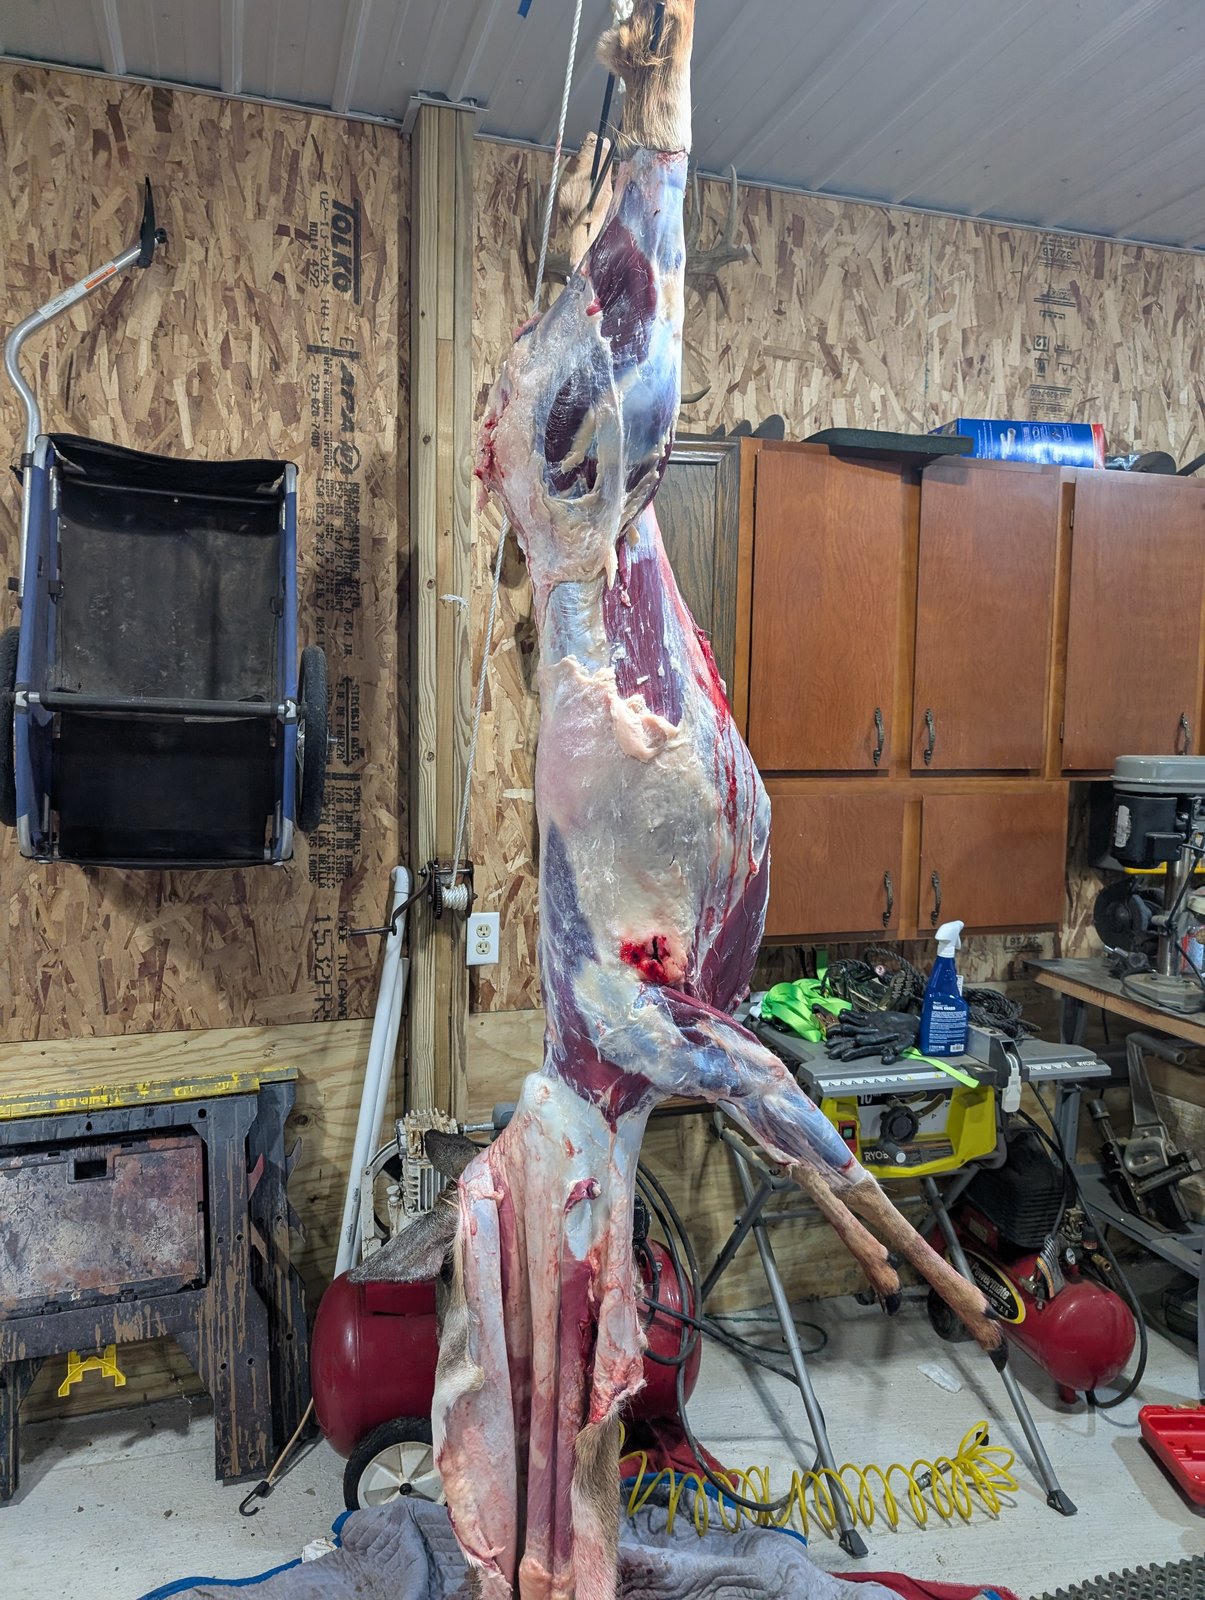
    Whitetail deer hung and skinned for processing

    Yield: 6 servings | Prep: 25 minutes | Cook: 2 1/2 to 3 1/2 hours

    Ingredients

    • 3 pounds venison shoulder, neck, or shank meat, trimmed of silver skin and large fat, cut into 2-inch chunks (or left as a roast)
    • 1 1/2 teaspoons kosher salt, plus more to taste
    • 1 teaspoon black pepper
    • 1/4 cup flour (optional, for dusting)
    • 3 tablespoons oil, such as canola
    • 1 large onion, chopped
    • 2 carrots, cut into chunks
    • 2 celery ribs, cut into chunks
    • 4 cloves garlic, smashed
    • 2 tablespoons tomato paste
    • 1 cup dry red wine (optional; replace with stock)
    • 2 to 3 cups beef or venison stock, enough to come about two-thirds up the meat
    • 2 bay leaves
    • 4 sprigs fresh thyme (or 1 teaspoon dried)
    • 1 tablespoon Worcestershire sauce
    • 1 tablespoon cider vinegar or balsamic vinegar, to finish

    Method

    1. Heat the oven to 300°F, with a rack in the lower third.
    2. Dry and season. Pat the meat dry. Season with salt and pepper. Dust with flour if using, and shake off the excess.
    3. Brown in batches. Heat the oil in a Dutch oven or heavy ovenproof pot over medium-high heat. Brown the meat in 2 to 3 batches without crowding, 3 to 4 minutes per side, until deeply browned. Move to a plate. Brown flavor is the base of the dish.
    4. Cook the vegetables. Lower the heat to medium. Add the onion, carrots, and celery with a pinch of salt and cook 6 to 8 minutes. Add the garlic and tomato paste and cook 1 minute more.
    5. Deglaze. Add the wine, if using, and scrape the bottom. Simmer 3 to 4 minutes until reduced by half.
    6. Combine. Return the meat and its juices. Add the stock, bay leaves, thyme, and Worcestershire. The liquid should come about two-thirds of the way up the meat. Bring to a simmer on the stovetop.
    7. Braise. Cover tightly and place in the oven. Cook for 2 1/2 to 3 1/2 hours, checking at 2 hours. Turn the meat once during cooking.
    8. Test for doneness. The meat is ready when a fork slides in with little resistance and the meat is nearly falling apart. A thermometer reading of around 195 to 205°F often matches this tenderness in tough cuts. If it is not tender, return it to the oven for another 30 minutes.
    9. Finish. Remove the meat and herb stems. Skim fat from the liquid. Simmer the sauce on the stovetop 5 to 10 minutes until it thickens. Stir in the vinegar and adjust salt.
    10. Rest the meat for 10 minutes in the sauce before serving.

    Food safety

    • Venison should reach at least 160°F in the braise, and a long braise easily exceeds this.
    • Keep the meat refrigerated until cooking. Thaw in the refrigerator.
    • Cool leftovers quickly by dividing into shallow containers. Refrigerate within two hours.
    • Good field handling and fast cooling make a big difference to flavor. See field care after the shot.

    Tips

    • Low and slow beats hot and fast. If the meat is still tough, it usually needs more time, not a higher temperature.
    • Do not boil. The surface of the liquid should barely tremble.
    • Do not skip browning. It makes the sauce deeper in flavor.
    • Make it ahead. Braises are often better the next day. Refrigerate overnight, skim the solidified fat, and reheat gently.
    • Use a heavy lid. If it fits loosely, cover with foil first.

    Variations

    • Slow cooker: brown the meat and vegetables on the stove, then cook on low for 8 to 10 hours or on high for 4 to 5 hours.
    • Instant Pot: brown with the sauté function, then pressure cook on high for 45 to 60 minutes with natural release.
    • Stew: add 1 1/2 pounds of cubed potatoes and extra carrots for the last hour.
    • Pot roast: use a whole shoulder roast and add 30 to 60 minutes.
    • Birds: for older ducks or geese, braise legs and breast pieces for 2 to 2 1/2 hours.
    • Hungarian style: add 2 tablespoons paprika and a cup of sour cream at the end.

    Storage

    • Refrigerate up to 3 to 4 days in the cooking liquid.
    • Freeze in portions with sauce for up to about 3 to 4 months for best quality.
    • Reheat in a covered pot over low heat until simmering. Warm to 165°F.

    Serving

    Serve over mashed potatoes, egg noodles, polenta, or rice, with a green vegetable. Leftover meat makes good sandwiches, tacos, or pasta sauce. A pot of braise also cooks down well for venison chili.

    FAQ

    Why is my braised venison still tough?

    It is probably undercooked. Give it more time at low heat.

    Can I use frozen meat?

    Thaw it first for even browning.

    Do I need the wine?

    No. Extra stock with a splash of vinegar works.

    Rudy hunts and fishes in southwest Wisconsin and has for 35+ years.

  • Venison backstrap hot and fast

    Venison backstrap hot and fast

    Backstrap, the loin that runs along each side of the spine, is among the most tender cuts on a deer. It is also very lean, so it goes from perfect to dry in a minute or two. The method here is simple: dry the meat, sear it in a hot pan, finish gently if needed, and rest. This serves 2 to 3 people, and the whole thing takes about 30 minutes plus time for salting.

    Cooked venison steak tips with mac and cheese on a plate

    Yield: 2 to 3 servings | Prep: 15 minutes (plus salting) | Cook: 10 to 15 minutes

    Ingredients

    • 1 to 1 1/2 pounds venison backstrap, in one piece or cut into 4 thick medallions
    • 1 1/2 teaspoons kosher salt
    • 1/2 teaspoon freshly ground black pepper
    • 1 to 2 tablespoons high smoke point oil, such as avocado or canola
    • 2 tablespoons butter
    • 3 cloves garlic, smashed
    • 2 sprigs fresh thyme or rosemary (or 1/2 teaspoon dried)

    Optional pan sauce:

    • 1/2 cup beef or venison stock
    • 2 tablespoons red wine or balsamic vinegar
    • 1 tablespoon cold butter
    • 1 teaspoon Dijon mustard

    Preparation

    1. Trim. Remove all silver skin, the shiny white membrane on the surface. It does not break down in cooking and makes the meat chewy. Slide a thin, sharp knife under it and angle the blade upward as you pull.
    2. Salt ahead. Salt the meat 30 to 45 minutes before cooking, and leave it uncovered in the refrigerator. If you are short on time, salt right before cooking.
    3. Bring to a cool room temperature. Take the meat out of the refrigerator 15 to 20 minutes before cooking. Pat completely dry with paper towels. Dry meat browns, while wet meat steams.
    4. Pepper just before the pan.

    Cooking

    1. Heat the skillet. Use cast iron or heavy stainless steel over medium-high to high heat for 3 to 4 minutes. Add the oil. It should shimmer.
    2. Sear. Lay the backstrap in the pan, away from you. Sear without moving it for 2 to 3 minutes, until a deep brown crust forms. Turn and sear the other sides for 1 to 2 minutes each. Medallions about 1 inch thick generally take 2 to 3 minutes per side.
    3. Baste. Lower the heat to medium. Add the butter, garlic, and herbs. Tilt the pan and spoon the foaming butter over the meat for 1 minute.
    4. Check the temperature. For a thicker whole piece that needs more time, finish in a 400°F oven for 3 to 6 minutes. Use an instant-read thermometer in the thickest part.
    5. Pull early. Remove the meat at 125 to 130°F for medium-rare. The temperature will rise 5 degrees or so as it rests.
    6. Rest. Place on a cutting board, tent loosely with foil, and rest for 5 to 10 minutes.
    7. Slice across the grain into 1/2-inch slices.

    Pan sauce (optional)

    Pour off most of the fat but keep the browned bits. Over medium heat, add the wine or vinegar and scrape the pan. Add the stock and simmer 3 to 4 minutes until slightly reduced. Whisk in the mustard and cold butter. Season with salt and pepper, and spoon over the sliced meat.

    Doneness and food safety

    The USDA recommends cooking whole cuts of meat to 145°F, followed by a 3-minute rest. Many cooks prefer venison backstrap cooked to medium-rare, around 130 to 135°F after resting, because the lean meat dries quickly past that point. If you prefer to follow the USDA guidance, cook to 145°F and rest, and consider the tradeoff in tenderness. Pregnant women, young children, older adults, and anyone with a weakened immune system are best off following the 145°F guidance.

    Other safety points:

    • Whole muscles such as backstrap are handled differently from ground meat, which should reach 160°F.
    • Keep raw and cooked meat separate and wash utensils.
    • Refrigerate leftovers within two hours.
    • Good field care and fast cooling give better flavor and safety. See field care after the shot.

    Variations

    • Peppercorn crust: press crushed peppercorns into the meat before searing.
    • Bacon-wrapped medallions: wrap in bacon and secure with toothpicks, then sear on all sides, and finish in a 375°F oven.
    • Mushroom sauce: cook sliced mushrooms in the pan after removing the meat, then deglaze.
    • Grill: oil the meat, grill over high heat 3 to 4 minutes per side for 1-inch medallions, and rest.
    • Sliced thin: serve cold over a salad.

    Storage

    • Leftover cooked backstrap keeps 3 to 4 days in the refrigerator in an airtight container.
    • Reheat gently in a skillet over low heat or eat it cold to avoid overcooking.
    • Raw backstrap freezes well. Vacuum seal or wrap tightly in freezer paper, then foil or a freezer bag, and label with the date. Use within about a year for best quality.

    Serving

    Pair with roasted potatoes, green beans, or wild rice. Slice and serve on toast with horseradish sauce. Leftovers make great sandwiches.

    FAQ

    Why is my backstrap tough?

    Typically it is overcooked or has silver skin left on. Use a thermometer and trim well.

    Should I marinate?

    It isn’t necessary. A simple salt, pepper, and butter treatment lets the flavor show.

    Can I use other cuts this way?

    Tenderloins work well. For tougher cuts, see slow braise for tough cuts.

    Rudy hunts and fishes in southwest Wisconsin and has for 35+ years.

  • Simple ground venison skillet

    Simple ground venison skillet

    Ground venison is the everyday workhorse of a deer freezer. It is lean, so it needs a little care to avoid dry, crumbly meat, but a hot pan and a bit of added fat fix most problems. This skillet is a base recipe you can finish as tacos, rice bowls, or a quick potato hash. It takes about 30 minutes and uses one pan.

    Seasoned venison steak tips on a cutting board

    Yield: 4 servings | Prep: 10 minutes | Cook: 15 to 20 minutes

    Ingredients

    • 1 pound ground venison, thawed in the refrigerator
    • 1 to 2 tablespoons oil, such as canola or avocado oil
    • 2 to 3 ounces mild pork or beef fat, finely diced or ground in (optional, for very lean grind)
    • 1 small onion, diced (about 1 cup)
    • 1 bell pepper, diced (optional)
    • 3 cloves garlic, minced
    • 1 tablespoon chili powder
    • 1 teaspoon ground cumin
    • 1 teaspoon smoked paprika
    • 3/4 teaspoon salt, plus more to taste
    • 1/2 teaspoon black pepper
    • 1/2 cup stock, water, or salsa
    • To serve: tortillas, cooked rice, or baked potatoes; shredded cheese, sour cream, chopped cilantro, lime wedges

    Shortcut: replace the chili powder, cumin, paprika, salt, and pepper with one packet of taco seasoning. Check the salt level before adding more.

    Method

    1. Heat the pan. Set a large, heavy skillet, such as cast iron, over medium-high heat for 2 to 3 minutes. Add the oil. If your grind is very lean, add the diced fat and let it render for 2 minutes.
    2. Cook the onion. Add the onion and pepper. Cook for 4 to 5 minutes, stirring occasionally, until soft and lightly browned.
    3. Brown the venison. Push the vegetables to the side and add the venison. Break it into large chunks and leave it alone for 2 to 3 minutes so it browns on one side. Then stir and break it up. Do not crowd the pan; if it is overfilled, brown in two batches. Crowded meat steams and turns gray.
    4. Cook through. Continue cooking for 5 to 7 minutes until no pink remains. Ground meat should reach an internal temperature of 160°F. Check with an instant-read thermometer in a few spots.
    5. Season. Add the garlic and spices. Stir for 30 to 60 seconds, until fragrant. Add the stock or salsa and scrape up the browned bits. Simmer 3 to 5 minutes until the liquid mostly cooks off.
    6. Taste and adjust. Add salt, a squeeze of lime, or more spice as needed.

    Food safety notes

    • Ground meat should be cooked to 160°F all the way through, since grinding spreads surface bacteria through the meat. Color is not a reliable guide, so use a thermometer.
    • Keep the venison refrigerated at 40°F or below until you cook it. Thaw in the refrigerator, not on the counter.
    • Wash hands, cutting boards, and utensils after handling raw meat.
    • Good field care and clean grinding matter. Review field care after the shot and your processing kit.
    • If you hunt in an area with chronic wasting disease, review the DNR’s guidance on testing before you eat the meat. See dnr.wisconsin.gov.

    Tips for lean meat

    • Add fat. Pork fat, beef suet, or bacon blended in at grinding gives better moisture. At the stove, a spoonful of oil or butter helps.
    • Use high heat and do not stir constantly.
    • Do not overcook. Once cooked to 160°F, take it off the heat.
    • Salt in layers, a little at the start and the rest at the end.

    Variations

    • Tacos: serve in warm tortillas with cheese, lettuce, and salsa.
    • Skillet hash: add 2 cups diced, par-cooked potatoes at step 2 and cook until crisp.
    • Chili base: add a can of diced tomatoes and beans, then simmer. See venison chili for a full recipe.
    • Stuffed peppers: mix cooked meat with rice and cheese, stuff into halved peppers, and bake at 375°F for 25 to 30 minutes.
    • Breakfast skillet: add eggs on top and cover for the last few minutes.

    Storage

    • Refrigerator: keep cooked venison in a covered container up to 3 to 4 days.
    • Freezer: freeze cooked portions in freezer bags with air pressed out, for up to about 3 months for best quality.
    • Reheating: warm to 165°F. Add a splash of water or stock to keep it moist.
    • Raw ground venison: freeze flat in portions for faster thawing, and use within a few months for the best flavor.

    Serving ideas

    Serve over rice with black beans, in a baked potato, or in a bowl with greens and a squeeze of lime. Warm tortillas and a few toppings make a fast family dinner.

    FAQ

    Why is my ground venison dry?

    Most often it is overcooked, or the grind has little fat. Add some fat and cook only until done.

    Does venison taste gamey?

    Flavor depends on the animal, age, and how it was handled. Quick cooling, trimming fat and silver skin, and clean processing reduce strong flavors.

    Can I use frozen meat directly?

    It’s best to thaw it first in the refrigerator for even cooking.

    Rudy hunts and fishes in southwest Wisconsin and has for 35+ years.

  • Pre-season checklist

    Pre-season checklist

    This is a planning checklist for the weeks and months before opening day. It is separate from your day-hunt pack, which covers what goes in the bag each outing. Here the goal is to finish the work that is hard to do once the season starts: paperwork, practice, repairs, and preparation. Work backward from opening day and give yourself more time than you think you need.

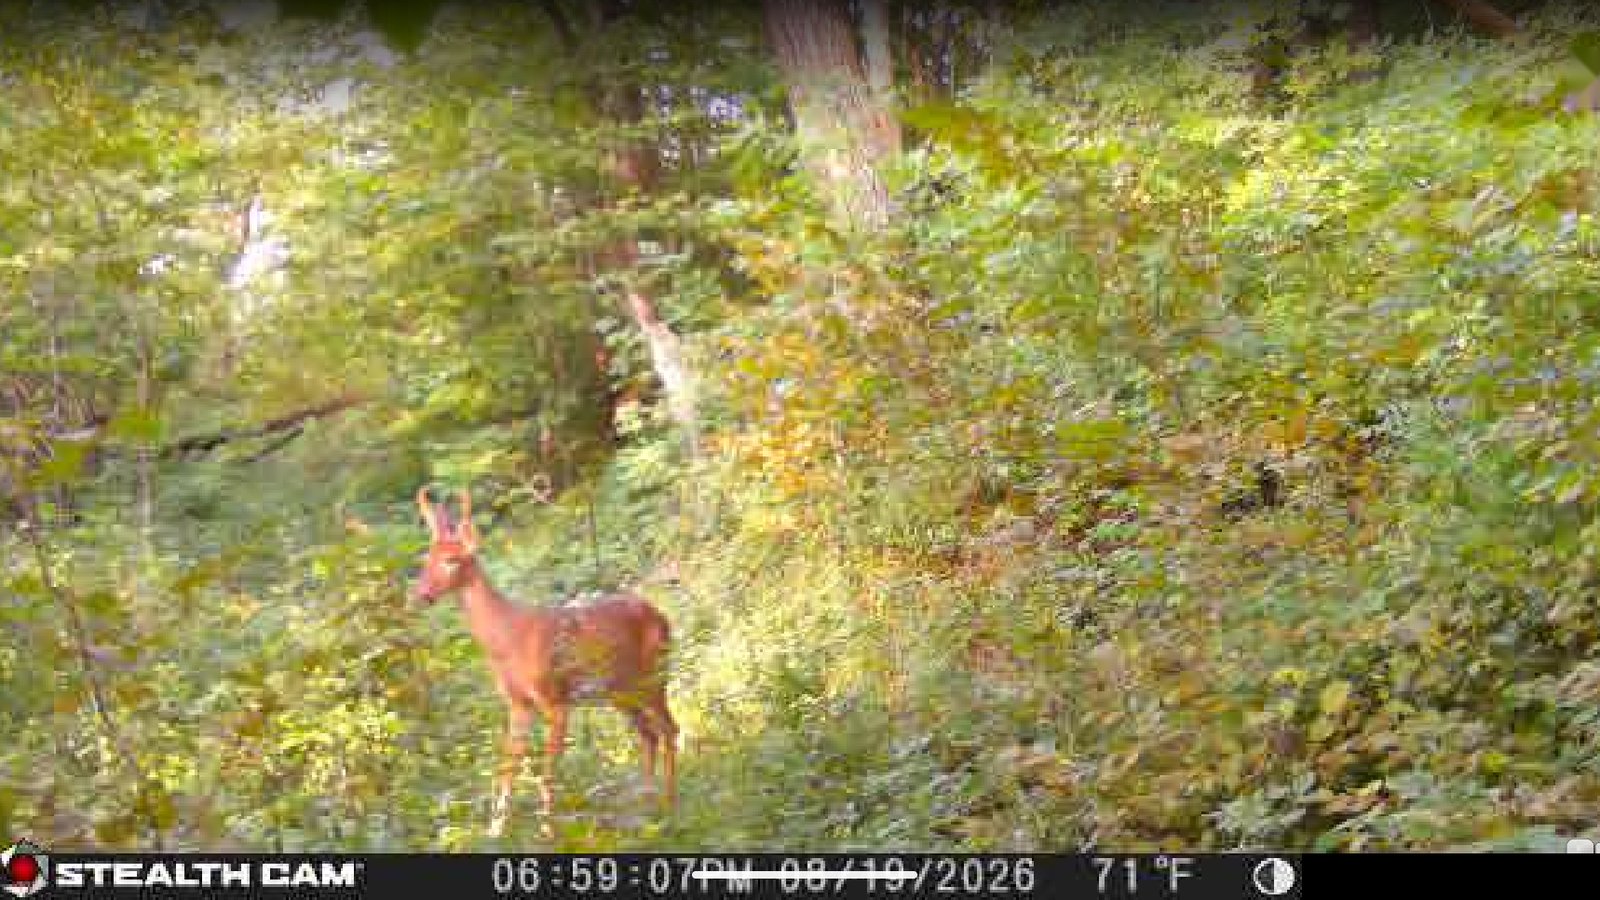
    Young deer in summer woods on a trail camera

    Eight to twelve weeks out: paperwork and planning

    • Hunter education: Wisconsin requires proof of hunter education for many hunters, depending on age and license type. Check requirements at dnr.wisconsin.gov and sign up early since classes can fill.
    • Licenses and stamps: buy through the DNR’s Go Wild system, and add any additional authorizations your hunt requires, such as stamps or permits for waterfowl.
    • Season structure: read through the current regulations for your species, unit, and weapon type. See understanding hunting seasons and regulations for how to read them.
    • Permissions and land access: ask landowners now, not the week before. Confirm boundaries and any rules a landowner wants followed.
    • Public land plan: pick a primary and a backup spot, and look at parking and walking routes.
    • Calendar and time off: block out your best hunting dates and any family commitments.

    Six to eight weeks out: gear

    Weapons

    • Firearm: clean, inspect, and confirm the action functions. Check scope mounts and sling swivels.
    • Bow or crossbow: inspect limbs, strings, cables, and rest. Replace worn strings or cables. If you are unsure, have a pro shop look it over.
    • Ammunition and arrows: buy the same load you will hunt with and verify zero.
    • Broadheads: confirm that they fly with your field points, and replace dull or damaged blades.

    Clothing and boots

    • Wash hunting clothes in unscented detergent and store them sealed.
    • Test boots for leaks and wear. Break in any new pair before the season.
    • Review your layering plan in clothing and layering for day hunts.

    Optics and tools

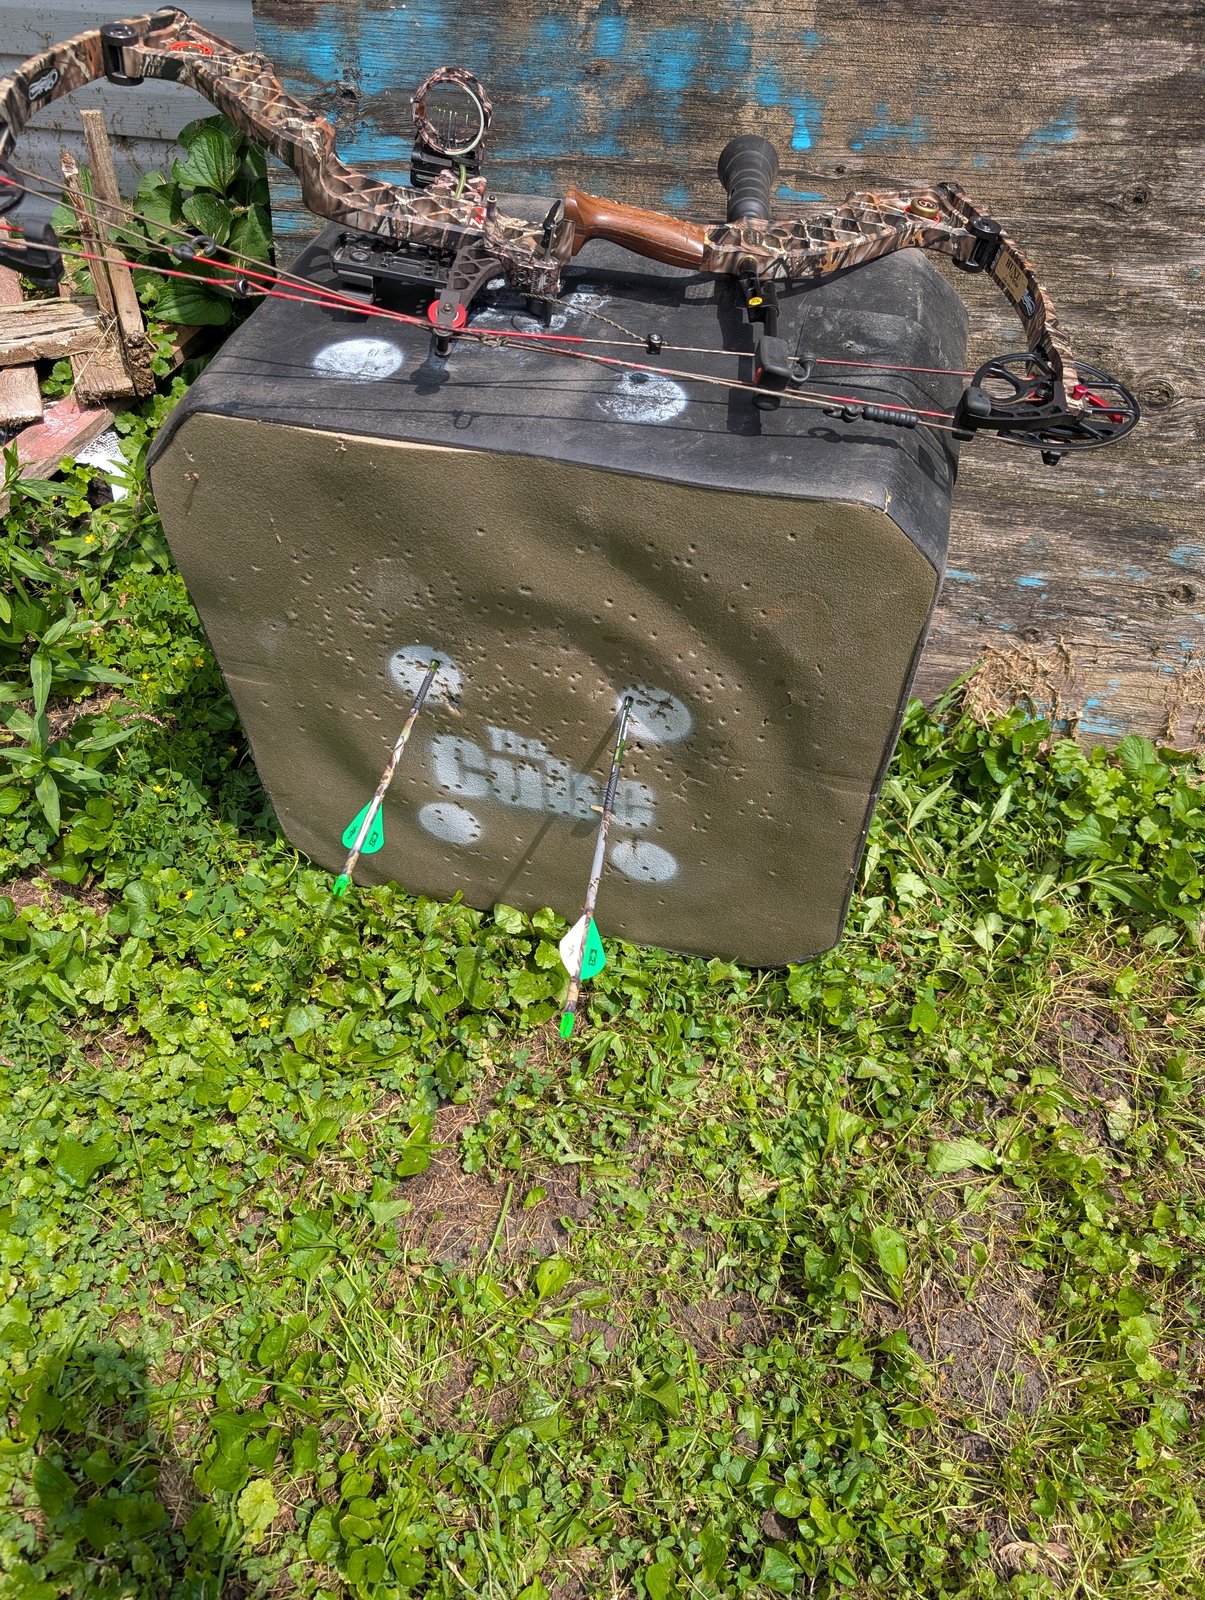
    Compound bow on a foam target with two arrows

    Four to six weeks out: practice

    • Shooting: practice from field positions, not only from a bench. Include sitting, kneeling, and shooting off sticks or a rest.
    • Bow: shoot at varied distances and from an elevated position if you hunt from a stand. Practice in the clothing you will wear.
    • Safe handling: run through unloading, loading, and crossing obstacles with your firearm.
    • Know your limits: decide in advance the maximum distance you can shoot ethically with your setup, and stick to it.

    Two to four weeks out: land and stands

    • Scouting: finish major scouting and stay out of core areas. See scouting basics.
    • Stands and blinds: inspect straps, bolts, cables, and platforms. Replace worn parts. Trim shooting lanes where permitted. Check stand and blind placement for setup and safety.
    • Safety harness: inspect webbing and stitching, and replace any harness that is old, damaged, or past its manufacturer’s lifespan.
    • Trail cameras: set, check, and pull them according to local rules and your own plan. See trail cam basics.
    • Access routes: clear a quiet path to each stand, and plan for how you will approach in the dark.
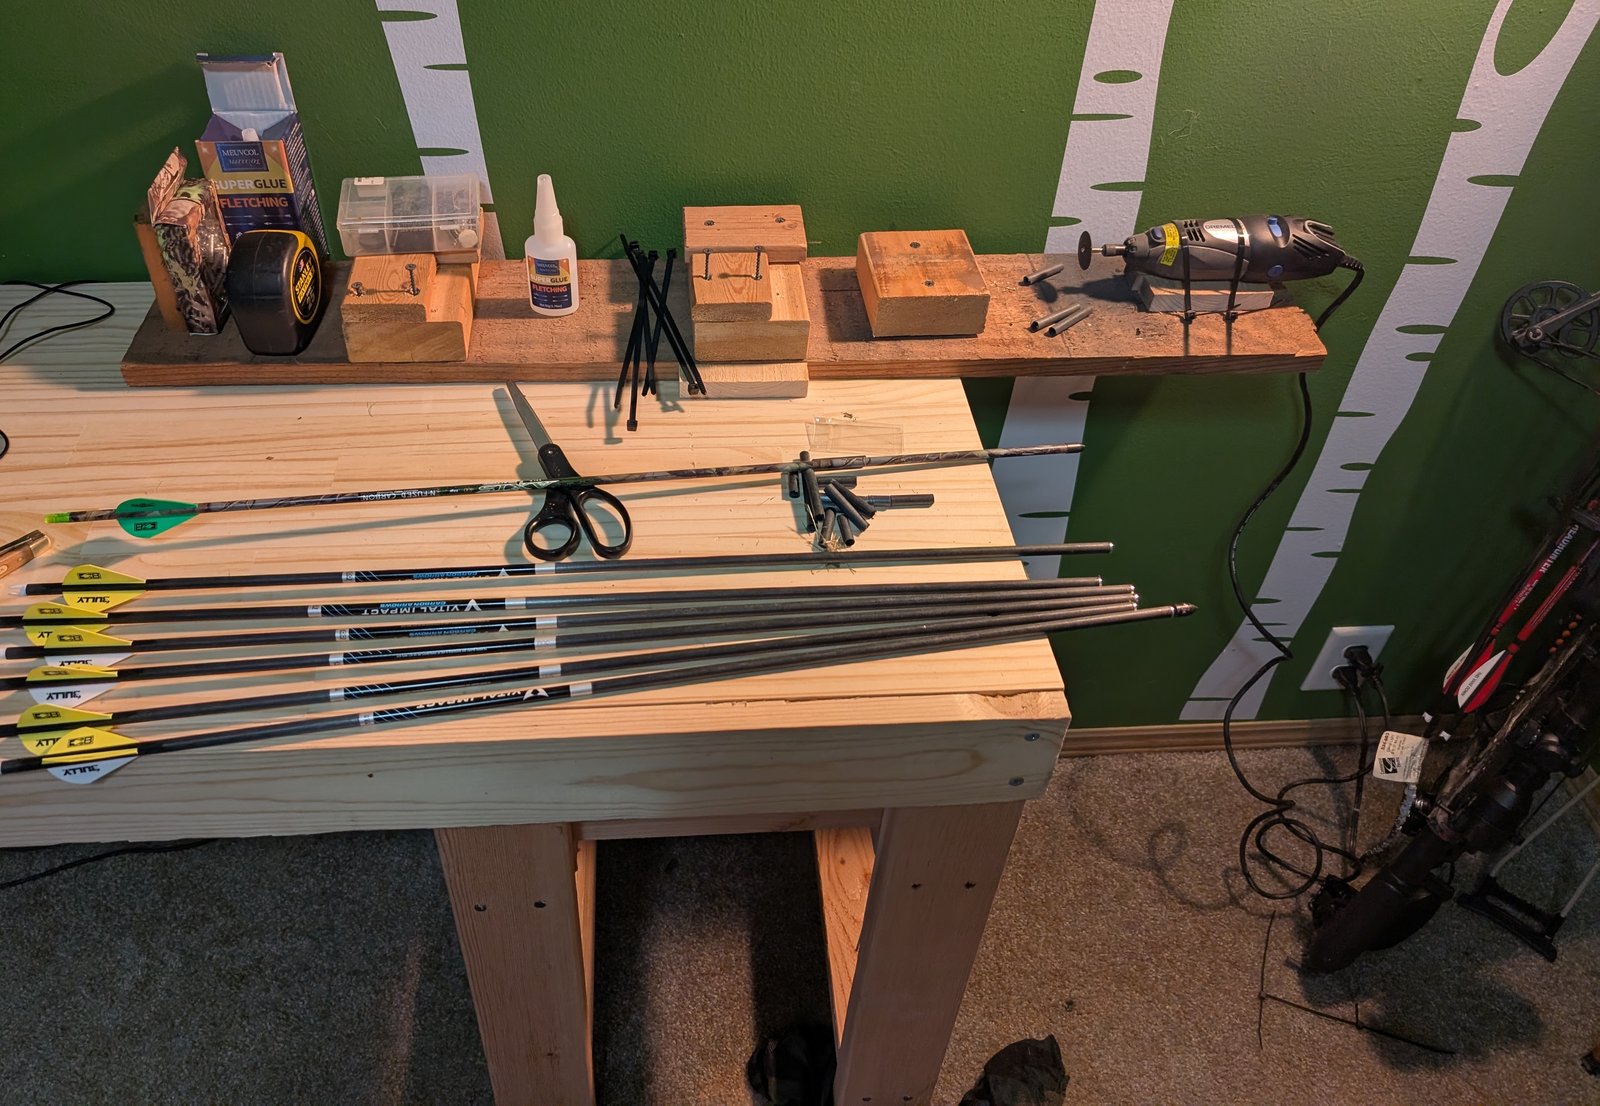
    Workbench for building arrows with fletching tools

    The final week

    • Pack and weigh your bag, and run through the list in the day-hunt pack essentials.
    • Charge batteries, update offline maps, and test the headlamp.
    • Check the weather and wind forecasts. See wind and weather decisions.
    • Fill the vehicle with fuel, and check your spare tire.
    • Review safety rules and make sure someone knows your plan.
    • Set up meat care: clean the cooler, buy ice or plan cold storage, and know where your processor is, if you use one. See field care after the shot.

    Common mistakes

    • Buying a license on opening morning and discovering an issue
    • Practicing only on a bench
    • Waiting until the last week to check stand straps and harnesses
    • Putting off scouting until too late, then walking through bedding areas
    • Not zeroing after changing ammunition or mounting a new scope

    FAQ

    What is the most commonly overlooked item?

    Safety equipment. Check harness, headlamp batteries, and a first aid kit.

    How early should I buy a license?

    As soon as you know your plans. It removes a source of last-minute stress.

    Should I check regulations every year?

    Yes. Seasons, units, and rules change. Confirm current details at the DNR site.

    Rudy hunts and fishes in southwest Wisconsin and has for 35+ years.