
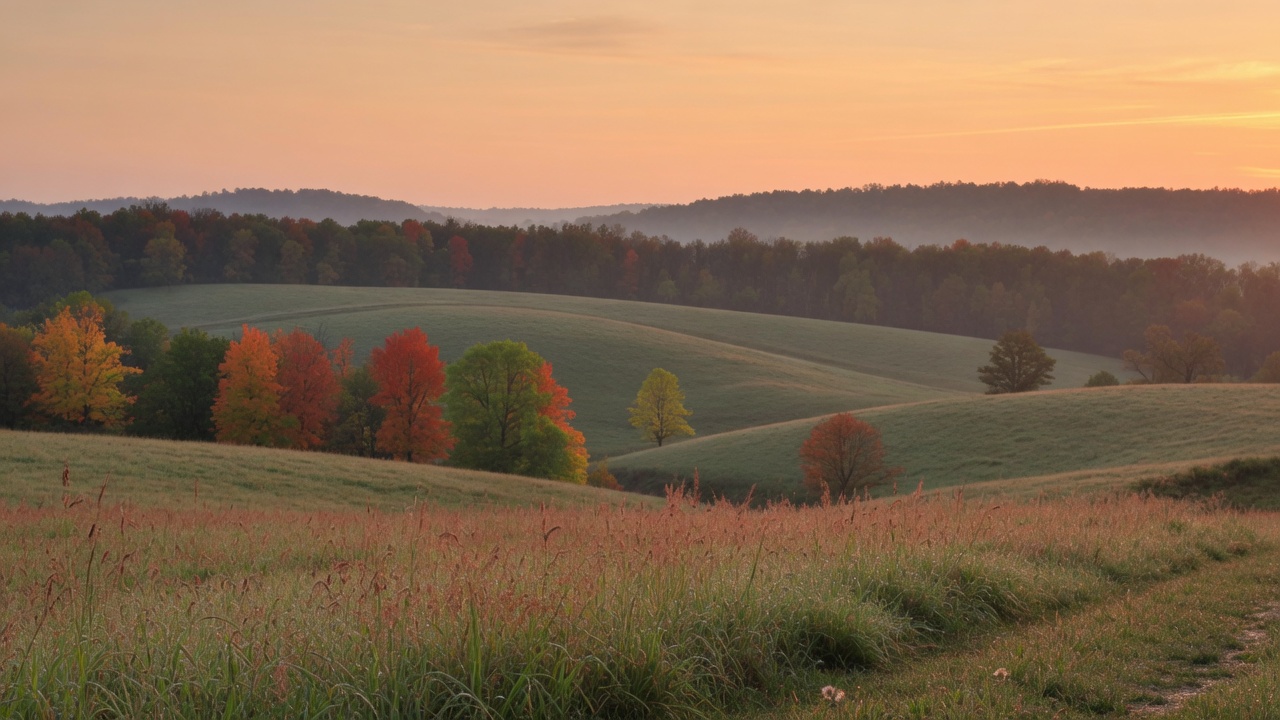
Scouting is information gathering. The goal is to learn where animals feed, where they bed, and how they move between the two, then to leave without teaching them anything. This guide covers the finding part: maps, sign, and a low-pressure way to walk. Once you know where the animals are, the next questions are covered in stand and blind placement, wind and weather decisions, and in-season hunting decisions.
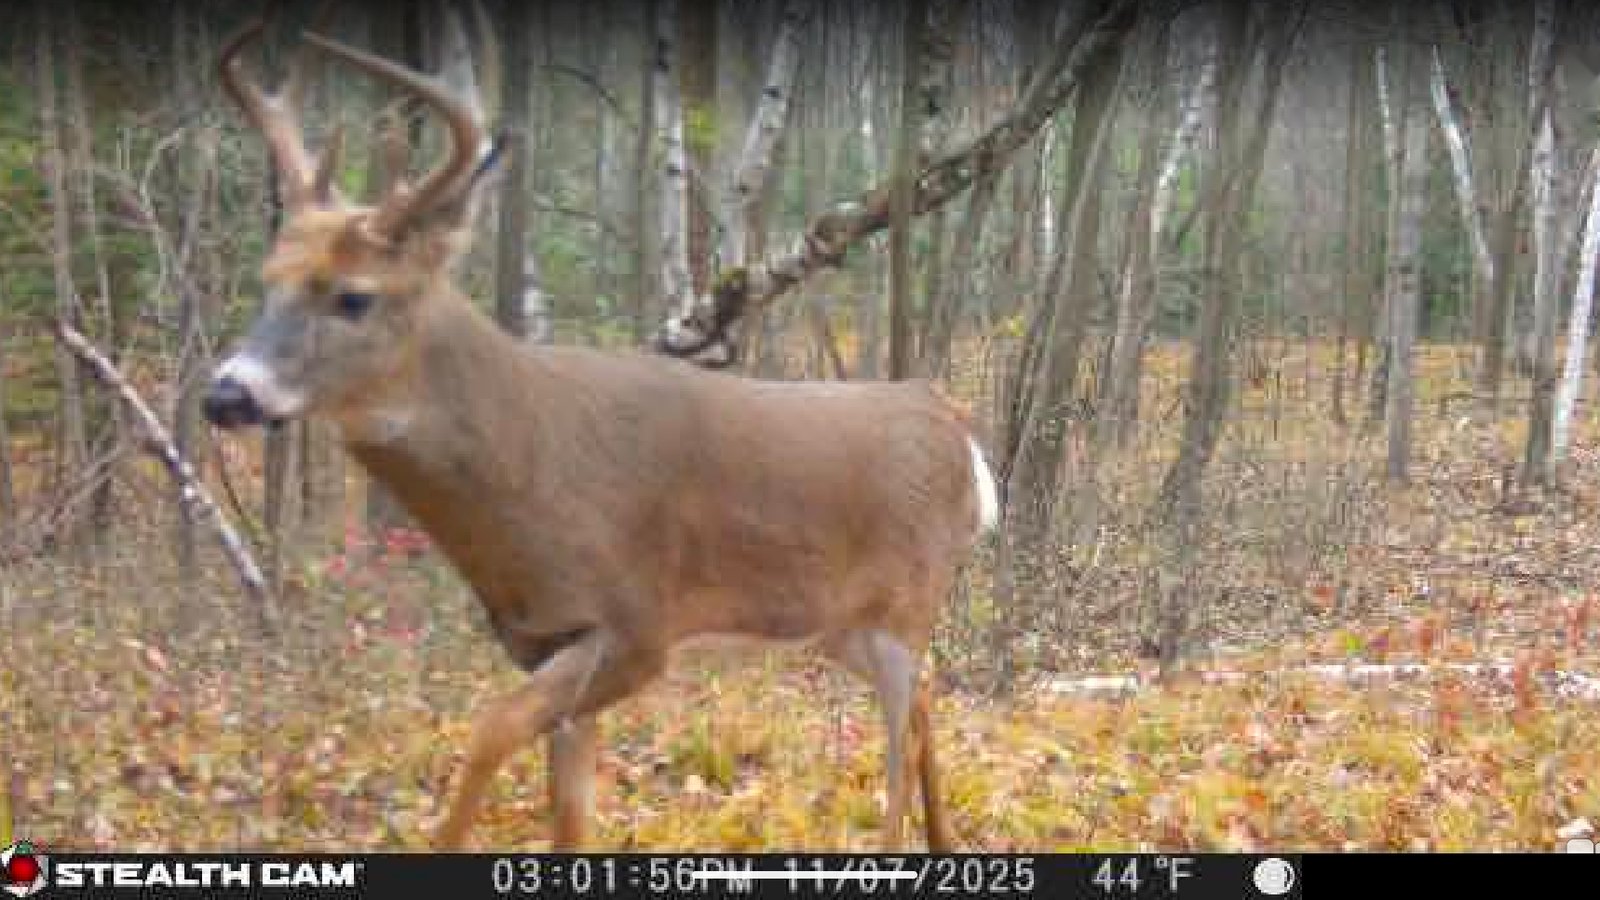
Start at the kitchen table
Good scouting begins before you put boots on the ground. Pull up aerial imagery and a topographic map of the property, or of the public land you plan to hunt, and mark what stands out.
- Food: crop fields, food plots, oak ridges, fruit trees, and brushy edges where browse is thick.
- Cover: thick regrowth, cedar or pine stands, cattail and tamarack swamps, and overgrown fence lines where animals can bed unseen.
- Terrain features: ridge saddles, creek crossings, benches on hillsides, field corners, and narrow strips of timber that connect larger blocks. Southwest Wisconsin’s hills and coulees funnel movement more than flat country does.
- Access: parking spots, roads, trails, and neighboring property lines.
Mark two or three spots per map that deserve a look. Walking a whole property “to see what is there” mostly produces noise.
What to look for on the ground
Trails and travel routes
Look for narrow, packed paths with worn dirt or flattened grass, especially where two terrain features meet. A trail with fresh tracks after a rain tells you more than one that looks old and grown over.
Tracks and droppings
Tracks show size, direction, and a rough age. Droppings that are dark, moist, and shiny are fresh. Dry, pale, or crumbling droppings are old. Freshness matters more than quantity.
Rubs and scrapes
Rubs are stripped bark on small trees and saplings. They show travel direction and general activity but do not prove a particular animal is nearby right now. Scrapes are pawed ground under an overhanging branch. Treat both as clues to be confirmed with fresh tracks or trail camera data, not as guarantees.
Food sources
Check what is actually being eaten. Acorn drop varies by year and by tree. Look for chewed browse, cracked nuts, and trampled crop edges. Food use changes through the season, so a spot that was hot in September can be empty in November.
Bedding areas
Oval flattened spots in thick cover, often with a view downwind or a steep slope behind, are bedding sign. Look but do not linger. Bumping animals out of their beds is the fastest way to ruin a spot.
Scout with low pressure
- Scout in the middle of the day when animals are least likely to be moving.
- Walk the edges of cover, not through its middle. Use binoculars from a distance first. See optics that earn a spot.
- Keep the wind in your face or crosswind when approaching likely bedding.
- Walk slowly and stop often. Most sign is found by looking, not walking.
- Wear rubber boots or boots you keep clean of strong scents.
- If you bump animals from bed, back out, note the location, and rewrite your plan.
- Limit trips. Once you know the layout, stay out until the season.
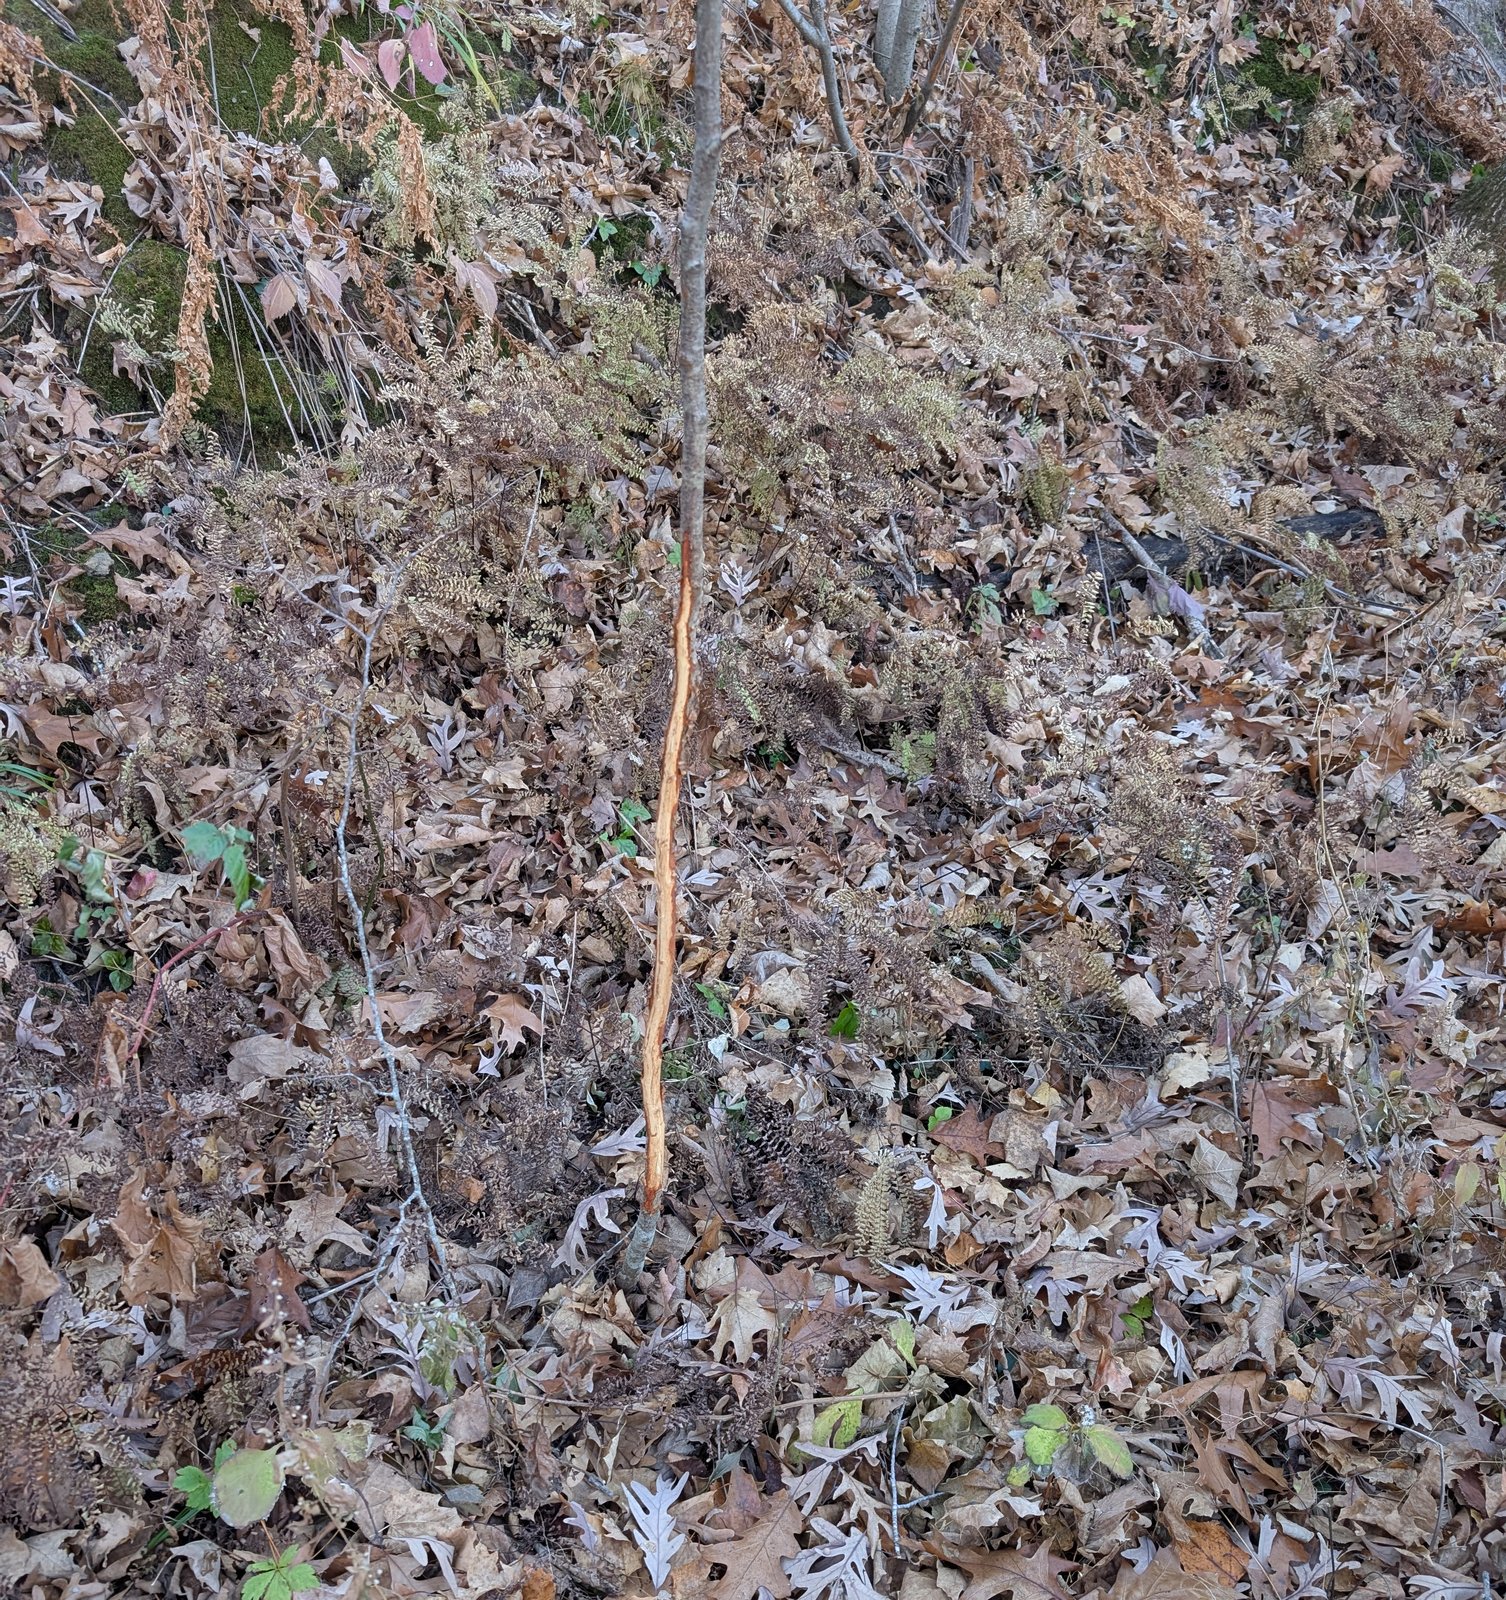
Use trail cameras as a scouting tool
Cameras scout for you without adding pressure. Place them on trails, field edges, or mineral sites where legal, and check them sparingly. Setup, settings, and ethics are in trail cam basics.
Species notes
- Deer: focus on food-to-bedding routes and on where animals travel in the last hour of light and the first hour after sunrise.
- Squirrel: find hickory, oak, and walnut with fresh cuttings on the ground, and den or leaf nests overhead. Sit quietly at first light.
- Waterfowl: scout water, not ground sign. Watch where birds loaf, feed, and fly in the morning and evening. Water levels and ice change from week to week, so recheck close to your hunt.
Keep simple notes
After each trip, write down the date, weather, wind direction, what you saw, and a one-line plan. Notes turn scattered observations into a pattern you can use. A basic notes app or a paper notebook works.
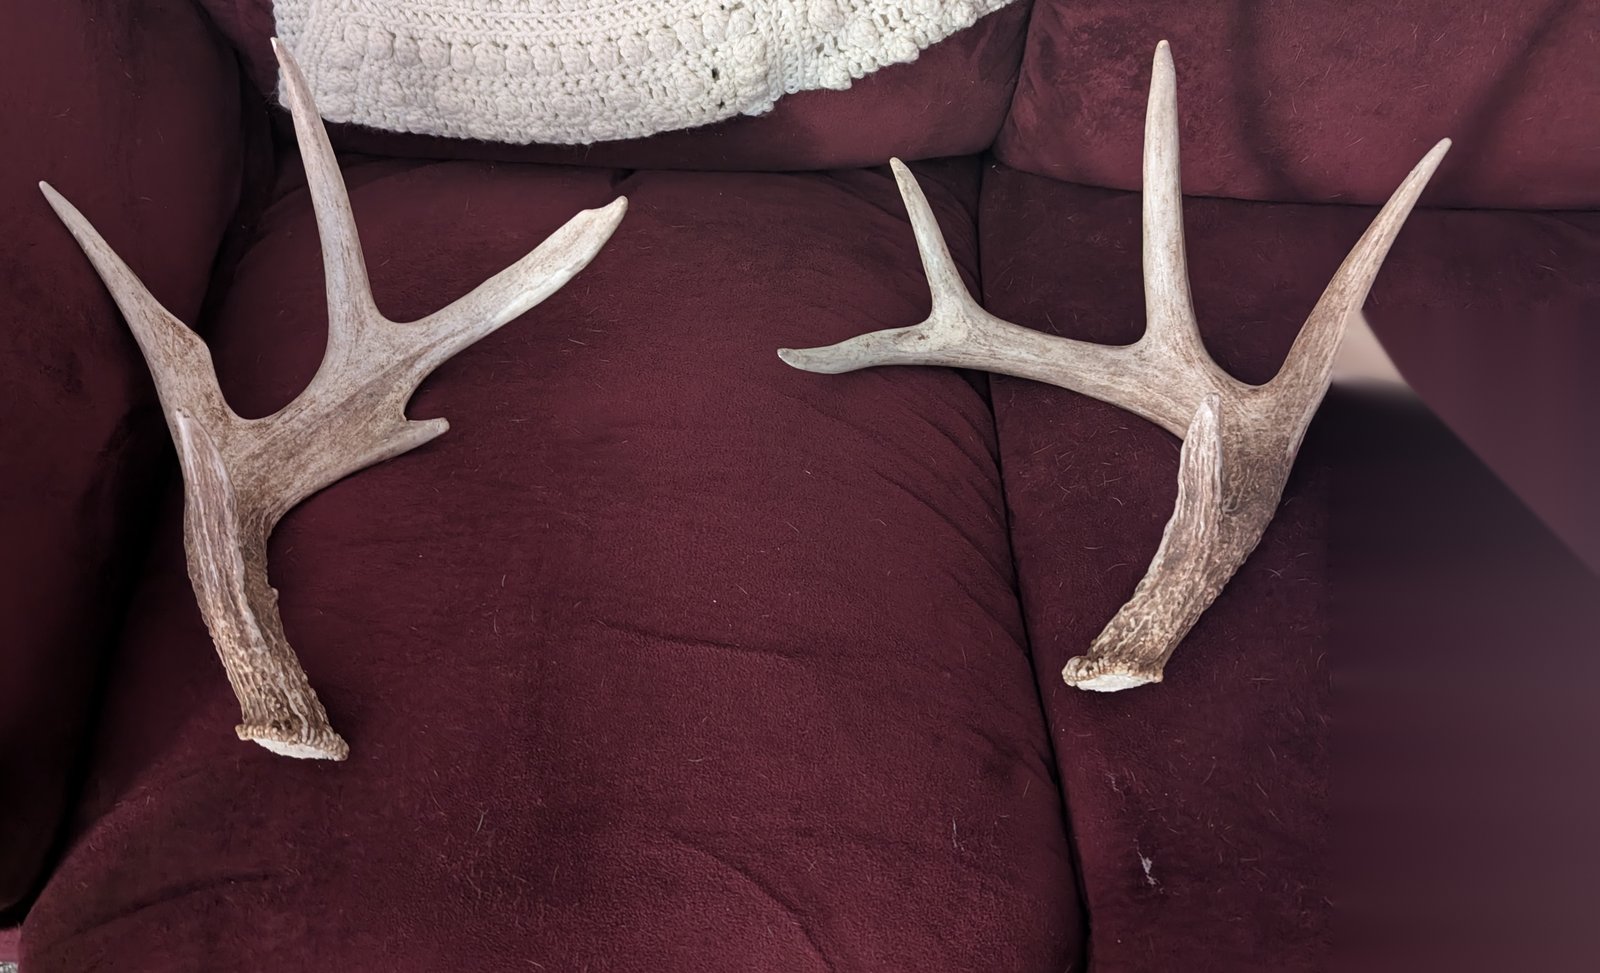
Common mistakes
- Over-scouting the best spot and teaching animals to avoid it
- Reading old sign as current activity
- Walking through bedding cover in the middle of the day
- Ignoring neighboring land, where animals may spend much of their time
- Skipping notes and trusting memory
Rules and permission
Always get permission before scouting private land, and know the boundaries on public land. Rules on trail cameras, baiting, stands, and access differ by property type and by county. Check current regulations at dnr.wisconsin.gov before you set anything up.
FAQ
How often should I scout?
Do most of it in the off-season and early pre-season. During the season, scout only when new information is worth the pressure it adds.
Is scouting from the truck useful?
Yes. Glassing fields from the road at dusk can show feeding patterns at no cost to your hunting spots.
What do I do on public land?
Use online maps to identify access points and walk-in areas that are far from parking lots. Pressure is often lighter a few hundred yards farther in.
Rudy hunts and fishes in southwest Wisconsin and has for 35+ years.
Leave a Reply