Rudy's Hunting

Hunting how-tos, gear, and field notes

Category: Hunting How-Tos

How-to hunting guides

  • How to use a deer decoy for Wisconsin hunting

    How to use a deer decoy for Wisconsin hunting

    A deer decoy is a visual fake that can pull a buck into bow range when calls alone leave him hanging at 60 yards. Set wrong, it can also spook every doe on the ridge and educate a mature buck for the rest of the season.
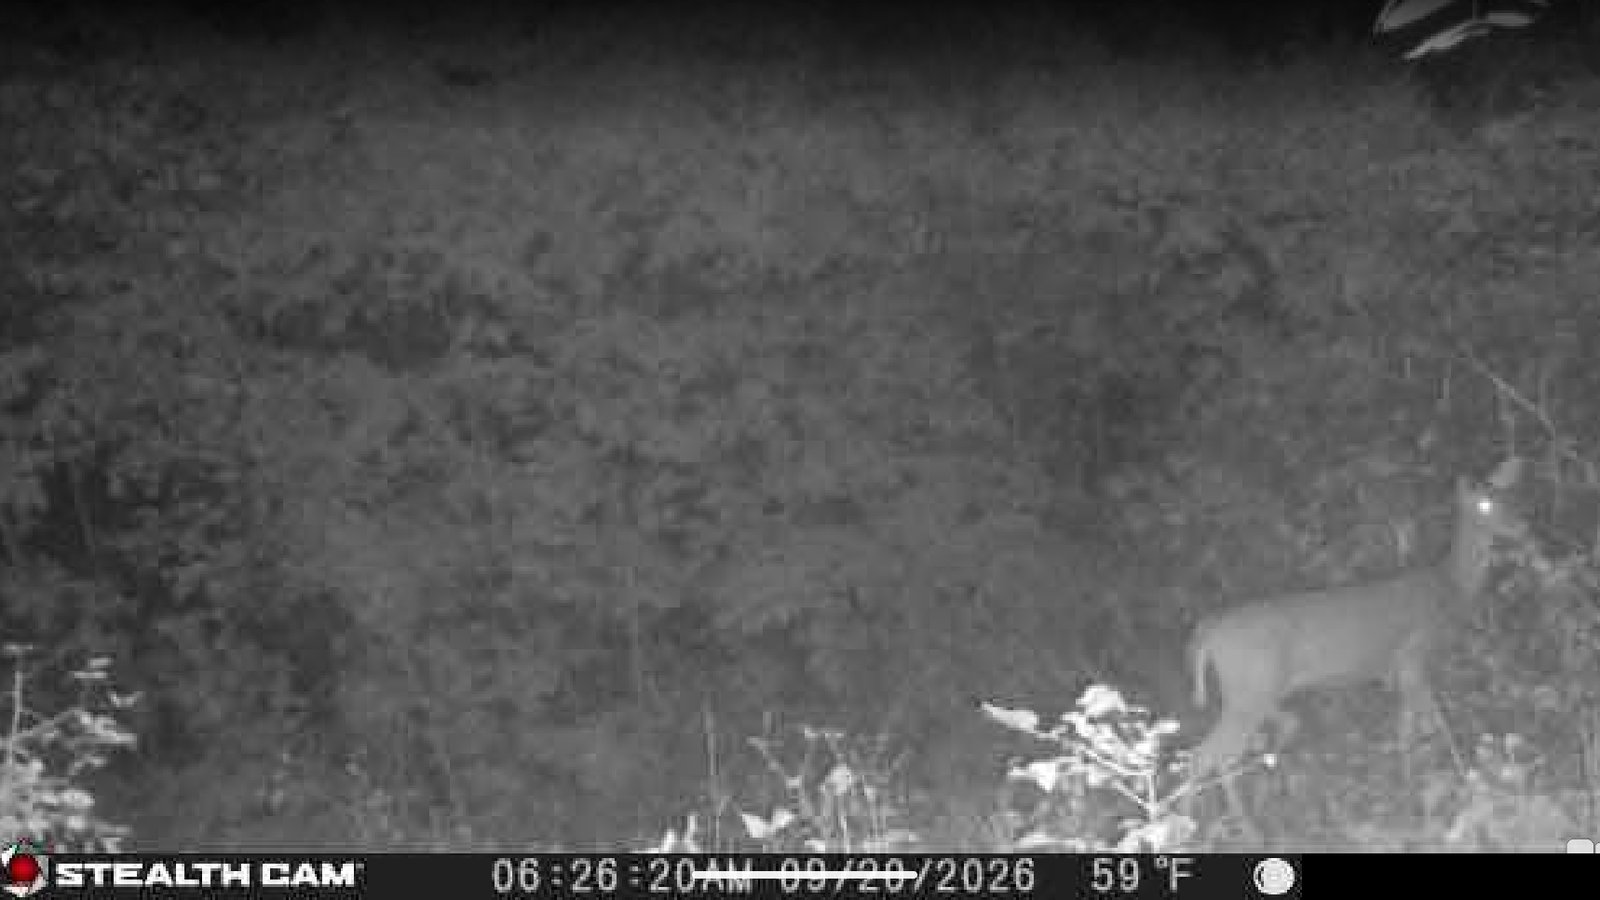
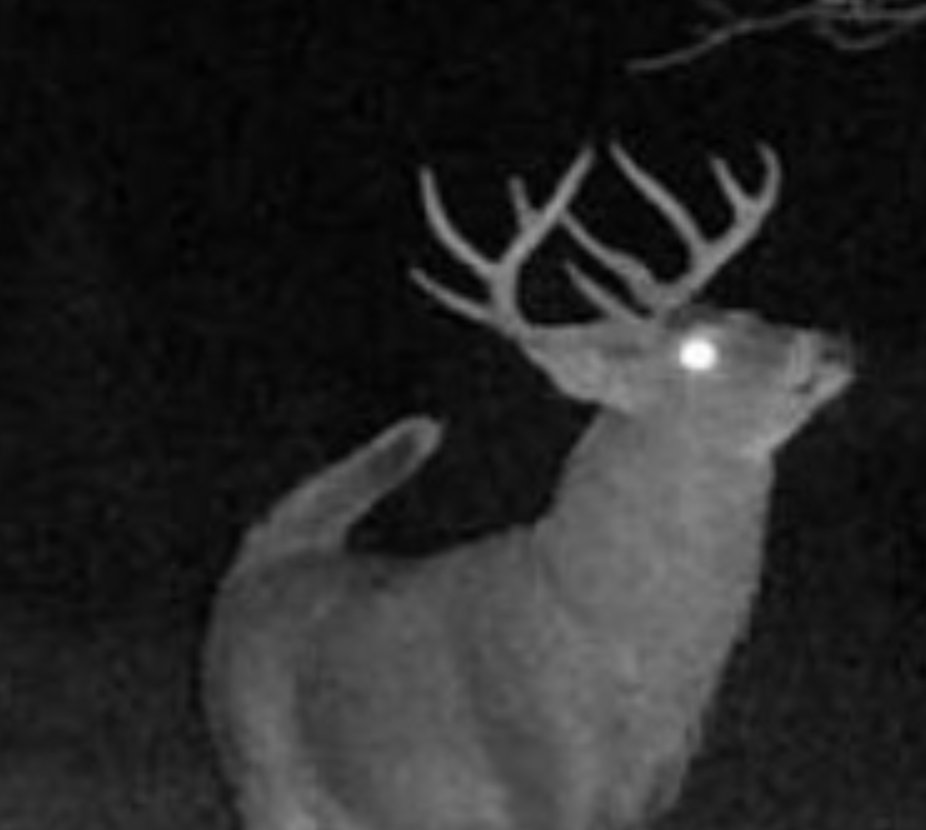
    Deer at the edge of a clearing at night, trail camera photo

    This guide covers benefits and downsides, how decoy quality actually matters, placement and facing direction, timing for Wisconsin’s pre-rut and rut, pairing with calls and scent, safety (including verified Wisconsin DNR rules), and what to do when deer hang up or blow out.

    Benefits of hunting with a deer decoy

    • Closes the last stretch. A buck that hears a grunt often stops just out of range. A visible “deer” gives him a reason to walk in.
    • Locks his attention. When he’s locked on the decoy, you can draw a bow or settle a gun with less chance he picks you up.
    • Creates better shot angles. With the right facing direction, an approaching buck often ends up broadside or quartering away between you and the decoy.
    • Works for bow and gun. Bowhunters use them most; gun hunters on field edges can too — with extra safety discipline.
    • Fits Wisconsin open country. Food-plot corners, ag edges, and oak flats where deer can see a decoy from far off are common setups.

    Downsides (be honest before you drag one in)

    • Spooks wary does. A lone buck decoy can terrify local does. Once they stomp and blow, the group — and any buck with them — is gone.
    • Educates bucks. A decoy that smells like you or glistens with frost teaches mature deer that fakes equal danger.
    • Pack weight and noise. Full-body decoys are bulky, and plastic parts clank on long public-land walks.
    • Public-land risk. Other hunters may see your decoy as a real deer. Never assume someone else knows it’s fake.
    • Time cost. Setup eats daylight; wrong wind or deer already in the field, and you blow the sit.
    • Not magic. No decoy fixes bad wind, zero scouting, or a stand with no travel reason.

    Decoy quality: what actually matters

    Cheap foam and premium flocked decoys both kill deer. Quality shows up in realism, posture, weight, noise, and scent control.

    Realism (silhouette, flocking, paint)

    Deer judge shape and motion first. A clean silhouette beats a shiny painted toy at 40 yards. Flocked finishes cut glare; avoid glossy plastic that flashes sun.

    Posture: buck vs. doe

    • Buck decoy: Use an alert or slightly aggressive posture — ears back or neutral, not bedded. A medium or “one-antler” look often draws young bucks and challenges bigger ones without looking like a giant that only intimidates.
    • Doe decoy: Standing or feeding postures work. During peak rut, a lone doe can pull cruising bucks hard.
    • Pair: Buck + doe can look like a breeding pair, but two decoys double the pack-in and setup noise.

    Materials, weight, and portability

    Foam and hollow plastic are lighter for backpack hunts; hard shells last longer but punish long hikes. Collapsible or two-piece decoys win on Wisconsin public land. Private field-edge truck hunts can handle a heavier full-body.

    Noise

    Squeaky stakes and clinking hardware will bump deer before you climb. Pad contact points and practice assembly at home.

    Cheap vs. premium

    A budget decoy kept scent-free and placed well beats a premium one that smells like gas. Premium usually buys better flocking, replaceable parts, and sturdier stakes — buy what you’ll actually carry.

    Replaceable and moving parts (ears, tail, head)

    Motion sells the fake. Soft ears and a removable white tail that twitch in the breeze help. Confirm any electronic/moving feature is legal where you hunt. Replaceable ears and tails matter after a buck wrecks your decoy.

    Scent-free handling

    Wear rubber or disposable gloves every time. Store the decoy in its own tote, spray with an odor eliminator after handling, and never set it next to fuel. If you add scent, put a small wick on the ground between the back legs — don’t soak the body.
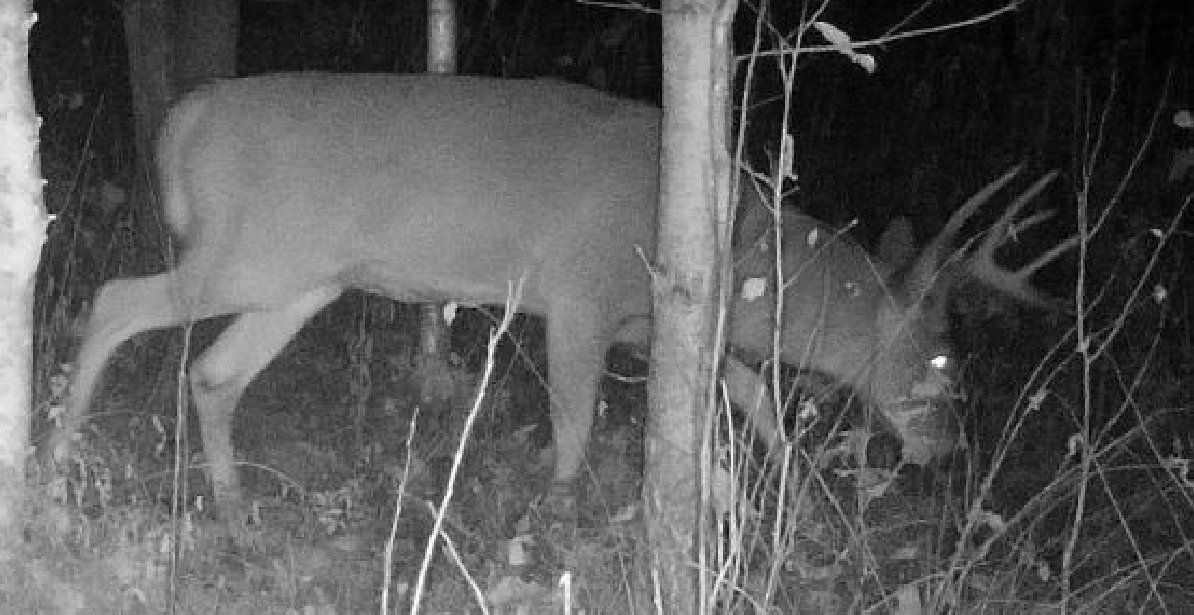
    Buck feeding at night beside a tree, infrared trail camera

    Placement: distance, angle, and facing direction

    Distance for bow shots

    Stake the decoy about 15–25 yards from your stand or blind — close enough that a buck that hangs up just past it is still in bow range, with room to pass between you and the decoy. Gun hunters can stretch that on open fields.

    Facing direction (critical)

    • Buck decoy: Face it toward you or quartering toward you. Aggressive bucks often approach head-on, putting their side or quartering-away angle toward your stand while their eyes stay on the fake.
    • Doe decoy: Face it away from you or quartering away. Bucks commonly circle behind a doe to scent-check, often presenting a quartering-away shot.

    Wind and visibility

    Put the decoy where deer can see it from a distance — field corners, plot points, logging-road intersections, oak openings. Expect bucks to circle downwind. Place yourself so that circle still gives a shot without putting him in your wind. Use terrain as a wind blocker when you can, and keep the decoy’s eyes from lining up into your stand.

    Timing: pre-rut and rut in Wisconsin

    • Pre-rut (roughly mid-October into early November): Buck decoys shine. Bucks are rubbing, scraping, and checking dominance. A medium buck decoy on a travel edge can pull a daylight cruiser.
    • Peak rut (often early to mid-November in much of Wisconsin): Doe decoys or buck-and-doe pairs work well. Cruising bucks are looking for receptive does. Watch local sign more than the calendar alone.
    • Post-rut / late seasons: Decoying can still work near leftover scrapes or doe feeding areas, but pressure is high. Keep setups simple.

    Mornings often catch bucks returning from a night of searching. Evenings on field corners can pull does first — which helps or hurts depending on whether they buy the fake.

    Pairing with calls, rattling, and scent

    A silent decoy works when a buck already sees it; calls help when he doesn’t.

    • Grunts: Soft contact or tending grunts to turn his head toward the decoy. Stop calling once he’s committed visually.
    • Rattling: Short sequences in the pre-rut and early rut to pull distant bucks into visual range. Don’t overdo it on pressured public land.
    • Scent: Odor-only scents can add realism near a doe decoy (estrus) or buck decoy (tarsal/buck-style lure). In Wisconsin, follow DNR scent rules — see below. Less is more.

    Safety and Wisconsin rules (verified)

    Regulations change. Confirm current rules before you hunt.

    Are deer decoys legal in Wisconsin?

    Yes, as a hunting aid that is not bait. Wisconsin Administrative Code NR 10.001(7e) defines a decoy as “the replica of an animal used to attract wild animals for the purpose of hunting, but does not include any food materials that can be consumed by any wild animal,” and states that for the purposes of that chapter, a decoy is not considered bait. Notes under NR 10.07 also say baiting rules do not prohibit decoys except where other sections already ban certain decoy uses (other species, not a general deer-decoy ban).

    Official sources: NR 10.001 — Definitions (decoy) · NR 10.07 — notes on decoys and baiting

    Do not put food or consumable bait materials on or in the decoy. That can turn a legal decoy into a baiting issue.

    Blaze orange / pink during firearm deer season

    Whenever a firearm deer season is in progress, Wisconsin requires hunters to wear at least 50% blaze orange or fluorescent pink on clothing above the waist, and any head covering must also be at least 50% blaze orange or pink — including archery hunters while a gun deer season is open.

    Official source: Wisconsin DNR — Deer hunting (safety / blaze orange)

    Practical decoy safety (not a substitute for the clothing rule): When carrying a decoy during gun season — especially on public land — wear required blaze orange/pink, and consider draping a blaze vest over the decoy while packing so others don’t mistake the silhouette for a live deer. Uncase and stake only when you’re sure of your backstop.

    Public land and other hunters

    Tell partners where the decoy sits. Avoid staking it on a ridge other hunters drive. Pack it out; don’t leave a full-body fake overnight where another hunter could find it by surprise.

    Scent rules if you add lure

    Wisconsin allows odor-only scents statewide with quantity and placement limits (not accessible for consumption; over two ounces must be removed daily). See the DNR scent section and our tarsal gland guide.

    Official source: Wisconsin DNR — Deer Hunting Regulations (scents)

    Best practices checklist

    1. Scout first — decoy on a real travel or field-entry spot.
    2. Play the wind; expect a downwind circle.
    3. Face buck toward you, doe away.
    4. Stake 15–25 yards for bow range.
    5. Gloves on; keep the decoy scent-free.
    6. Add light calling only until he sees it.
    7. Wear required blaze orange/pink in firearm seasons; stay visible while carrying.
    8. Pull the decoy when you leave the sit.

    When deer hang up or get spooked

    Hung up just out of range

    Don’t panic-call. Soft grunt once, then shut up. If he’s locked on the decoy, wait — many bucks take minutes to close. If he’s wind-checking and stuck, let him walk and try a different wind next sit.

    Does stamp and blow

    Freeze. If the group clears, stay put — a trailing buck may still come. If they educate the ridge, pull the decoy for a few sits or switch tactics on that spot.

    Buck attacks the decoy

    It happens. Be ready before contact. If he knocks it over and bolts, don’t chase. Repair later and carry a spare stake.

    Frost, shine, or overnight leave-outs

    A frosty decoy looks wrong at first light. Don’t leave decoys glazed in the open overnight if you can help it — stash covered in brush, or pack them out.

    Bottom line

    A deer decoy is a visual closer for Wisconsin bow and gun hunters who already have wind, access, and a travel reason. Buy quality you can carry and keep scent-free, face a buck decoy toward you and a doe decoy away, stake it in bow range on a visible edge, and pair it with light calling in the pre-rut and rut. Follow Wisconsin’s verified rules: decoys aren’t bait when used as replicas without food, and blaze orange/pink clothing rules apply whenever a firearm deer season is open. Re-check DNR regs each season.

    Sources checked: NR 10.001 (decoy definition) · NR 10.07 (decoy / baiting note) · WI DNR Deer hunting — blaze orange · WI DNR Deer regs — scents
  • How to use buck tarsal glands for deer hunting

    How to use buck tarsal glands for deer hunting

    If you have field-dressed a rutting buck and caught that sharp musk off the inside of the hocks, you already know the tarsal gland — one of the strongest social signals a whitetail leaves, and easy to misuse.

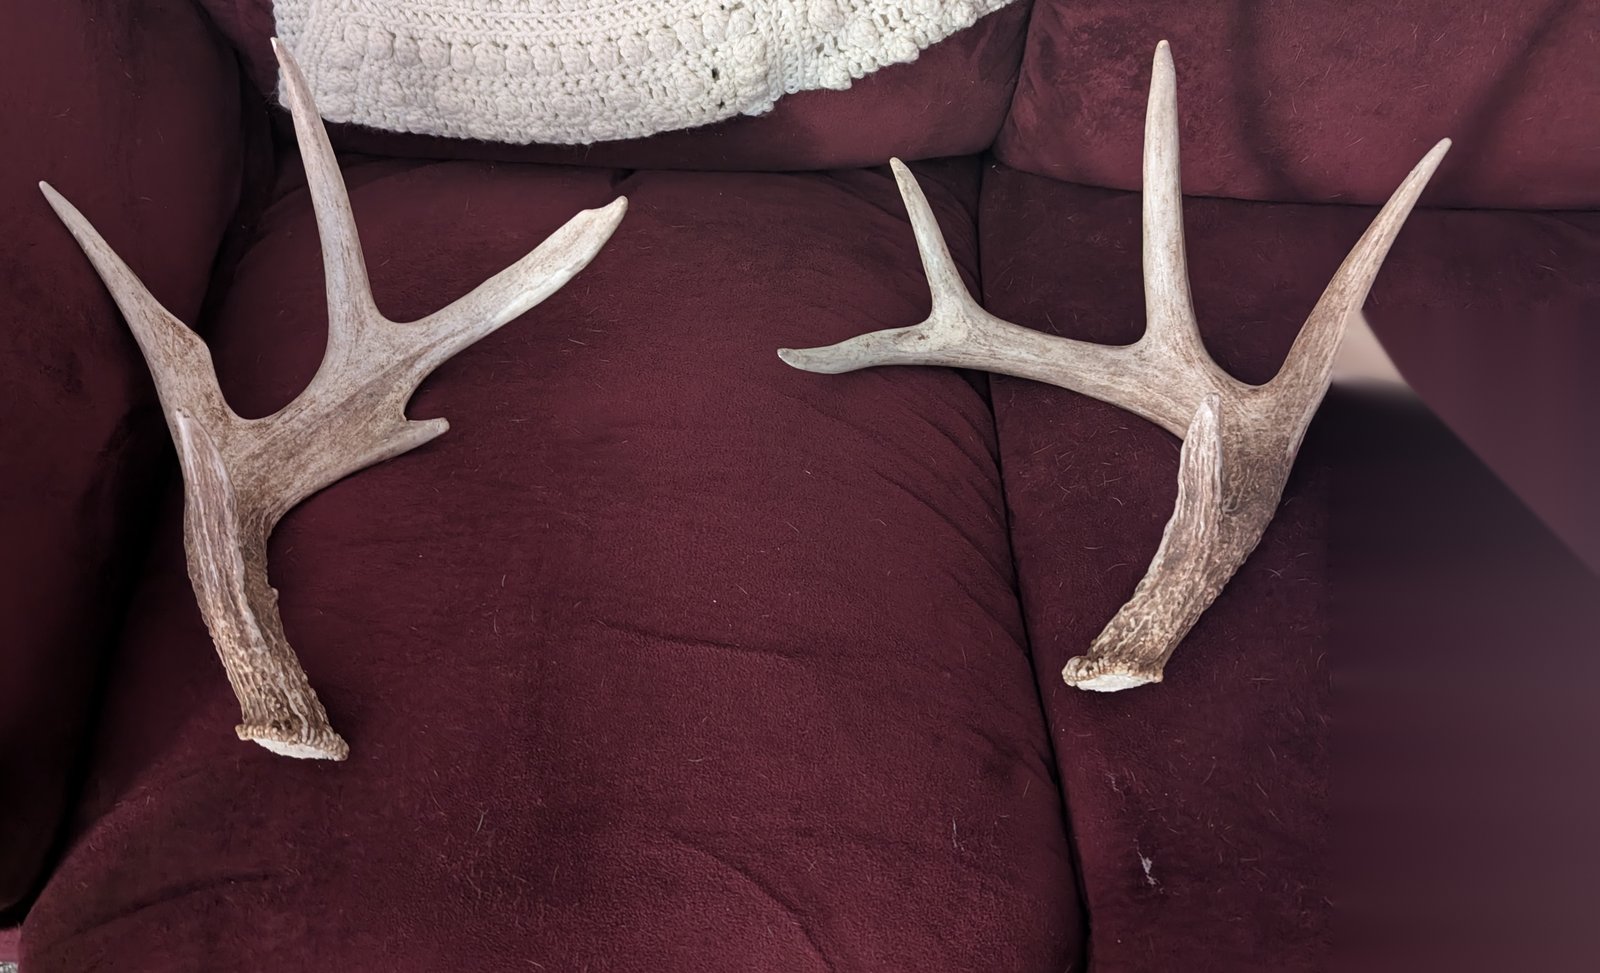
    Matched pair of shed whitetail antlers

    This guide covers what the glands do, when the scent helps, how to harvest and store them, how commercial lures compare, Wisconsin-friendly setups, and current Wisconsin DNR scent and carcass rules.

    What tarsal glands are and why they matter

    Tarsal glands sit on the inside of a deer’s hind legs, just above the dewclaws on the hocks. The hair holds glandular oils and urine. In the breeding season, bucks (and sometimes does) rub-urinate — rubbing the hocks together while urinating so urine soaks the tarsal tufts.

    That mix is the dark, strong “rut smell” on mature bucks. Hair darkens as oils and urine build through fall. Dominant bucks advertise status and breeding readiness; other deer read those cues at scrapes, on trails, and when a buck walks cover.

    For hunters: tarsal scent is a social and breeding signal, not food bait. Used well, it can pull or hold a competitive buck. Used poorly — wrong wind, wrong season, too much scent, or illegal scent — it educates deer and ruins a setup.

    When to use tarsal scent in the Upper Midwest

    Timing matters as much as the scent itself. In Wisconsin and neighboring Upper Midwest states, think in three phases:

    Pre-rut (roughly mid-October into early November)

    Bucks rub, scrape, and check does more, but chasing is not constant. A light drag or mock scrape on a patterned route can spark curiosity — keep it subtle, not a scent bomb.

    Peak rut (often early to mid-November in much of Wisconsin)

    This is when tarsal earns its keep. Pair it with a mock scrape, soft grunt, or light rattling for cruising bucks. Crosswind/upwind placement matters more as bucks move daylight.

    Post-rut (late November into early muzzleloader and late seasons)

    A few bucks still cruise for remaining does, but pressure is high. Tarsal can still work near leftover scrapes or doe edges — keep it light. Watch local sign (fresh rubs, active scrapes, daylight bucks) more than the calendar alone.

    Harvesting tarsal glands from a buck

    If you legally harvest a buck and want natural tarsal scent for later sits, treat the glands like any other scent you care about: gloves on, keep them clean, and store them cold.

    1. Wear disposable gloves. You do not want the musk on your hands, stand clothes, or truck cab.
    2. Work the hocks, not the whole carcass first. After the deer is tagged and registered per your state rules, locate the dark tufts on the inside of each hind leg.
    3. Cut the skin patch, not just the hair. Use a sharp knife to take a small square of hide with the tarsal tuft attached. Avoid slicing into the joint mess or dragging the gland through gut pile, blood, or dirt.
    4. Avoid contamination. Do not set the glands on the ground, in the bed of a dirty truck, or next to your lunch cooler. Keep them away from gas, grease, and food odors.
    5. Bag and freeze. Double zip-bag each gland (or both together if you will use them as a pair). Squeeze out air, label the date, and freeze. Frozen glands keep usable scent for a season or more for most hunters; if they smell “off” in a rotten way rather than musky when thawed, discard them.
    6. Thaw only what you need. Pull one gland for a weekend; leave the rest frozen.

    Fresh glands can hang for a hunt or two right after the kill if legal and kept off your clothes. For multi-week use, freeze them.

    CWD note: Minimize contact with brain, spinal cord, and lymph nodes. Use dedicated knives when you can and clean up afterward (see DNR carcass link below).

    Buck with eyeshine at night, infrared trail camera photo

    Commercial tarsal lures versus natural glands

    Natural glands from your own buck smell authentic and cost nothing after the harvest, but they transfer easily to clothes and raise handling and disease-risk questions.

    Commercial tarsal/rut lures are convenient; quality varies, and some are urine-based from captive deer.

    Fully synthetic / non-urine scents are often the cleaner choice when you want to avoid captive-urine CWD concerns and travel light.

    A practical Wisconsin approach: learn scrapes and wind with legal odor-only scents, prefer synthetic when you want fewer urine-source questions, and treat natural glands as optional only where rules clearly allow them. Read the label, then read your state regs.

    Setups that actually work

    Drag lines

    Tie a gland or wick to a short cord and drag from a side approach toward the stand, ending downwind or crosswind of the shot lane — not through your sit. Give the buck a trail to cut without walking into your wind.

    Hanging a gland or wick

    Hang the gland or a tarsal-soaked wick upwind or crosswind of the stand, about deer-nose height (roughly 2–4 feet), near a scrape or funnel — not on your shooting rail. Let him work the scent in a clear lane, not under your platform.

    Mock scrapes

    Clear a scrape under an overhanging licking branch, freshen the licking branch, and add a small amount of tarsal scent to the scrape soil or a wick above it. Keep quantities modest. Pair with trails you already believe bucks use.

    Rattling and grunts

    Tarsal scent alone rarely “calls” a buck from hundreds of yards. Combine it with light rattling or a contact or tending grunt when you see or hear a buck cruising. The scent gives him a reason to close the last stretch once he is already looking for company or a fight.

    Wind and hunter scent control

    None of this works if your own scent blankets the setup. Play the wind first. Use rubber boots for mock-scrape work when you can, wear gloves handling glands, and store scent gear in its own bag — not in the same tote as your base layers. If the wind is wrong, do not force a tarsal sit just because you thawed a gland.

    Mistakes to avoid

    • Overdoing it. A little tarsal goes a long way. Flooding a scrape with scent looks unnatural and can bump mature bucks.
    • Hanging scent upwind of your body. The deer follows the smell — into your wind cone.
    • Handling glands bare-handed then climbing the stand. You become the loudest tarsal source in the woods.
    • Using tarsal as a substitute for scouting. Scent will not fix a stand with no travel reason.
    • Ignoring season and pressure. Peak-rut tactics on a high-pressure public tract in late season often fail.
    • Assuming natural urine products are fine everywhere. Rules differ by state and change; verify before you buy or deploy.
    • Moving deer parts carelessly across CWD zones. Glands are deer parts. Follow carcass movement rules.

    Legal and CWD note (Wisconsin)

    Regulations change. Always confirm current rules before you hunt.

    Wisconsin scent rules (current DNR guidance)

    According to the Wisconsin DNR deer hunting regulations, scents used only to attract deer by odor may be used for hunting deer statewide, with these limits:

    • The scent may not be placed or deposited in a way that makes it accessible for consumption by deer.
    • Scents greater than two ounces must be removed daily at the end of shooting hours.
    • Scents of two ounces or less do not need to be removed daily and may be placed, used, or deposited in any manner for hunting deer.

    Liquid scents are treated differently from bait: Wisconsin’s baiting rules say animal parts and byproducts in bait do not include liquid scents, and processed-container bans for bait do not apply to scent materials. Baiting itself is restricted or banned in many counties for CWD reasons — that is separate from odor-only scent use. Check the DNR baiting map if you also bait.

    Official source: Wisconsin DNR — Deer Hunting Regulations (Scents)

    Wisconsin does not, on that page, impose a statewide “synthetic-only” ban on natural deer urine. Other states and many agencies encourage synthetic or non-urine scents because captive-deer urine can carry CWD risk. In Wisconsin, follow the odor-only and quantity rules above, then make your own natural-vs-synthetic risk call. If a label or local rule is unclear, ask the DNR or a warden — do not guess.

    Carcass and deer-part movement

    Tarsal glands are deer parts. Wisconsin has CWD-related carcass movement and disposal rules: whole carcasses from CWD-affected areas face transport limits, with exceptions for certain processed meat, quarters without spine, cleaned skulls/antlers, and timely delivery to licensed processors or permitted taxidermists. The DNR recommends landfill disposal of carcass waste when possible.

    Official source: Wisconsin DNR — Carcass movement, processing and disposal

    If you hunt outside Wisconsin: check your own state’s scent, urine, and carcass rules every season. Do not copy another hunter’s truck setup across a state line without reading the regs.

    FAQ

    Do tarsal glands work on does?

    Does investigate scent too, but most hunters use tarsal to influence bucks in the rut. Doe or estrous products are a different tactic with the same legality checks.

    Can I use tarsal scent on a trail-cam scrape?

    Yes, if legal. Check cameras infrequently — weekly pressure plus fresh scent can push bucks nocturnal.

    How long does a frozen gland last?

    Often through the next season if kept solidly frozen and double-bagged. Musky/sharp is normal; spoiled-meat rotten means toss it.

    Is a mock scrape baiting?

    In Wisconsin, odor-only scents under the rules above are not bait piles. Do not add feed or animal-based bait where baiting is restricted. Read the DNR baiting and scent pages together when unsure.

    Worried about CWD with natural glands?

    Synthetic odor lures avoid captive-urine questions. Either way, follow Wisconsin scent and carcass rules and do not scatter deer parts into new areas.

    Bottom line

    Tarsal scent is a rut tool, not magic. Pattern deer first, play the wind, keep the dose small, and put scent where a buck can work it without smelling you. In Wisconsin, odor-only scents are legal statewide under DNR quantity and placement rules — re-check those rules each season and verify the state you actually hunt.

    Sources checked: WI DNR Deer regs — Scents · Carcass movement · Baiting and feeding

  • Field care after the shot

    Field care after the shot

    What you do in the first hour after the shot has more effect on the meat than any recipe. Bacteria grow quickly in warm meat, and a carcass that cools slowly can spoil. This guide walks through the steps for a deer, from the shot to getting the animal cooled. The same principles apply to other game. It pairs with your knives and field processing kit and the recipes later in the kitchen, such as the venison backstrap.

    Whitetail buck antlers on the forest floor

    Immediately after the shot

    1. Stay put. Stay in your stand or position for a few minutes. Watch and listen. Note where the animal was standing, which way it ran, and where it was last seen.
    2. Mark the spot. Use a phone pin or landmark. Look for the first sign: blood, hair, or an arrow.
    3. Make a plan. Think about how the animal reacted and how long to wait, which depends on shot placement and conditions. When in doubt, wait longer, especially if the shot was off. Pushing a wounded animal too soon can cause it to run farther.
    4. Safety first. Unload your firearm before climbing down. Be aware of your surroundings and any other hunters.

    If it gets dark, rain threatens to wash away sign, or you are unsure about the shot, consider asking for help from experienced friends or a tracker. In Wisconsin, check the DNR for rules on tracking dogs and on retrieving game on land you do not have permission to enter.

    Tracking

    • Start at the last point where you saw the animal, and mark each blood spot with flagging tape.
    • Follow the trail slowly and quietly, and look ahead as well as down.
    • Do not walk over the trail. Walk beside it.
    • If you lose the trail, go back to the last sign and search in widening circles.
    • Be ready for the animal to be alive. Approach from behind and give it time.

    Field dressing

    Work as soon as the animal has expired and you have confirmed it, and tag the animal as required by your license.

    What you need

    Sharp knife, gloves, rope, game bags, water, and paper towels. See day-hunt pack essentials.

    Basic steps

    1. Wear gloves. Position the deer on its back or side on a slope with the head uphill, if possible.
    2. Make a shallow cut from the sternum to the pelvis, keeping the blade up and not cutting into the intestines or stomach.
    3. Free the diaphragm and cut it away from the rib cage.
    4. Reach up and cut the windpipe and esophagus, then pull the organs down and out.
    5. Free the lower organs, being careful to keep the bladder and intestines intact. If you puncture them, rinse with clean water as soon as possible.
    6. Drain the body cavity and wipe it clean with paper towels. Avoid using water unless it is needed, because moisture can encourage bacterial growth.

    If this is your first time, watch a hunter education video or ask an experienced hunter to demonstrate. Different sources describe slightly different techniques, so learn one method well.

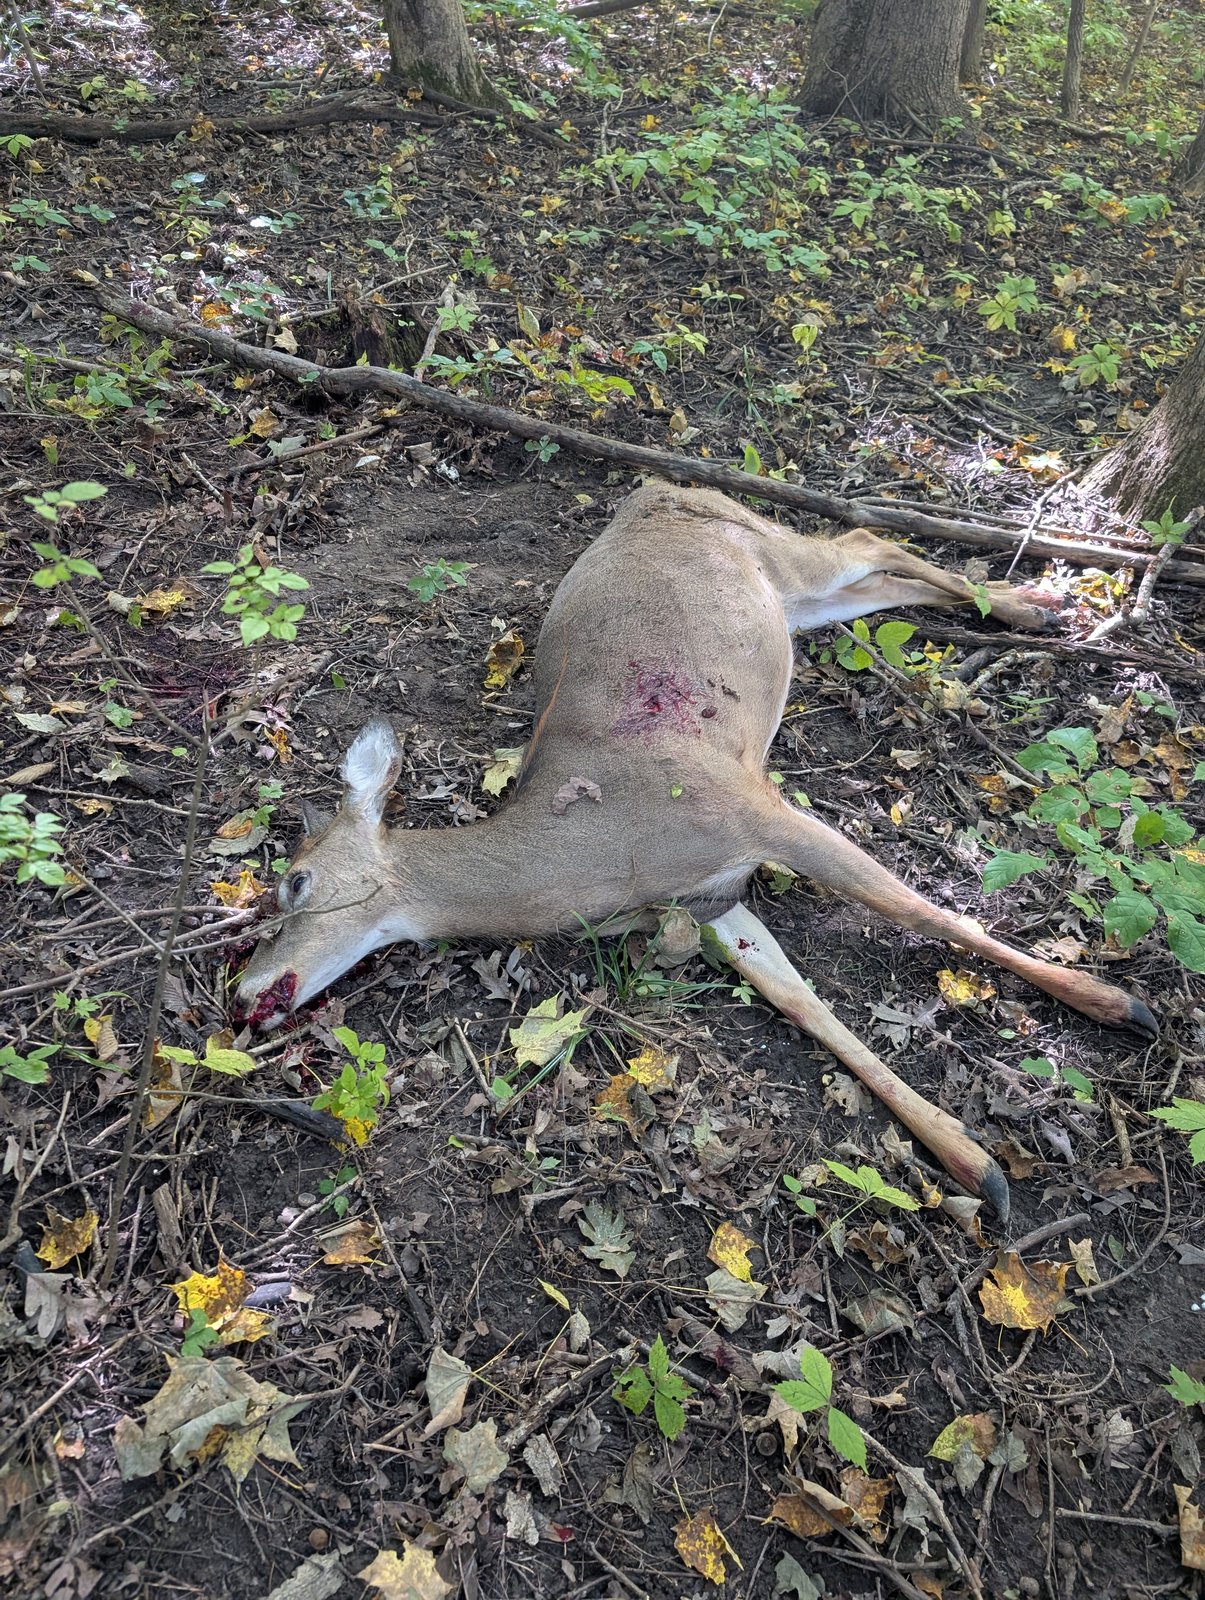
    Harvested doe on the forest floor

    Cool the meat quickly

    Meat should be cooled as soon as possible. Aim for meat temperatures below 40°F as quickly as you can, and do not let the carcass sit in the sun.

    • Cold weather: hang the deer in a shaded place. Remove the hide as soon as practical, since hide acts as insulation.
    • Warm weather: skin and quarter quickly, then place the meat in game bags in coolers with ice. Keep meat out of water; use drain plugs and raise the meat on racks, so it doesn’t sit in meltwater.
    • Travel: do not leave a deer in a truck bed on a warm day. Keep it shaded and ventilated.
    • Aging: if you age meat, it needs steady cold temperatures. If conditions are not right, process promptly.

    Check the animal

    Look for signs the animal may be unhealthy: unusual lumps, strange or foul smell, discolored organs, thin condition, or abnormal behavior before the shot. If something seems wrong, contact the DNR before you consume the meat.

    Chronic wasting disease (CWD) is present in parts of Wisconsin. The DNR provides testing and guidance on carcass transport and disposal, and the rules vary by area. Read the DNR’s CWD and carcass disposal pages before you hunt, not after.

    Lead fragments

    If you use lead-based bullets, small fragments can travel through the meat. Trim generously around the wound channel and discard damaged meat.

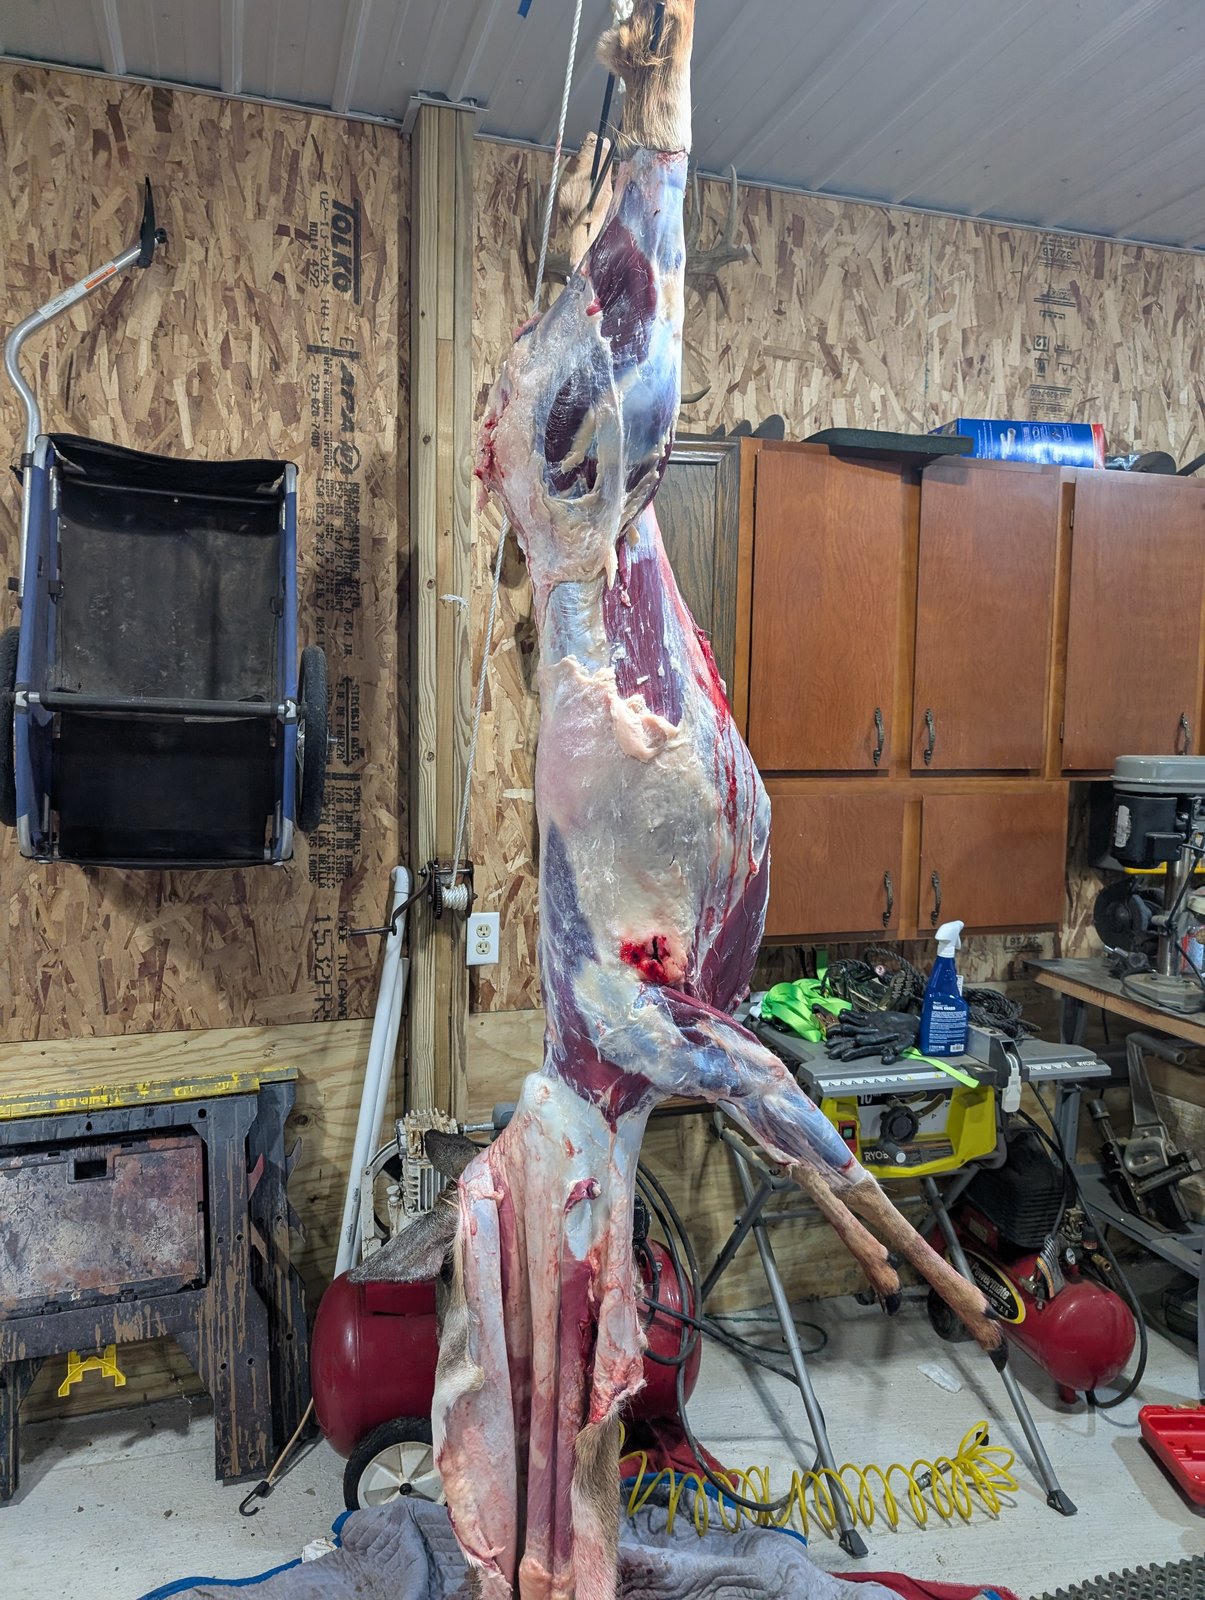
    Whitetail deer hung and skinned for processing

    Tagging and registering

    Wisconsin requires harvested deer to be tagged and registered. The registration method has changed over time, so confirm the current process at dnr.wisconsin.gov and make a note of the time limit.

    Common mistakes

    • Pushing a poor shot too soon
    • Puncturing the stomach or intestines and not cleaning up
    • Leaving the hide on in warm weather
    • Letting meat sit in meltwater
    • Skipping the tag or registration

    FAQ

    How long can a deer hang before it needs to be cooled?

    There is no single safe time. In warm weather, hours matter. Cool as soon as possible and keep the meat cold.

    Should I wash the cavity?

    Wipe with clean paper towels or cloths first. Rinse with clean, potable water only if needed, then dry.

    What if I am not sure the meat is safe?

    When in doubt, throw it out and call the DNR if you are concerned about disease.

    Rudy hunts and fishes in southwest Wisconsin and has for 35+ years.

  • Wind and weather decisions

    Wind and weather decisions

    Weather is the one factor you can check before every trip. Wind in particular decides whether an animal smells you before it ever steps into view. This guide is about reading wind and weather to decide which stand, which approach, and whether to go at all. For picking stand locations, see stand and blind placement. For deciding how to adapt through the season, see in-season hunting decisions.

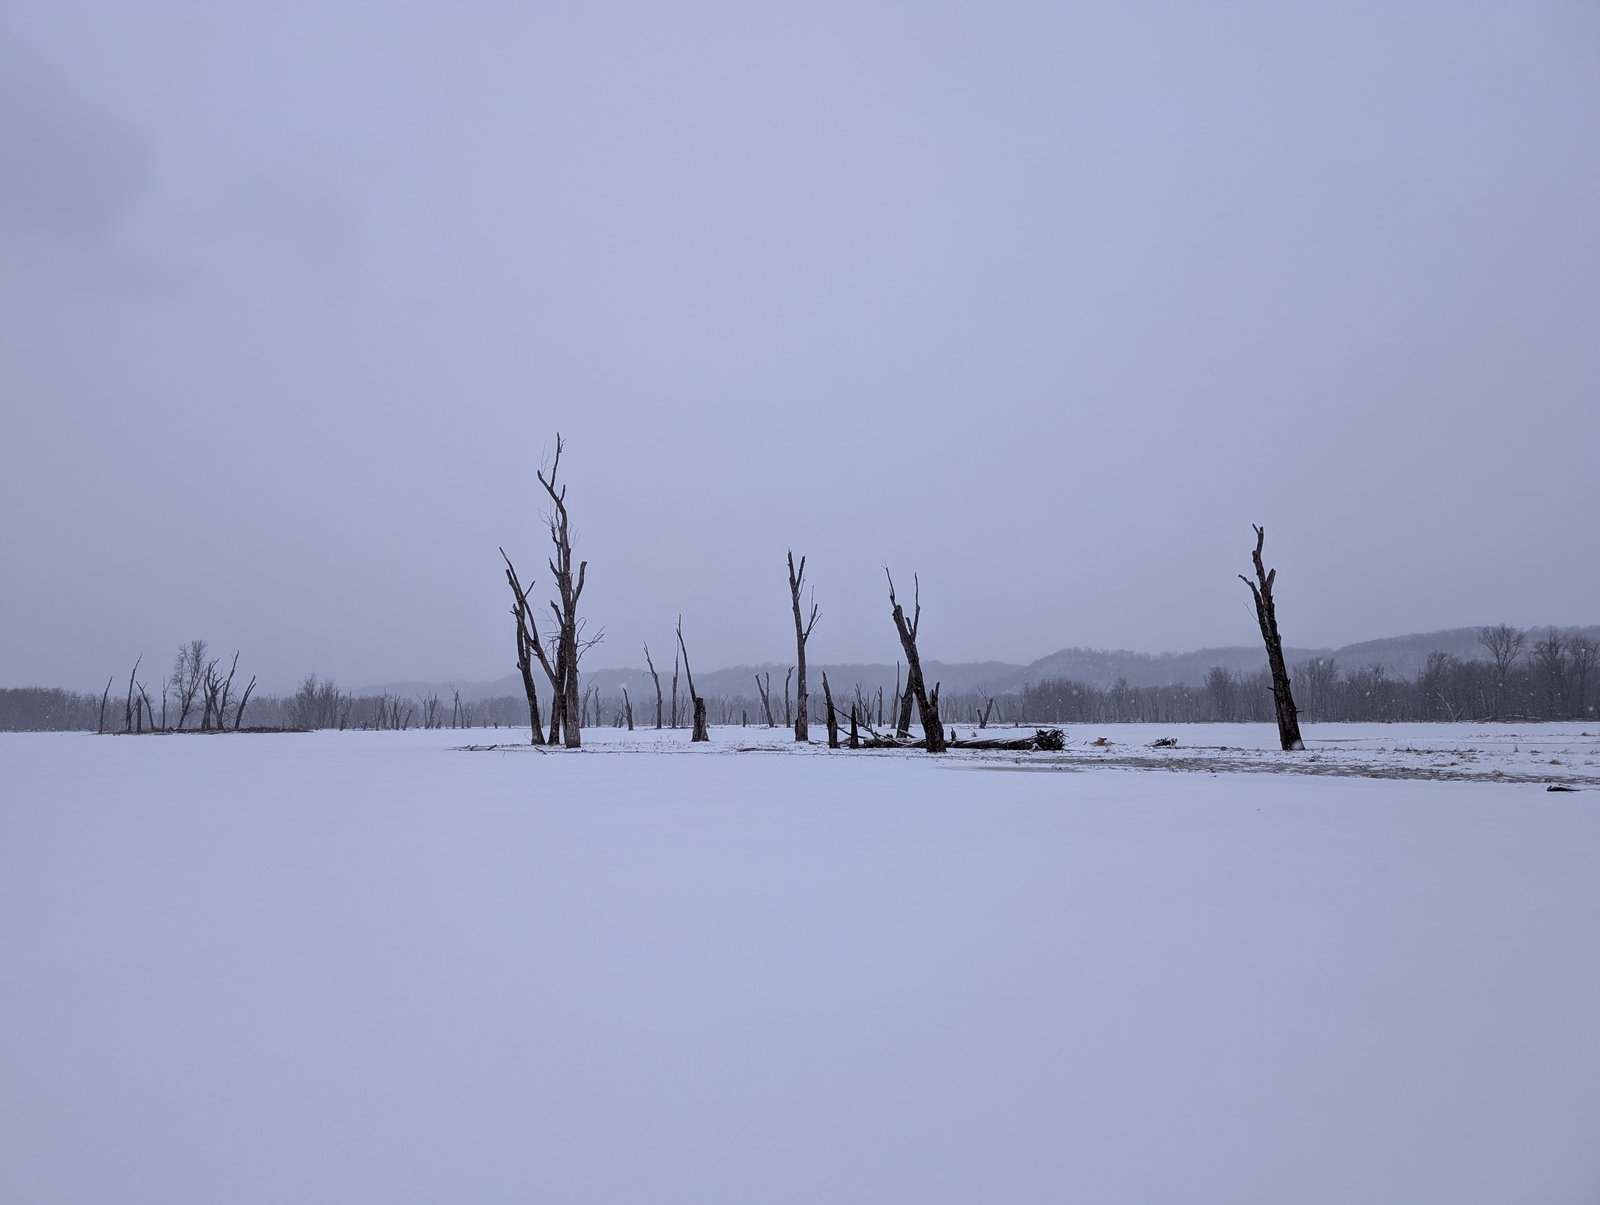
    Snow-covered frozen water with dead trees

    Why wind matters

    Deer, and many other game animals, rely heavily on smell. Your scent travels with the wind, and a quartering or steady wind can carry it a long way. Hiding your outline matters, but being upwind of the animal does more than any scent product.

    Basic rules

    • Keep the wind blowing from where animals will be, toward you.
    • Plan your approach so your scent does not cross trails, bedding, or feeding areas first.
    • A crosswind can work if the stand is set so your scent blows across, not into, the area animals use.
    • Use a wind checker such as unscented powder or a thread on your bow or a puffer bottle, and check it often.

    Know the wind before you go

    Check at least two forecast sources the evening before and again in the morning. Look for:

    • Direction: forecasts give the direction the wind is blowing from. A west wind blows from the west toward the east.
    • Speed: a light, steady wind is easier to hunt than gusty conditions.
    • Changes during the day: shifts in the afternoon are common.

    Keep a note for each stand listing which wind directions work. Then match the day’s forecast to the right stand. Having several options matters more than any one location.

    Terrain changes wind

    Southwest Wisconsin’s hills, ridges, and coulees bend and swirl air. Wind at the ridge top may not match what you feel at ground level.

    Thermals

    • Early morning and evening: cooling air tends to sink and flow downhill, so scent may drift downslope.
    • Mid-morning through afternoon: sun-warmed air tends to rise, so scent may drift uphill.
    • Hillsides: a steady wind plus thermals can swirl. Setting up near the top of a slope or on a bench can help.
    • Edges and openings: wind can curl around timber edges and drop into low spots behind them.

    Treat these as general tendencies, not guarantees. Local conditions vary, so trust your wind checker.

    Weather conditions and what they do

    Temperature

    Sudden cold snaps, particularly after warm weather, often get animals moving. Very warm weather can slow daytime movement, shifting activity to the cooler hours. Dress for the temperature you will be sitting in, not the one you felt walking in. See clothing and layering for day hunts.

    Barometric pressure and fronts

    Many hunters report more activity before and after a front. There is no guarantee, so use the idea as a reason to be in the field, not as a reason to stay home on other days.

    Rain

    Light rain can cover sound and let you move quietly. Heavy rain and strong wind often keep animals bedded. Gear matters: wet cold is a safety concern as well as an annoyance.

    Snow

    Fresh snow shows tracks and helps you see where animals are moving. Be careful with new snow cover, since it also makes sound and movement more obvious in some conditions.

    Fog and low visibility

    Fog can reduce shooting visibility. Make sure you can identify your target and what is beyond it.

    Strong wind

    High winds make sound unpredictable and can make tree stands unsafe. Do not climb or hunt from a tree in strong or gusty wind. Choose a ground setup in a protected area or stay home.

    Safety and weather

    • Do not hunt from elevated stands in storms, lightning, ice, or strong winds.
    • Know the signs of hypothermia and heat illness.
    • Check weather alerts for severe storms before you leave.
    • Waterfowl hunters should watch for cold water, ice, and wind on open water. Wear a life jacket, and understand that cold water can incapacitate quickly.

    Common mistakes

    • Looking only at wind speed and ignoring direction
    • Using one stand regardless of the wind
    • Trusting scent-control sprays instead of the wind
    • Forgetting that forecasts are for a general area, not your exact spot
    • Assuming a good-weather day means better hunting and a poor one means nothing will happen

    Quick decision guide

    1. Check the forecast the night before.
    2. Match the wind to a stand with a safe approach.
    3. Decide on clothing and safety.
    4. Recheck your wind indicator on arrival.
    5. If the wind shifts and your setup is compromised, adjust or leave quietly.

    FAQ

    Does scent-control clothing replace wind management?

    No. It may reduce odor, but wind still decides where your scent goes.

    What if the wind swirls?

    Swirling wind often means you should move to a different stand or hunt another day.

    Should I hunt in the rain?

    It can be productive, but safety and comfort come first. Waterproof, quiet gear helps.

    Rudy hunts and fishes in southwest Wisconsin and has for 35+ years.

  • Stand and blind placement

    Stand and blind placement

    Once scouting tells you where animals are moving, the next job is picking the exact spot to sit. A stand or blind placed ten yards off can mean the difference between a clean shot and an animal that never gets within range. This guide covers the where and how of the setup itself. For finding the sign in the first place, read scouting basics. For choosing which day and which wind to sit, see wind and weather decisions.

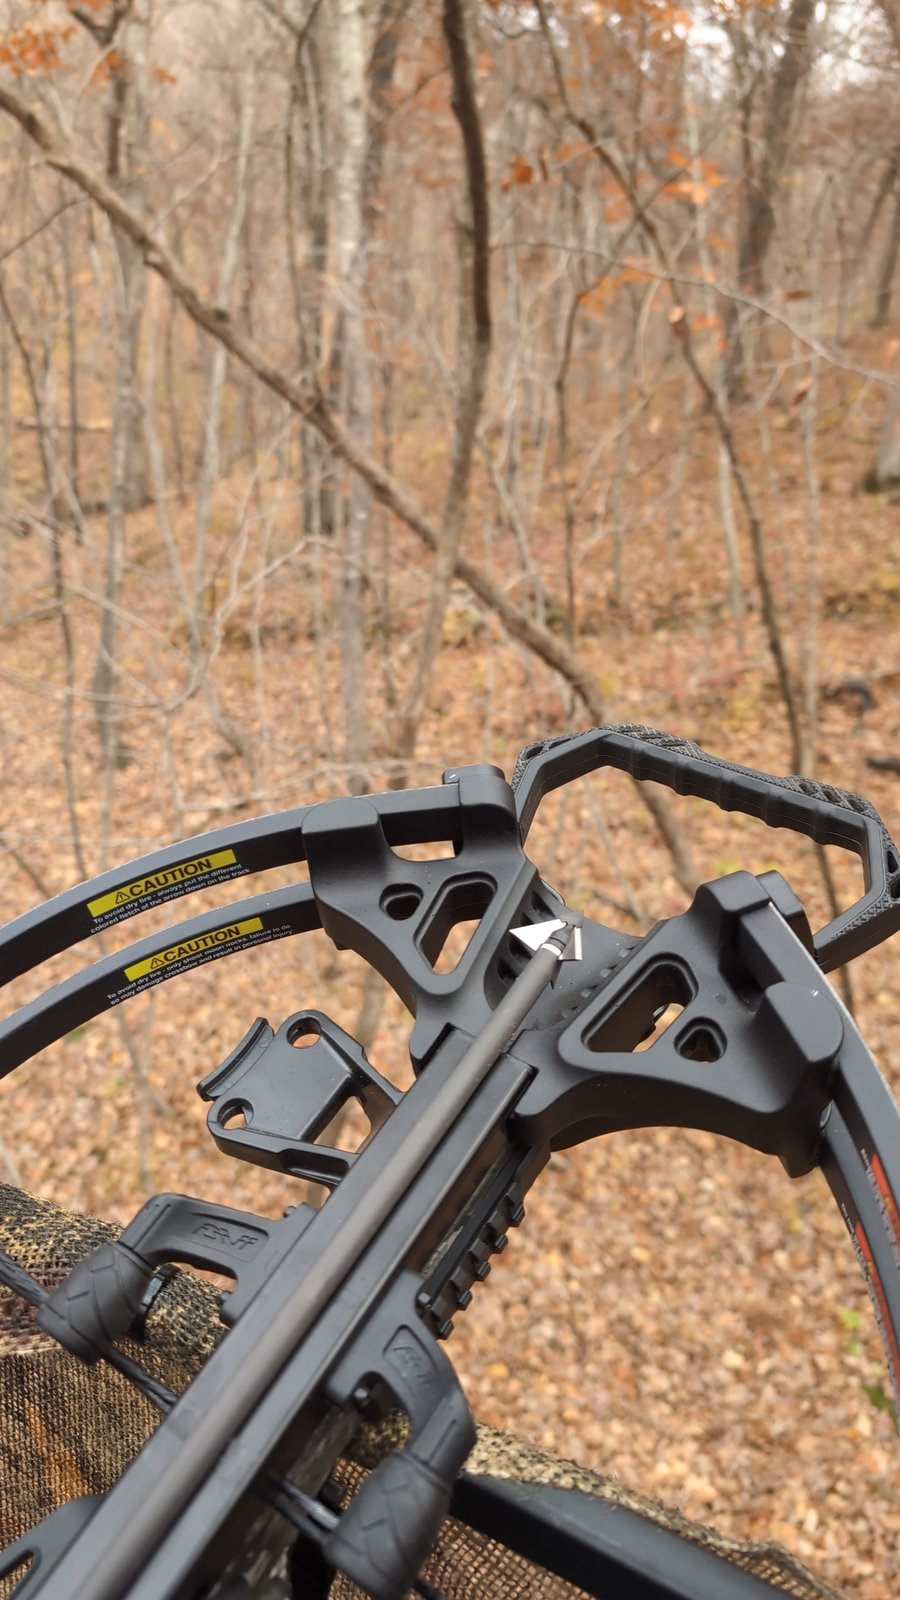
    Crossbow resting in a tree stand overlooking fall woods

    Start with access, not the view

    Most failed setups fail on the walk in. Before you pick a tree, ask how you will get there and back without alerting animals.

    • Approach from downwind or crosswind of where you expect animals to be.
    • Avoid crossing food plots, trails, or bedding cover on your way in.
    • Use creek bottoms, ditches, old fence lines, or terrain that hides you.
    • Plan an exit route that does not push animals you want to hunt again.
    • If the best stand has no good approach, pick a different stand.

    Choose the location

    Think in terms of pinch points

    Animals take the easiest, safest route. Look for where cover narrows or terrain forces movement: saddles between ridges, funnels between a swamp and a field, creek crossings, or the inside corner of a field edge. These concentrate movement into a smaller area than open timber does.

    Stay off the main trail

    Setting up directly on a trail puts you in the animal’s path and in its scent stream. Back off 15 to 30 yards where the terrain allows, so the animal passes within range without walking into you.

    Match the stand to the time of day

    A stand near a feeding area usually works best for evening. A stand closer to bedding, with great care in approach, may work for morning. Do not hunt right next to bedding unless you are sure you can get in unnoticed.

    Tree stands

    Height and background

    Typical heights run 15 to 20 feet, but terrain and cover matter more than a fixed number. The tree should break up your outline. A tree with a few branches or some background cover helps you hide. Avoid setting up with the sky behind you.

    Pick the right tree

    Choose a straight, healthy, living tree that is large enough to support the stand. Avoid dead, leaning, or rotten trees, and trees with large splits.

    Prepare shooting lanes

    Trim branches from the sitting position before the season, not while hunting. Cut as little as possible, since opening the area can change how animals move. Practice where you can aim and shoot from your seat, in the clothing you will wear.

    Safety is not optional

    Falls from tree stands are among the most common serious hunting injuries. Follow the manufacturer’s instructions and these habits:

    1. Wear a full-body harness, not just a belt.
    2. Stay connected from the ground to the stand and back down, using a lineman’s rope or climbing system.
    3. Inspect straps, ratchets, and cables each season.
    4. Never climb with a loaded firearm. Use a haul line, and unload first.
    5. Keep three points of contact on the ladder or sticks.
    6. Tell someone your location and return time.

    Ground blinds

    • Brush them in: use natural cover to break up shapes, and set the blind a few weeks early if you can so animals get used to it.
    • Keep the inside dark: wear dark clothing, and keep windows to the size you need.
    • Plan ventilation and scent: blinds do not remove scent. Wind still matters.
    • Mind your shot angles: make sure you can get a clean shot from a seated position.

    Ground blinds can work well for bowhunters and kids. Waterfowl blinds follow the same ideas but depend on cover along the shore, wind, and flight lines.

    Public land and permissions

    Rules for stands, blinds, and trail cameras on public lands differ by property type. Some properties limit how long stands may stay, require marking, or restrict what you can attach to a tree. Ask the landowner on private land. Verify what is allowed on public land through the Wisconsin DNR before installing anything.

    Common mistakes

    • Putting stands where you want to hunt, not where animals travel
    • Setting up with the wind blowing your scent toward where you expect deer
    • Cutting too many shooting lanes, which can change travel patterns
    • Walking through the setup area repeatedly
    • Skipping safety equipment because the stand is “low”
    • Not testing the setup with a practice shot

    Quick placement checklist

    1. Is there evidence of recent travel?
    2. Do I have a quiet approach and exit?
    3. Which wind directions are safe, and how often does that wind blow?
    4. Can I shoot comfortably in all expected directions?
    5. Am I well hidden against a background?

    FAQ

    How many stands should I have?

    Enough that you can match the wind. Having two or three options per area is often more useful than one “perfect” stand.

    Can I hang a stand early?

    On private land, generally yes with permission. Setting early gives animals time to adjust. On public land, follow the property’s rules.

    How far should I be from a trail?

    There is no set number. Back far enough to be out of the animal’s immediate scent and line of sight while keeping the shot within your effective range.

    Rudy hunts and fishes in southwest Wisconsin and has for 35+ years.

  • Scouting basics

    Scouting basics

    Scouting is information gathering. The goal is to learn where animals feed, where they bed, and how they move between the two, then to leave without teaching them anything. This guide covers the finding part: maps, sign, and a low-pressure way to walk. Once you know where the animals are, the next questions are covered in stand and blind placement, wind and weather decisions, and in-season hunting decisions.

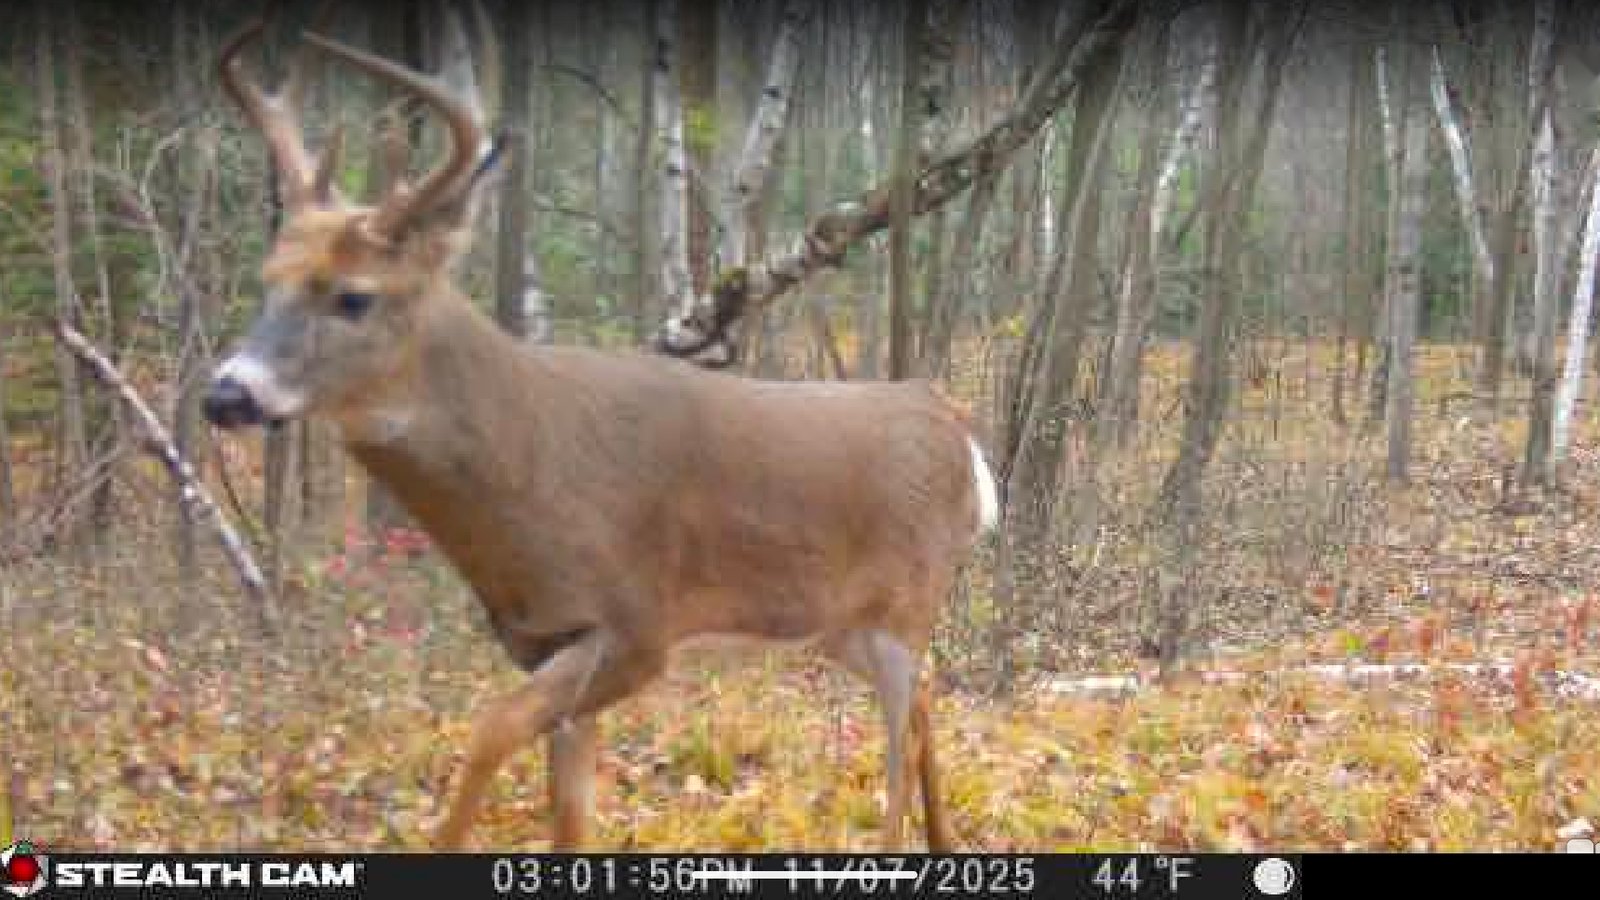
    Buck walking through fall timber, trail camera photo

    Start at the kitchen table

    Good scouting begins before you put boots on the ground. Pull up aerial imagery and a topographic map of the property, or of the public land you plan to hunt, and mark what stands out.

    • Food: crop fields, food plots, oak ridges, fruit trees, and brushy edges where browse is thick.
    • Cover: thick regrowth, cedar or pine stands, cattail and tamarack swamps, and overgrown fence lines where animals can bed unseen.
    • Terrain features: ridge saddles, creek crossings, benches on hillsides, field corners, and narrow strips of timber that connect larger blocks. Southwest Wisconsin’s hills and coulees funnel movement more than flat country does.
    • Access: parking spots, roads, trails, and neighboring property lines.

    Mark two or three spots per map that deserve a look. Walking a whole property “to see what is there” mostly produces noise.

    What to look for on the ground

    Trails and travel routes

    Look for narrow, packed paths with worn dirt or flattened grass, especially where two terrain features meet. A trail with fresh tracks after a rain tells you more than one that looks old and grown over.

    Tracks and droppings

    Tracks show size, direction, and a rough age. Droppings that are dark, moist, and shiny are fresh. Dry, pale, or crumbling droppings are old. Freshness matters more than quantity.

    Rubs and scrapes

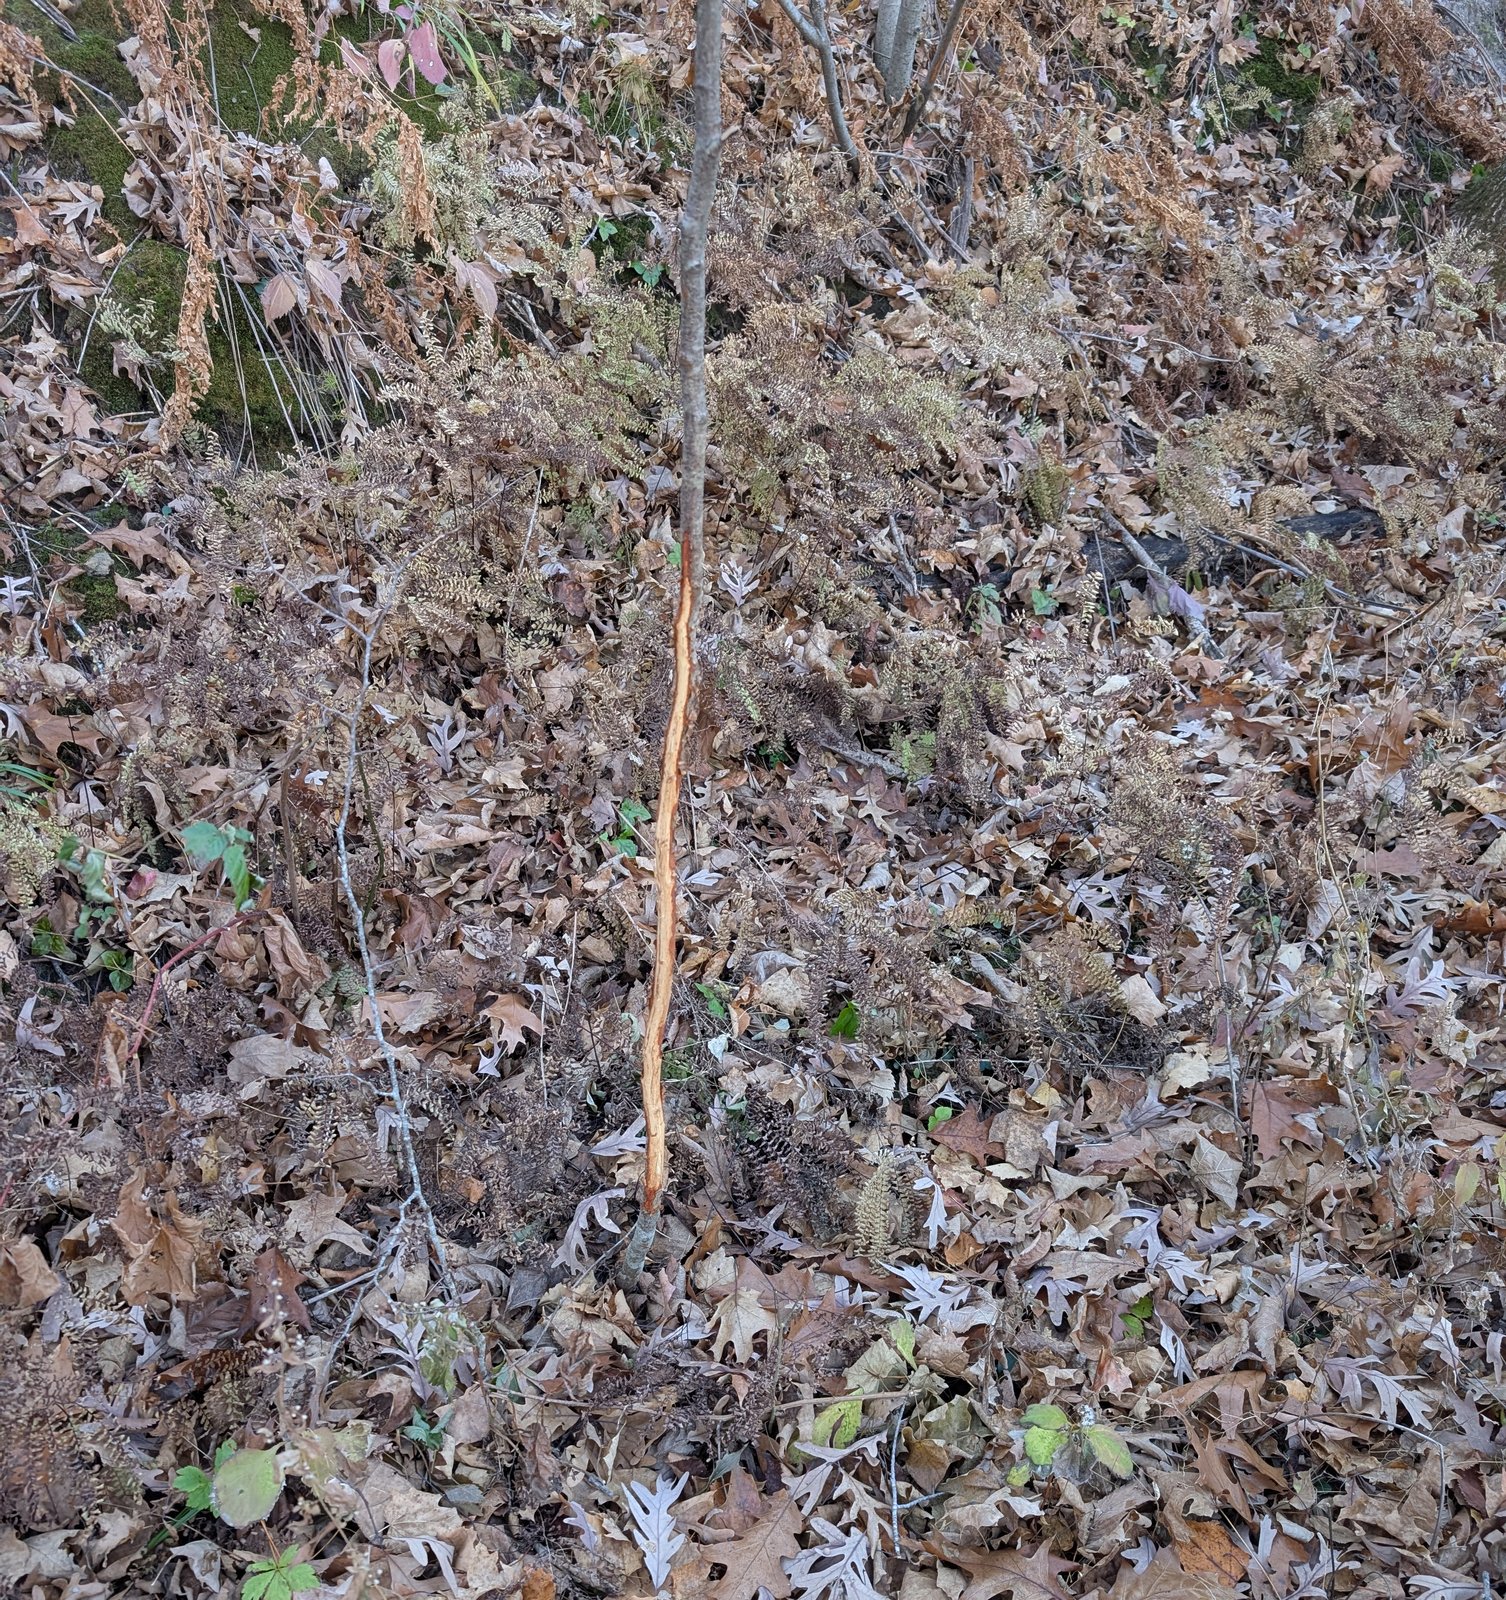
    Rubs are stripped bark on small trees and saplings. They show travel direction and general activity but do not prove a particular animal is nearby right now. Scrapes are pawed ground under an overhanging branch. Treat both as clues to be confirmed with fresh tracks or trail camera data, not as guarantees.

    Food sources

    Check what is actually being eaten. Acorn drop varies by year and by tree. Look for chewed browse, cracked nuts, and trampled crop edges. Food use changes through the season, so a spot that was hot in September can be empty in November.

    Bedding areas

    Oval flattened spots in thick cover, often with a view downwind or a steep slope behind, are bedding sign. Look but do not linger. Bumping animals out of their beds is the fastest way to ruin a spot.

    Scout with low pressure

    • Scout in the middle of the day when animals are least likely to be moving.
    • Walk the edges of cover, not through its middle. Use binoculars from a distance first. See optics that earn a spot.
    • Keep the wind in your face or crosswind when approaching likely bedding.
    • Walk slowly and stop often. Most sign is found by looking, not walking.
    • Wear rubber boots or boots you keep clean of strong scents.
    • If you bump animals from bed, back out, note the location, and rewrite your plan.
    • Limit trips. Once you know the layout, stay out until the season.
    Buck rub on a small sapling

    Use trail cameras as a scouting tool

    Cameras scout for you without adding pressure. Place them on trails, field edges, or mineral sites where legal, and check them sparingly. Setup, settings, and ethics are in trail cam basics.

    Species notes

    • Deer: focus on food-to-bedding routes and on where animals travel in the last hour of light and the first hour after sunrise.
    • Squirrel: find hickory, oak, and walnut with fresh cuttings on the ground, and den or leaf nests overhead. Sit quietly at first light.
    • Waterfowl: scout water, not ground sign. Watch where birds loaf, feed, and fly in the morning and evening. Water levels and ice change from week to week, so recheck close to your hunt.

    Keep simple notes

    After each trip, write down the date, weather, wind direction, what you saw, and a one-line plan. Notes turn scattered observations into a pattern you can use. A basic notes app or a paper notebook works.

    Matched pair of shed whitetail antlers

    Common mistakes

    • Over-scouting the best spot and teaching animals to avoid it
    • Reading old sign as current activity
    • Walking through bedding cover in the middle of the day
    • Ignoring neighboring land, where animals may spend much of their time
    • Skipping notes and trusting memory

    Rules and permission

    Always get permission before scouting private land, and know the boundaries on public land. Rules on trail cameras, baiting, stands, and access differ by property type and by county. Check current regulations at dnr.wisconsin.gov before you set anything up.

    FAQ

    How often should I scout?

    Do most of it in the off-season and early pre-season. During the season, scout only when new information is worth the pressure it adds.

    Is scouting from the truck useful?

    Yes. Glassing fields from the road at dusk can show feeding patterns at no cost to your hunting spots.

    What do I do on public land?

    Use online maps to identify access points and walk-in areas that are far from parking lots. Pressure is often lighter a few hundred yards farther in.

    Rudy hunts and fishes in southwest Wisconsin and has for 35+ years.