Rudy's Hunting

Hunting how-tos, gear, and field notes

Category: Deer

  • In-season hunting decisions

    In-season hunting decisions

    The season changes the way animals use the land. Food sources run out, hunting pressure builds, and the weather swings. This guide is about the decisions you make once the season is open: when to go, which stand to hunt, when to rest a spot, and when to adjust. It builds on scouting basics, stand and blind placement, and wind and weather decisions. Read those for the how; this is the when.
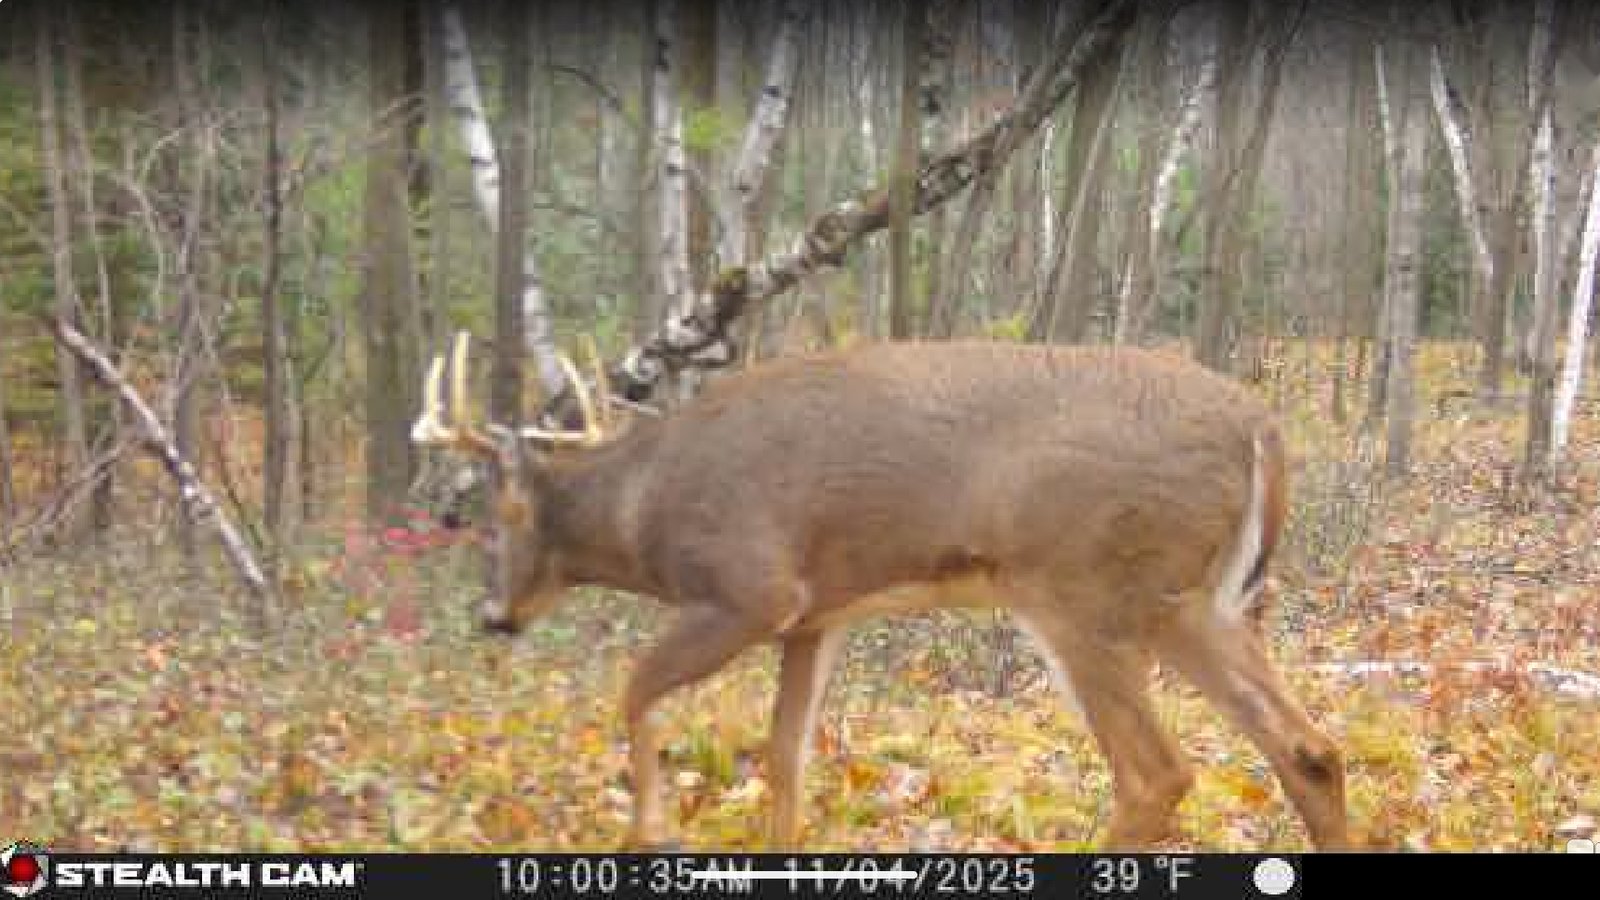
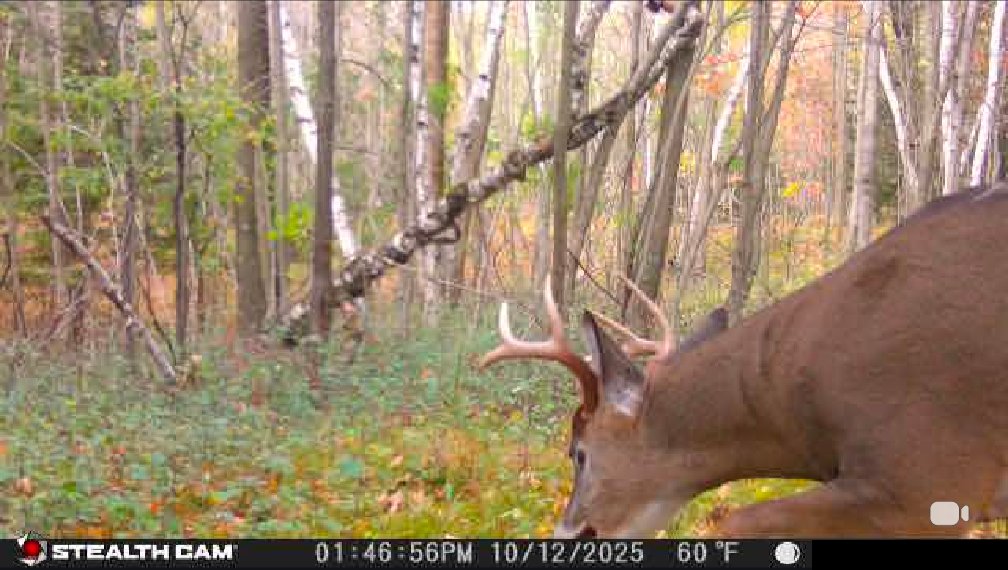
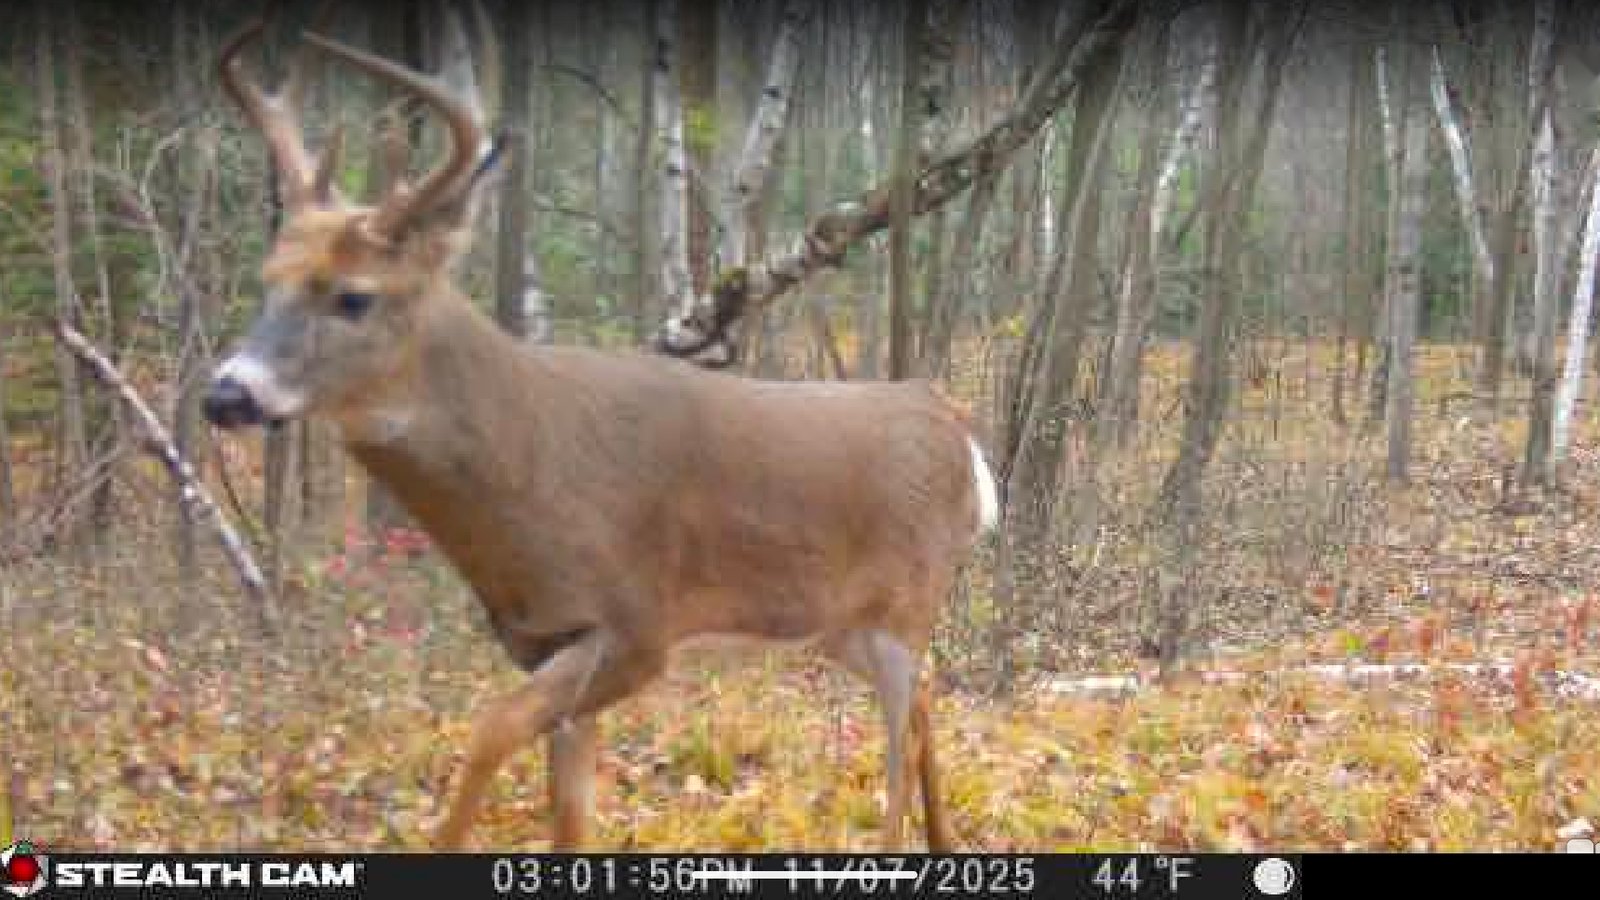
    Buck walking through fall woods, trail camera daytime photo

    Have a plan, then adjust

    Go into each hunt with a plan: stand, wind, approach, and exit. Then be willing to change it based on what you see. A plan prevents random choices. The ability to adjust prevents stubbornness.

    Keep a simple hunt log

    After each sit, write down:

    • Date, time in and out
    • Stand location and wind direction
    • Weather and temperature
    • What you saw (animals, time, direction of travel)
    • Any mistakes, such as wind swirl or noise

    A season of notes helps you spot patterns, such as which stands work on which winds, and it stops you from relying on memory. Keep it in a notebook or a notes app.

    Decide when to hunt a stand

    A stand is not a place you hunt every day. Use it when conditions line up.

    1. Wind: is the wind right for the approach and the setup?
    2. Recent activity: have you seen fresh sign or camera photos in the last few days?
    3. Pressure: have you or others been in the area recently?
    4. Weather: are conditions comfortable and safe?
    5. Food: is the food source still being used?

    If two or three of these are missing, pick another stand or stay home.
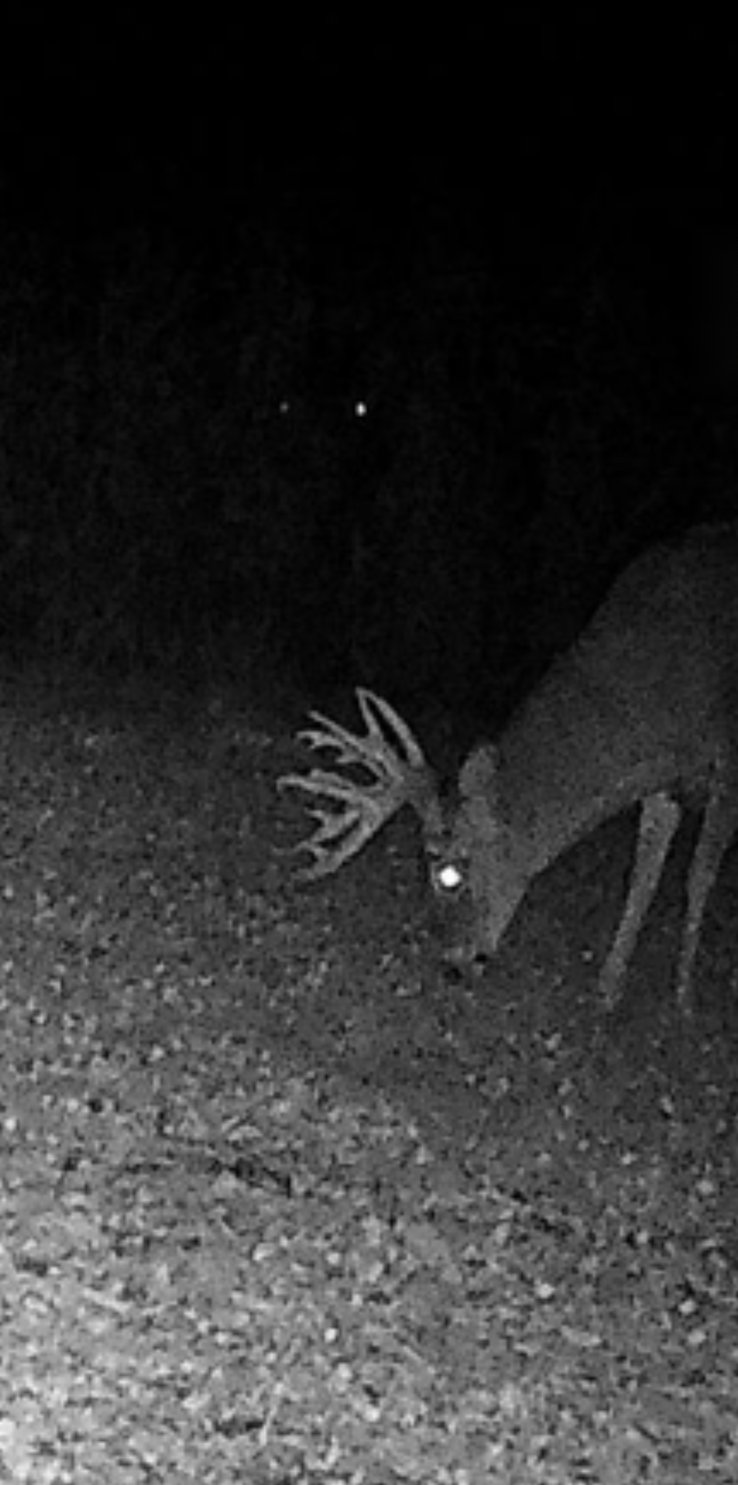
    Buck with wide antlers feeding at night, infrared

    Manage pressure

    Animals learn quickly where they are hunted. Every trip leaves scent, sound, and disturbance.

    • Rotate stands so no single spot is hunted day after day.
    • Rest a stand for several days after a hunt where something went wrong.
    • Enter and leave quietly, ideally before or after animals use the area.
    • If you spook animals, leave. Continuing to sit rarely helps.
    • On public land, expect that others also use the best access points. Look for spots farther from parking.

    How the season shifts what you do

    Early season

    Animals often follow late-summer feeding patterns. Hunt food sources in the evening and approach carefully, since cover is thick and temperatures can be warm. Be ready to field-care meat quickly in warm weather.

    Mid-season and the rut

    Deer behavior changes as breeding season approaches. Bucks move more and may travel through areas they normally avoid. Many hunters choose to sit longer in the middle of the day during this time. Details vary by year, so rely on what you are seeing locally instead of a fixed calendar.

    Late season

    Cold weather increases energy demands, and food becomes the main draw. Concentrated food such as standing crops or remaining mast can be productive. Dress for long, cold sits. Check clothing and layering for day hunts.

    Gun-season conditions

    Many hunters are in the woods at once. Expect animals to be moved by other hunters. Heavily pressured areas may reward sitting in thick cover or hunting near spots others avoid. Always know where other hunters are and what is beyond your target.

    When to stay home

    Some days are better spent resting, repairing gear, or planning.

    • Wind that cannot be managed at any available stand
    • Unsafe weather such as ice, lightning, or high winds, particularly for tree stands
    • Fatigue or illness that dulls your judgment
    • A spot that has been over-hunted

    Skipping a poor day often means a better chance on the next.
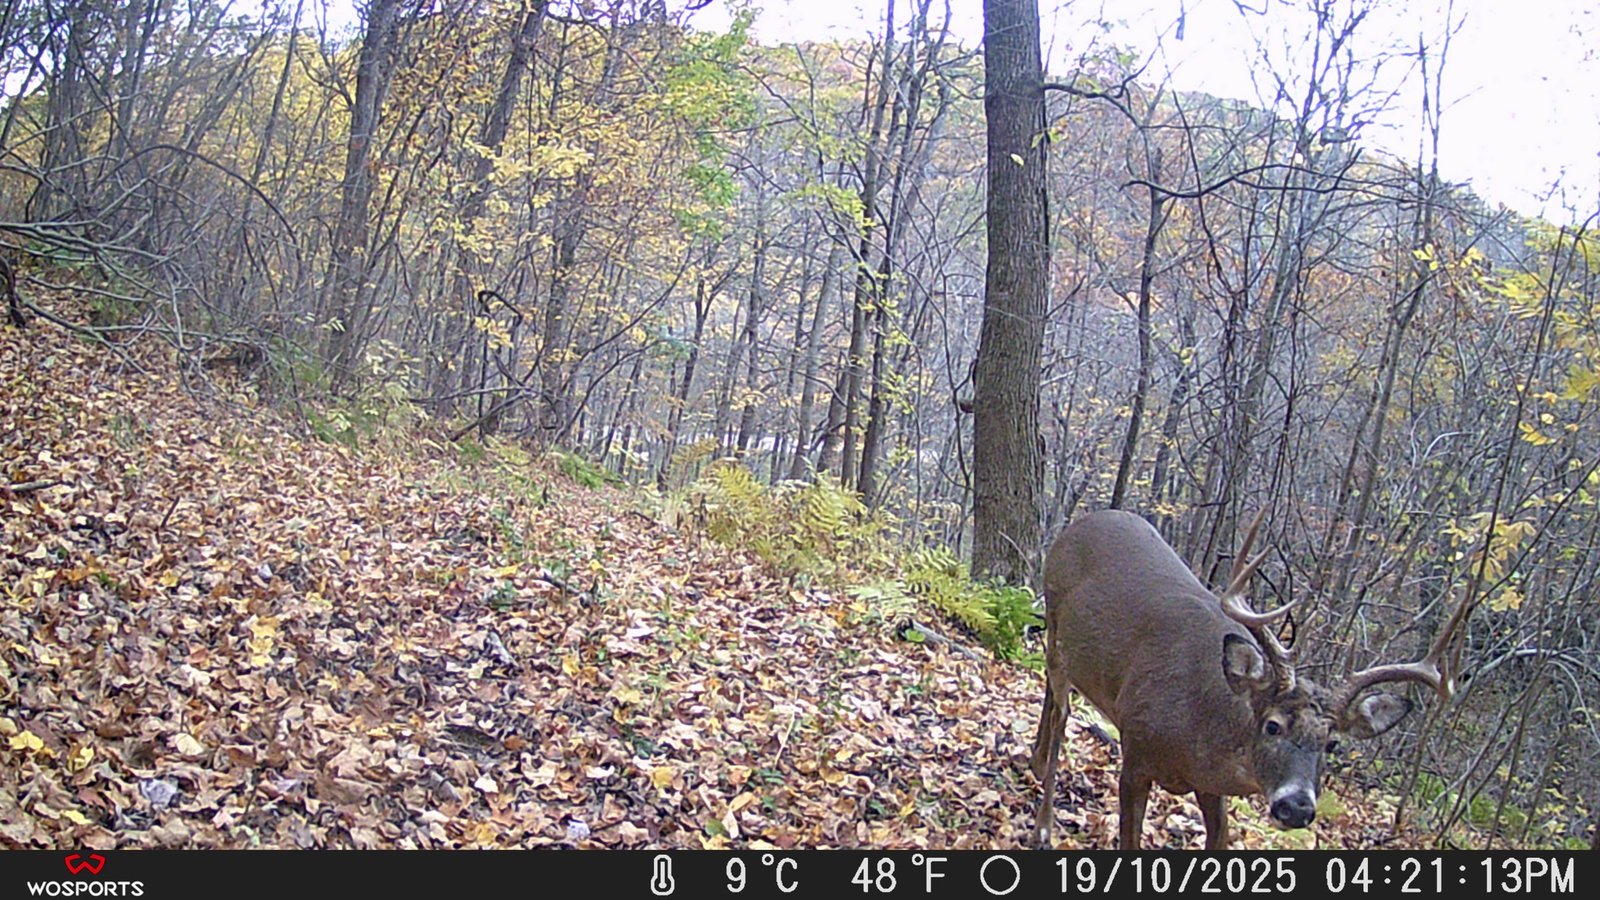
    Buck on a leaf-covered slope in autumn woods, trail camera photo

    Shoot decisions

    Before you hunt, decide what you will and will not shoot. Know what the DNR allows for your license and tag, and what is legal to take in the unit you are hunting. Verify current rules at dnr.wisconsin.gov. Take only shots within your proven range, with a clear target and a safe backstop. Passing a marginal shot is a good decision.

    After the hunt

    Record your notes, restock your day-hunt pack, and make a plan for the next sit. If you harvest an animal, follow field care after the shot.

    Common mistakes

    • Hunting the same stand repeatedly regardless of conditions
    • Ignoring wind because “this is the best spot”
    • Over-reacting to a single sighting or camera photo
    • Staying out too long after being detected
    • Treating every day the same

    FAQ

    How long should I sit?

    It depends on the day. Evening hunts should cover the last light, and mornings the first light. During times of high movement, longer sits can pay off, but safety and comfort come first.

    Should I move my stand during the season?

    Only if sign shows animals changed their pattern, and only if you can do it quietly. Frequent moves add pressure.

    How do I handle other hunters on public land?

    Pick access points farther from parking, stay aware of others, and follow all safety rules. Be courteous and give other hunters space.

    Rudy hunts and fishes in southwest Wisconsin and has for 35+ years.
  • Understanding hunting seasons and regulations

    Understanding hunting seasons and regulations

    Hunting rules change. Season dates, bag limits, license types, and zone boundaries are updated, sometimes yearly. This post will not list those details because they can go out of date, and getting them wrong can mean a citation. Instead, it explains how the system is organized and where to find the current numbers. For preparing once you know the rules, see the pre-season checklist.

    Calm lake with pines and a small island

    Where the rules live

    The Wisconsin Department of Natural Resources (DNR) is the source for hunting regulations. Start at dnr.wisconsin.gov, and use the species pages and the hunting regulations pages. License purchases and harvest-related services are handled through the DNR’s Go Wild system.

    Always read the current regulations for the year you are hunting. If a source, including this site, appears to differ from the DNR, trust the DNR.

    What to look up each year

    1. Eligibility and education

    • Hunter education requirements and any exceptions
    • Age requirements and mentored hunting options
    • Residency status and what it means for licenses

    2. Licenses, tags, and stamps

    • The license type for your species and weapon
    • Additional authorizations, such as stamps for waterfowl or permits for specific hunts
    • Whether tags are issued to you and how they must be attached or recorded
    • The deadlines for purchase or application, if drawings are involved

    3. Season structure

    Seasons are divided by species, weapon, and sometimes by area. Typical categories include:

    • Archery and crossbow seasons
    • Firearm seasons
    • Muzzleloader seasons
    • Youth and special hunts
    • Small game seasons, such as squirrel, rabbit, and grouse, plus separate turkey seasons
    • Migratory bird seasons, including ducks and geese, which are set within federal frameworks

    Look at start and end dates, legal shooting hours, and any season splits.

    4. Zones and units

    Many seasons depend on the management zone or unit. Confirm which unit your land is in, and check whether special rules apply there. Use the DNR’s maps, and don’t rely on neighbors or old information.

    5. Bag limits and legal animals

    Rules specify how many of which animals you may take, and which are legal for each license or tag. For deer, this can depend on unit and license type. For waterfowl, daily limits vary by species. Read the details and pay attention to sex or antler requirements if they apply.

    6. Legal equipment

    • Allowed firearms, calibers, and ammunition by season and species
    • Bow and crossbow requirements
    • Nontoxic shot requirements for waterfowl and on certain lands
    • Restrictions on electronic devices, baiting, and feeding

    7. Safety requirements

    • Blaze orange or fluorescent pink requirements during certain seasons. Learn what counts and how much you need to wear.
    • Rules about firearms in vehicles and transporting them
    • Tree stand and blind rules on public lands

    8. Disease management

    Chronic wasting disease (CWD) affects how deer can be handled in certain areas. The DNR publishes information on testing, carcass transport, and disposal. See the CWD page. Baiting and feeding rules also differ by county, and some counties prohibit them, so check the baiting and feeding page.

    9. After the hunt

    • Tagging and registering harvested animals
    • Time limits for registration
    • Reporting requirements and any special transport rules

    Public land versus private land

    Public properties can have rules beyond statewide regulations, such as limits on stands, trail cameras, vehicle access, or use periods. Private land requires landowner permission. Always confirm both.

    A simple way to stay current

    1. In late summer, read the full regulations for your species.
    2. Write down the key dates and your unit on a card in your pack.
    3. Bookmark the DNR pages you use.
    4. Check for updates before each trip, including emergency orders or area closures.
    5. When in doubt, call the DNR or a conservation warden.

    Common mistakes

    • Using last year’s dates
    • Assuming a rule is the same in every county
    • Not checking CWD rules in a new hunting area
    • Forgetting to register a harvest on time
    • Relying on a friend’s memory instead of the official text

    FAQ

    Can I rely on a blog or video for current rules?

    Use them for general understanding only. The DNR is the authority.

    Who do I contact with questions?

    The DNR has a customer service line and local wardens who can help. Look up current contact details on their site.

    What if I am hunting in a different state?

    Each state has its own rules. Read that state’s wildlife agency site before you go.

    Rudy hunts and fishes in southwest Wisconsin and has for 35+ years.
  • Field care after the shot

    Field care after the shot

    What you do in the first hour after the shot has more effect on the meat than any recipe. Bacteria grow quickly in warm meat, and a carcass that cools slowly can spoil. This guide walks through the steps for a deer, from the shot to getting the animal cooled. The same principles apply to other game. It pairs with your knives and field processing kit and the recipes later in the kitchen, such as the venison backstrap.

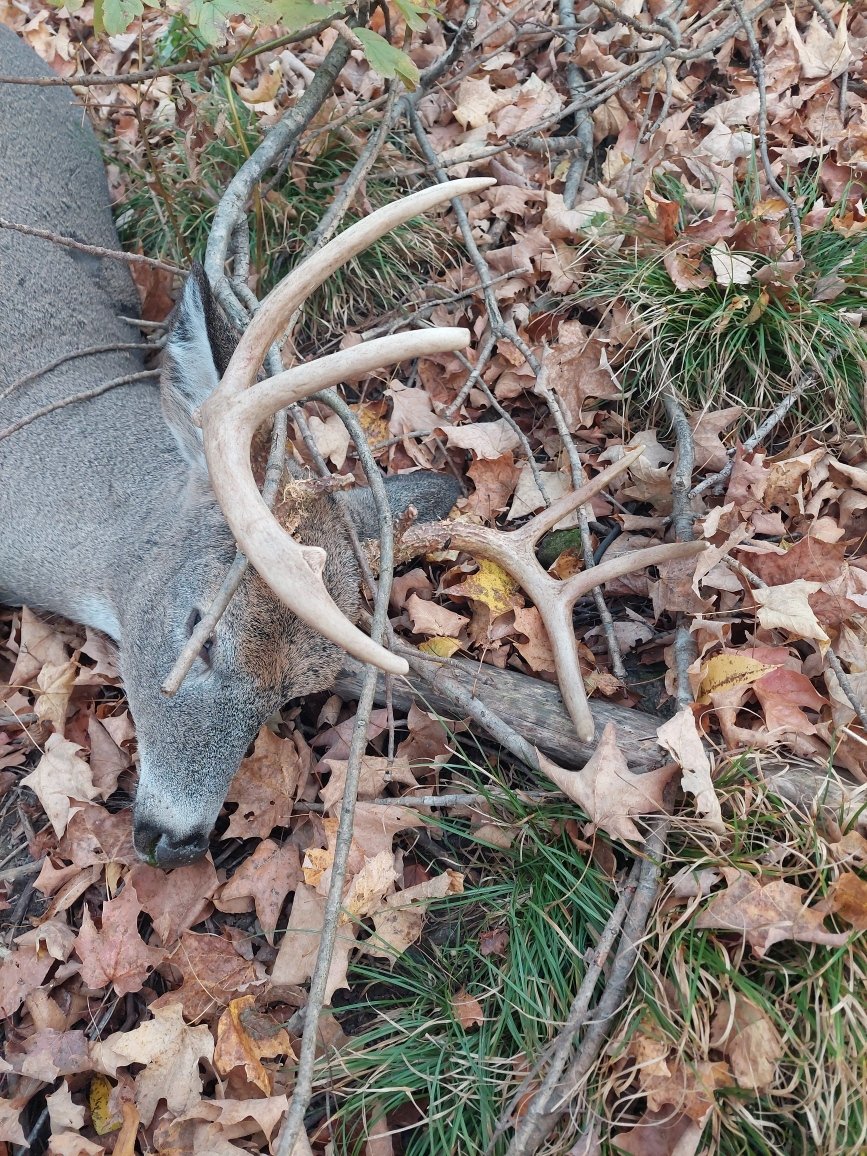
    Whitetail buck antlers on the forest floor

    Immediately after the shot

    1. Stay put. Stay in your stand or position for a few minutes. Watch and listen. Note where the animal was standing, which way it ran, and where it was last seen.
    2. Mark the spot. Use a phone pin or landmark. Look for the first sign: blood, hair, or an arrow.
    3. Make a plan. Think about how the animal reacted and how long to wait, which depends on shot placement and conditions. When in doubt, wait longer, especially if the shot was off. Pushing a wounded animal too soon can cause it to run farther.
    4. Safety first. Unload your firearm before climbing down. Be aware of your surroundings and any other hunters.

    If it gets dark, rain threatens to wash away sign, or you are unsure about the shot, consider asking for help from experienced friends or a tracker. In Wisconsin, check the DNR for rules on tracking dogs and on retrieving game on land you do not have permission to enter.

    Tracking

    • Start at the last point where you saw the animal, and mark each blood spot with flagging tape.
    • Follow the trail slowly and quietly, and look ahead as well as down.
    • Do not walk over the trail. Walk beside it.
    • If you lose the trail, go back to the last sign and search in widening circles.
    • Be ready for the animal to be alive. Approach from behind and give it time.

    Field dressing

    Work as soon as the animal has expired and you have confirmed it, and tag the animal as required by your license.

    What you need

    Sharp knife, gloves, rope, game bags, water, and paper towels. See day-hunt pack essentials.

    Basic steps

    1. Wear gloves. Position the deer on its back or side on a slope with the head uphill, if possible.
    2. Make a shallow cut from the sternum to the pelvis, keeping the blade up and not cutting into the intestines or stomach.
    3. Free the diaphragm and cut it away from the rib cage.
    4. Reach up and cut the windpipe and esophagus, then pull the organs down and out.
    5. Free the lower organs, being careful to keep the bladder and intestines intact. If you puncture them, rinse with clean water as soon as possible.
    6. Drain the body cavity and wipe it clean with paper towels. Avoid using water unless it is needed, because moisture can encourage bacterial growth.

    If this is your first time, watch a hunter education video or ask an experienced hunter to demonstrate. Different sources describe slightly different techniques, so learn one method well.

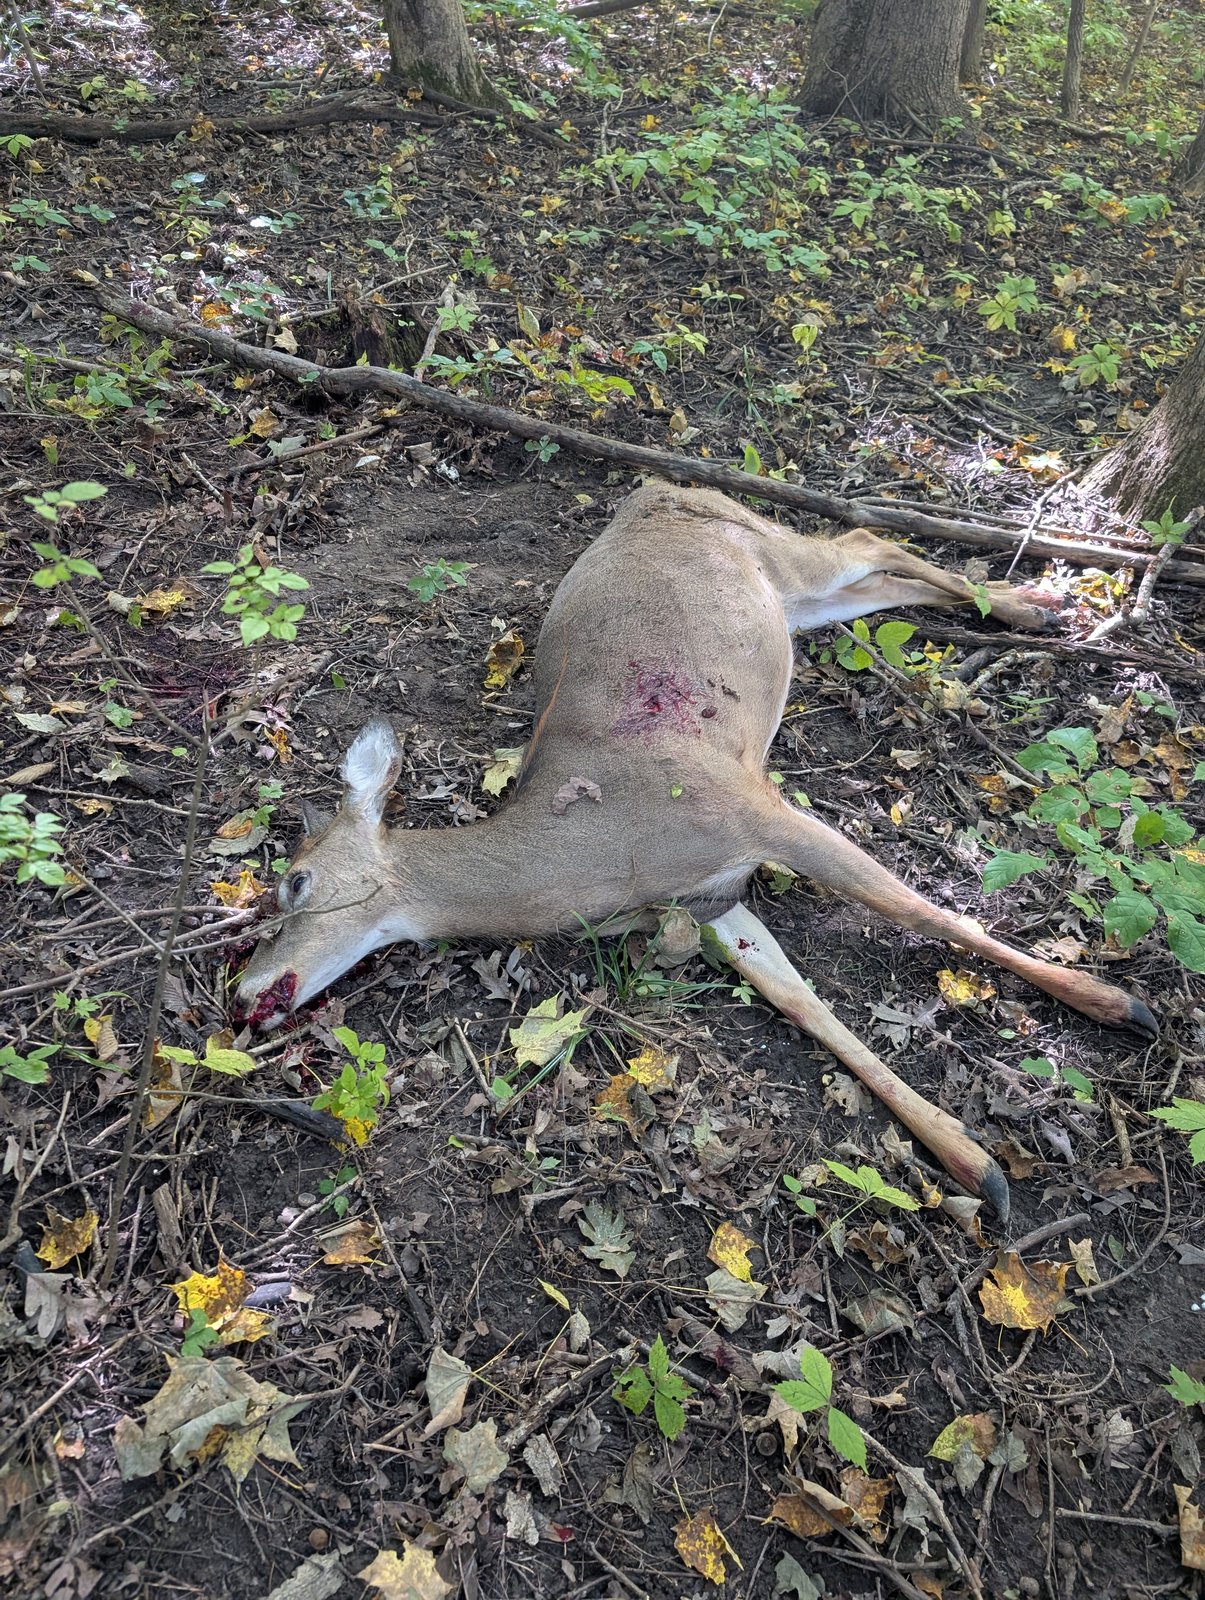
    Harvested doe on the forest floor

    Cool the meat quickly

    Meat should be cooled as soon as possible. Aim for meat temperatures below 40°F as quickly as you can, and do not let the carcass sit in the sun.

    • Cold weather: hang the deer in a shaded place. Remove the hide as soon as practical, since hide acts as insulation.
    • Warm weather: skin and quarter quickly, then place the meat in game bags in coolers with ice. Keep meat out of water; use drain plugs and raise the meat on racks, so it doesn’t sit in meltwater.
    • Travel: do not leave a deer in a truck bed on a warm day. Keep it shaded and ventilated.
    • Aging: if you age meat, it needs steady cold temperatures. If conditions are not right, process promptly.

    Check the animal

    Look for signs the animal may be unhealthy: unusual lumps, strange or foul smell, discolored organs, thin condition, or abnormal behavior before the shot. If something seems wrong, contact the DNR before you consume the meat.

    Chronic wasting disease (CWD) is present in parts of Wisconsin. The DNR provides testing and guidance on carcass transport and disposal, and the rules vary by area. Read the DNR’s CWD and carcass disposal pages before you hunt, not after.

    Lead fragments

    If you use lead-based bullets, small fragments can travel through the meat. Trim generously around the wound channel and discard damaged meat.

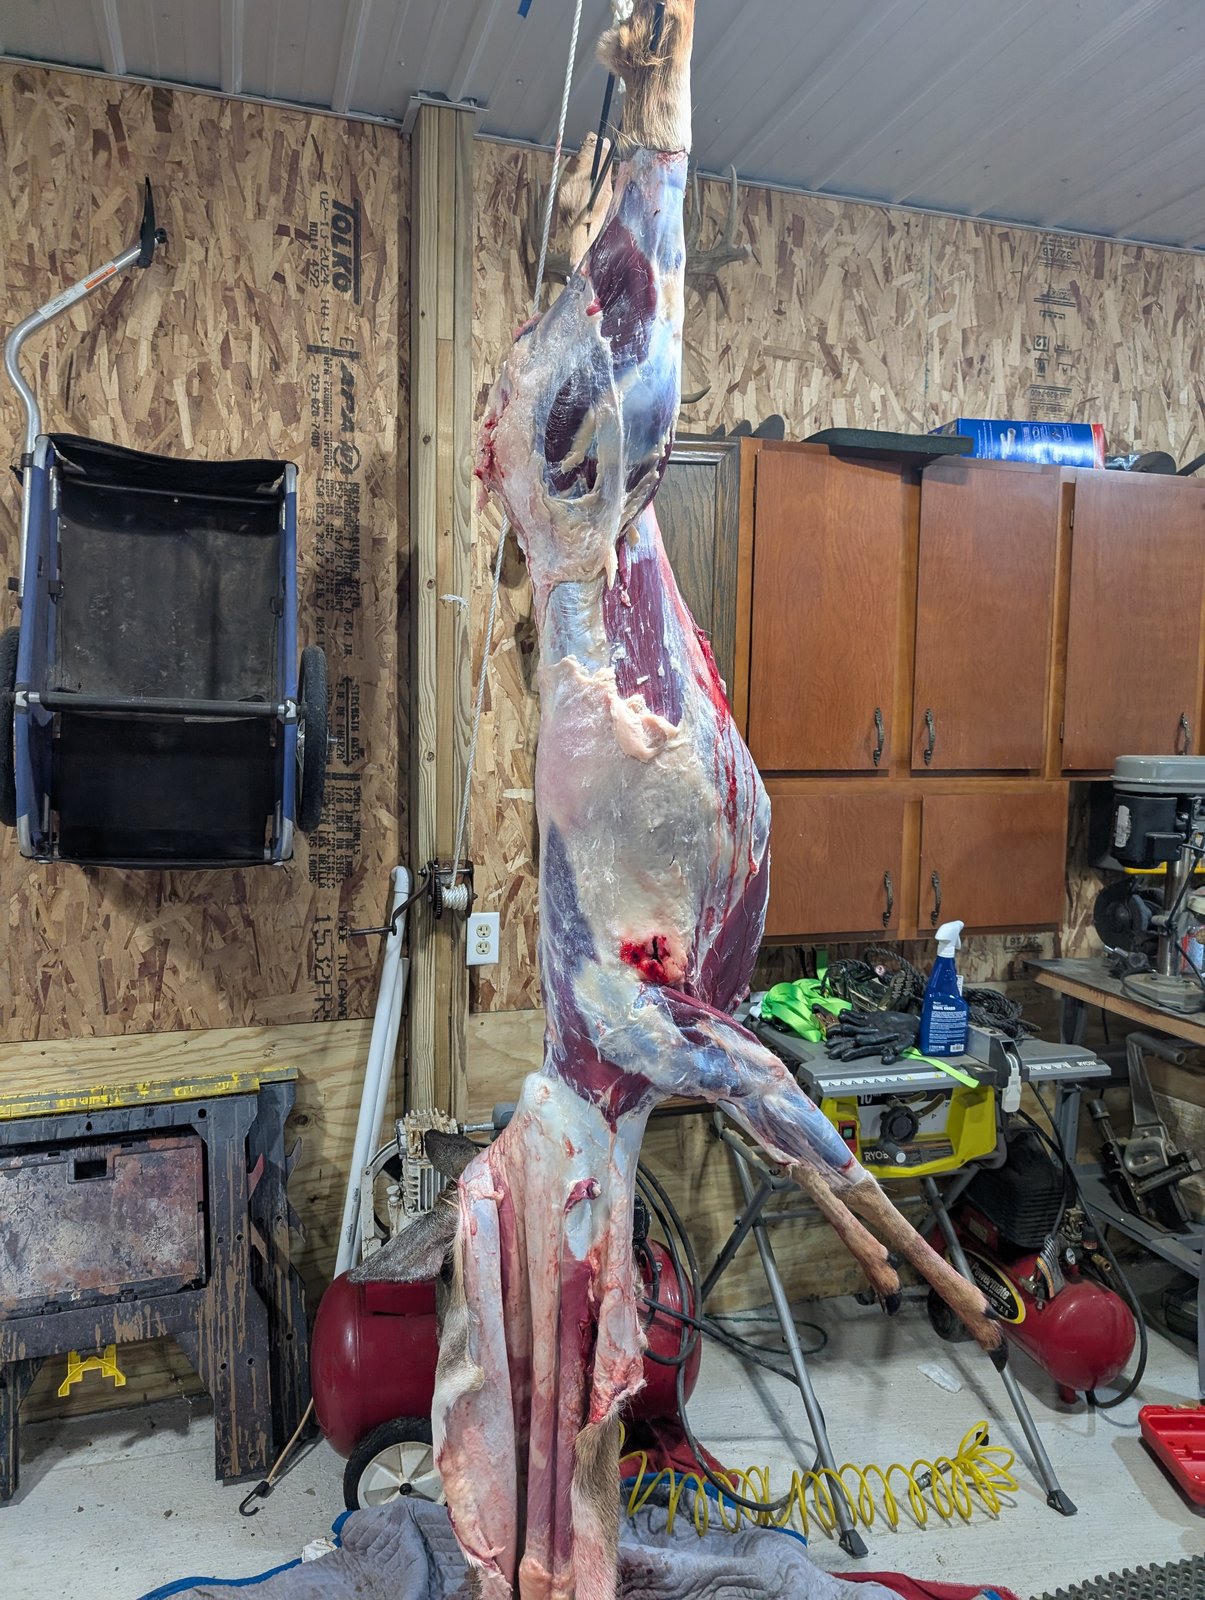
    Whitetail deer hung and skinned for processing

    Tagging and registering

    Wisconsin requires harvested deer to be tagged and registered. The registration method has changed over time, so confirm the current process at dnr.wisconsin.gov and make a note of the time limit.

    Common mistakes

    • Pushing a poor shot too soon
    • Puncturing the stomach or intestines and not cleaning up
    • Leaving the hide on in warm weather
    • Letting meat sit in meltwater
    • Skipping the tag or registration

    FAQ

    How long can a deer hang before it needs to be cooled?

    There is no single safe time. In warm weather, hours matter. Cool as soon as possible and keep the meat cold.

    Should I wash the cavity?

    Wipe with clean paper towels or cloths first. Rinse with clean, potable water only if needed, then dry.

    What if I am not sure the meat is safe?

    When in doubt, throw it out and call the DNR if you are concerned about disease.

    Rudy hunts and fishes in southwest Wisconsin and has for 35+ years.
  • Wind and weather decisions

    Wind and weather decisions

    Weather is the one factor you can check before every trip. Wind in particular decides whether an animal smells you before it ever steps into view. This guide is about reading wind and weather to decide which stand, which approach, and whether to go at all. For picking stand locations, see stand and blind placement. For deciding how to adapt through the season, see in-season hunting decisions.

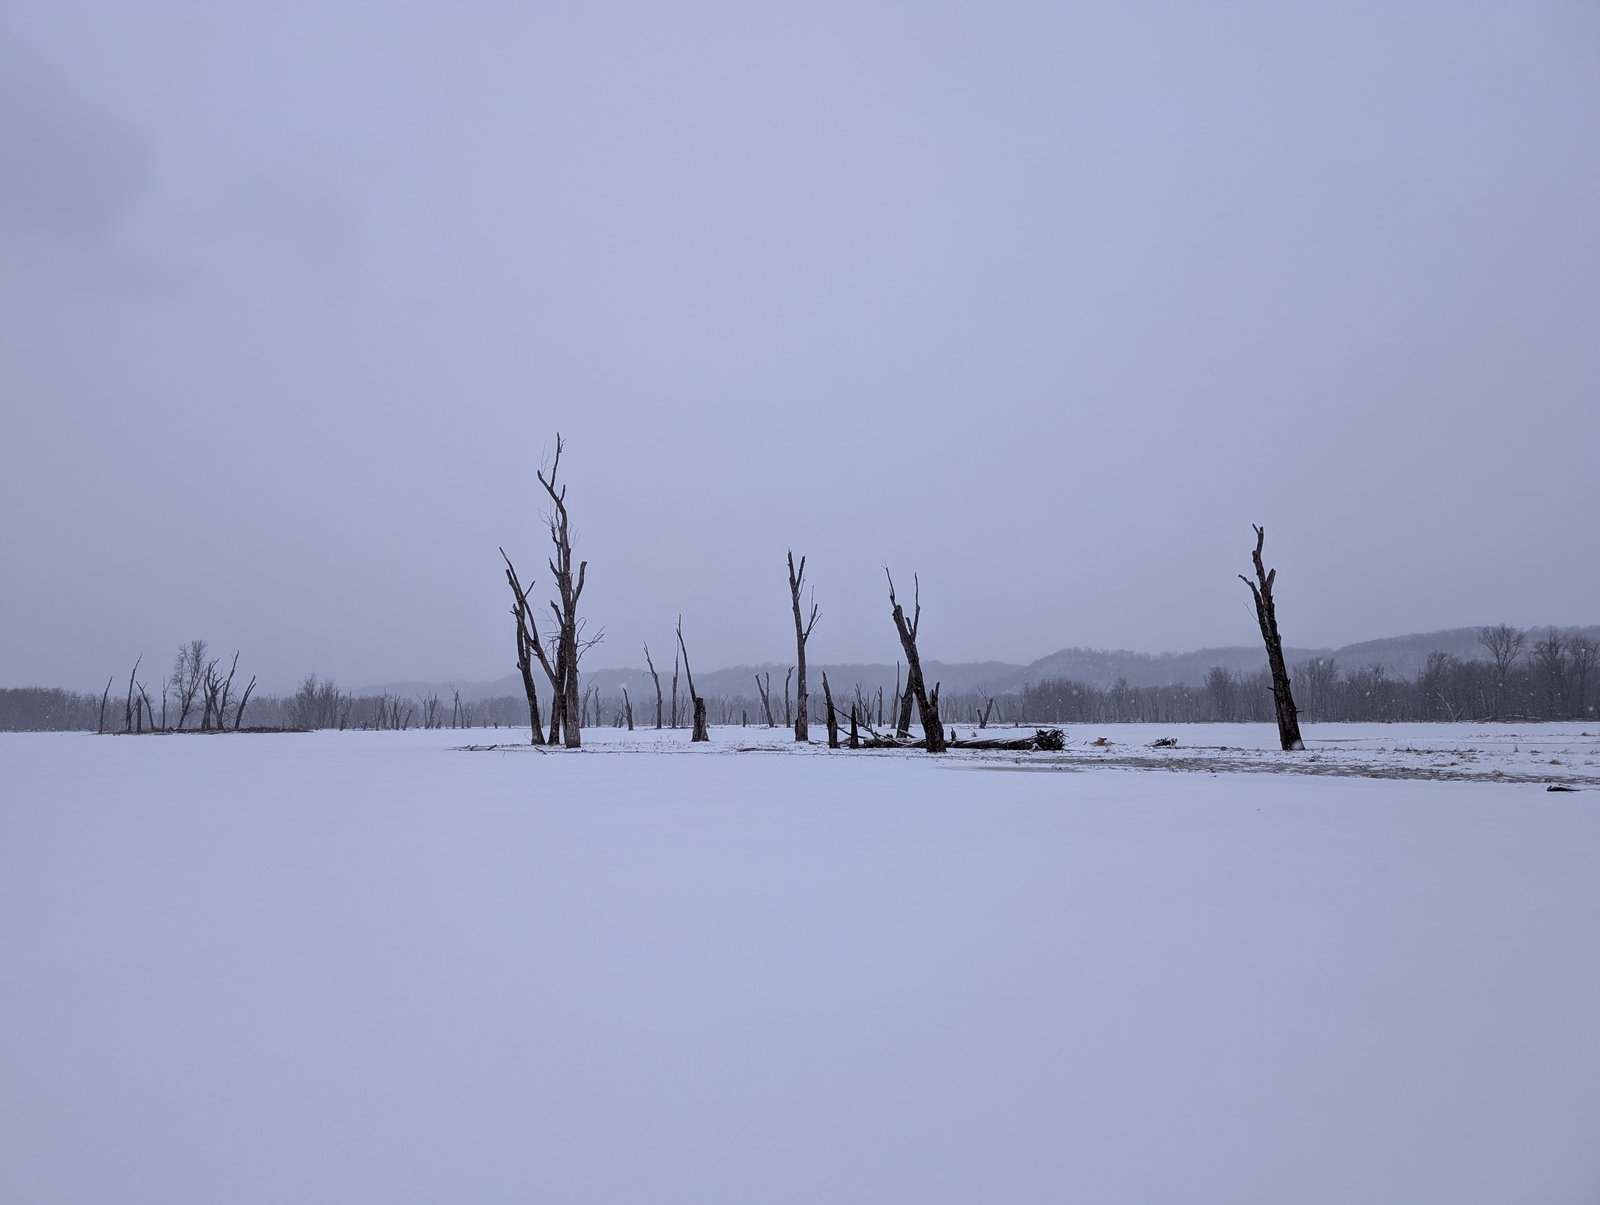
    Snow-covered frozen water with dead trees

    Why wind matters

    Deer, and many other game animals, rely heavily on smell. Your scent travels with the wind, and a quartering or steady wind can carry it a long way. Hiding your outline matters, but being upwind of the animal does more than any scent product.

    Basic rules

    • Keep the wind blowing from where animals will be, toward you.
    • Plan your approach so your scent does not cross trails, bedding, or feeding areas first.
    • A crosswind can work if the stand is set so your scent blows across, not into, the area animals use.
    • Use a wind checker such as unscented powder or a thread on your bow or a puffer bottle, and check it often.

    Know the wind before you go

    Check at least two forecast sources the evening before and again in the morning. Look for:

    • Direction: forecasts give the direction the wind is blowing from. A west wind blows from the west toward the east.
    • Speed: a light, steady wind is easier to hunt than gusty conditions.
    • Changes during the day: shifts in the afternoon are common.

    Keep a note for each stand listing which wind directions work. Then match the day’s forecast to the right stand. Having several options matters more than any one location.

    Terrain changes wind

    Southwest Wisconsin’s hills, ridges, and coulees bend and swirl air. Wind at the ridge top may not match what you feel at ground level.

    Thermals

    • Early morning and evening: cooling air tends to sink and flow downhill, so scent may drift downslope.
    • Mid-morning through afternoon: sun-warmed air tends to rise, so scent may drift uphill.
    • Hillsides: a steady wind plus thermals can swirl. Setting up near the top of a slope or on a bench can help.
    • Edges and openings: wind can curl around timber edges and drop into low spots behind them.

    Treat these as general tendencies, not guarantees. Local conditions vary, so trust your wind checker.

    Weather conditions and what they do

    Temperature

    Sudden cold snaps, particularly after warm weather, often get animals moving. Very warm weather can slow daytime movement, shifting activity to the cooler hours. Dress for the temperature you will be sitting in, not the one you felt walking in. See clothing and layering for day hunts.

    Barometric pressure and fronts

    Many hunters report more activity before and after a front. There is no guarantee, so use the idea as a reason to be in the field, not as a reason to stay home on other days.

    Rain

    Light rain can cover sound and let you move quietly. Heavy rain and strong wind often keep animals bedded. Gear matters: wet cold is a safety concern as well as an annoyance.

    Snow

    Fresh snow shows tracks and helps you see where animals are moving. Be careful with new snow cover, since it also makes sound and movement more obvious in some conditions.

    Fog and low visibility

    Fog can reduce shooting visibility. Make sure you can identify your target and what is beyond it.

    Strong wind

    High winds make sound unpredictable and can make tree stands unsafe. Do not climb or hunt from a tree in strong or gusty wind. Choose a ground setup in a protected area or stay home.

    Safety and weather

    • Do not hunt from elevated stands in storms, lightning, ice, or strong winds.
    • Know the signs of hypothermia and heat illness.
    • Check weather alerts for severe storms before you leave.
    • Waterfowl hunters should watch for cold water, ice, and wind on open water. Wear a life jacket, and understand that cold water can incapacitate quickly.

    Common mistakes

    • Looking only at wind speed and ignoring direction
    • Using one stand regardless of the wind
    • Trusting scent-control sprays instead of the wind
    • Forgetting that forecasts are for a general area, not your exact spot
    • Assuming a good-weather day means better hunting and a poor one means nothing will happen

    Quick decision guide

    1. Check the forecast the night before.
    2. Match the wind to a stand with a safe approach.
    3. Decide on clothing and safety.
    4. Recheck your wind indicator on arrival.
    5. If the wind shifts and your setup is compromised, adjust or leave quietly.

    FAQ

    Does scent-control clothing replace wind management?

    No. It may reduce odor, but wind still decides where your scent goes.

    What if the wind swirls?

    Swirling wind often means you should move to a different stand or hunt another day.

    Should I hunt in the rain?

    It can be productive, but safety and comfort come first. Waterproof, quiet gear helps.

    Rudy hunts and fishes in southwest Wisconsin and has for 35+ years.
  • Stand and blind placement

    Stand and blind placement

    Once scouting tells you where animals are moving, the next job is picking the exact spot to sit. A stand or blind placed ten yards off can mean the difference between a clean shot and an animal that never gets within range. This guide covers the where and how of the setup itself. For finding the sign in the first place, read scouting basics. For choosing which day and which wind to sit, see wind and weather decisions.

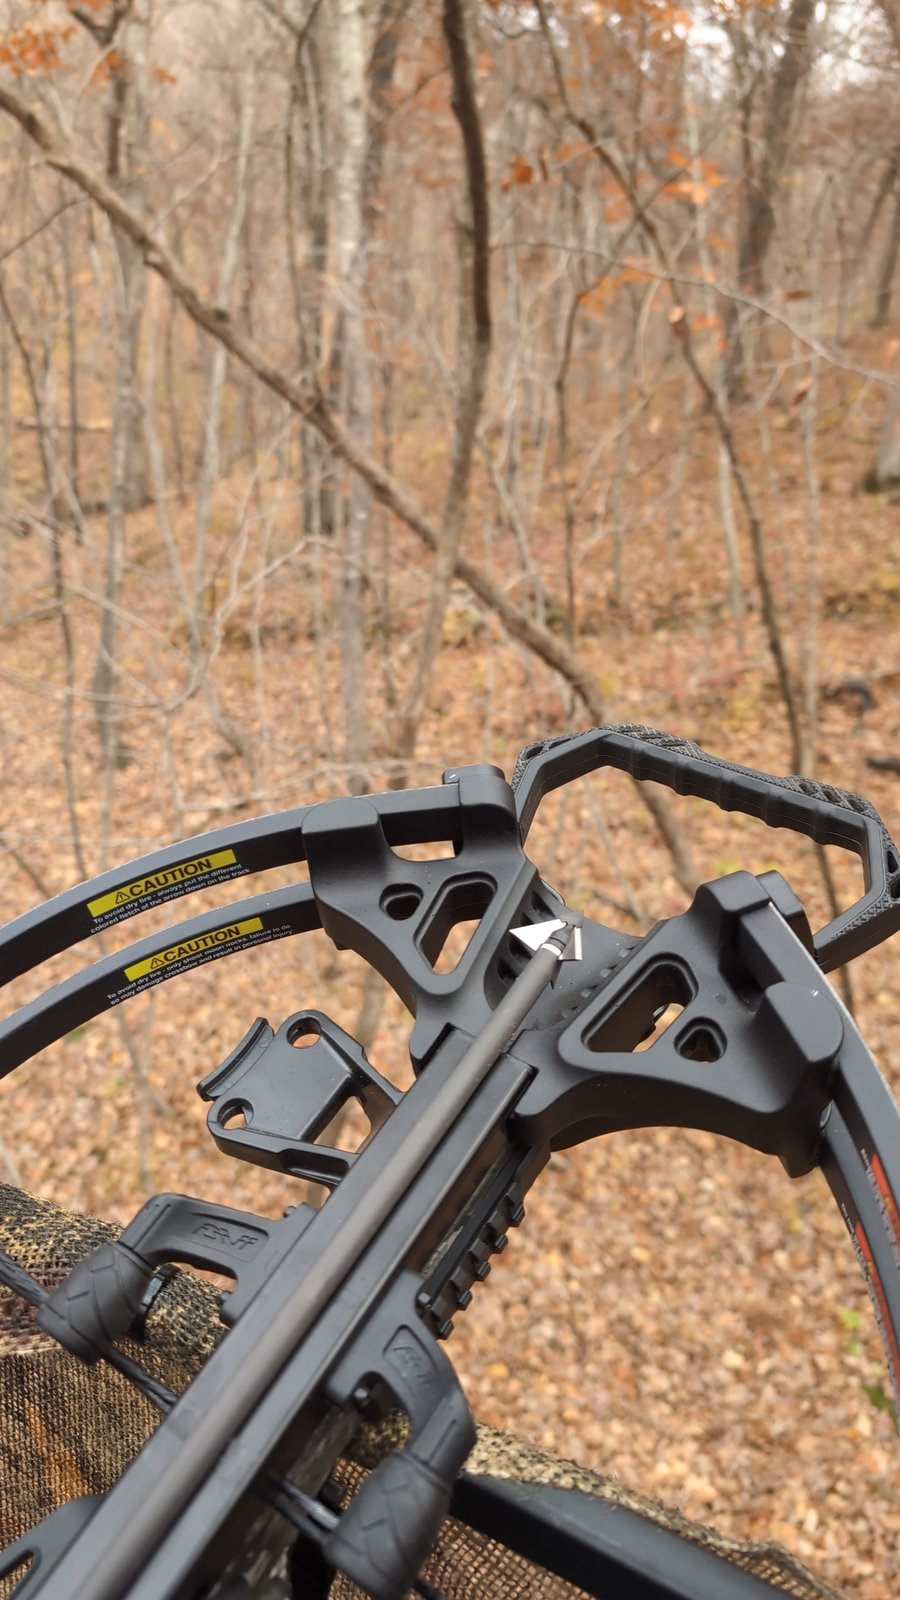
    Crossbow resting in a tree stand overlooking fall woods

    Start with access, not the view

    Most failed setups fail on the walk in. Before you pick a tree, ask how you will get there and back without alerting animals.

    • Approach from downwind or crosswind of where you expect animals to be.
    • Avoid crossing food plots, trails, or bedding cover on your way in.
    • Use creek bottoms, ditches, old fence lines, or terrain that hides you.
    • Plan an exit route that does not push animals you want to hunt again.
    • If the best stand has no good approach, pick a different stand.

    Choose the location

    Think in terms of pinch points

    Animals take the easiest, safest route. Look for where cover narrows or terrain forces movement: saddles between ridges, funnels between a swamp and a field, creek crossings, or the inside corner of a field edge. These concentrate movement into a smaller area than open timber does.

    Stay off the main trail

    Setting up directly on a trail puts you in the animal’s path and in its scent stream. Back off 15 to 30 yards where the terrain allows, so the animal passes within range without walking into you.

    Match the stand to the time of day

    A stand near a feeding area usually works best for evening. A stand closer to bedding, with great care in approach, may work for morning. Do not hunt right next to bedding unless you are sure you can get in unnoticed.

    Tree stands

    Height and background

    Typical heights run 15 to 20 feet, but terrain and cover matter more than a fixed number. The tree should break up your outline. A tree with a few branches or some background cover helps you hide. Avoid setting up with the sky behind you.

    Pick the right tree

    Choose a straight, healthy, living tree that is large enough to support the stand. Avoid dead, leaning, or rotten trees, and trees with large splits.

    Prepare shooting lanes

    Trim branches from the sitting position before the season, not while hunting. Cut as little as possible, since opening the area can change how animals move. Practice where you can aim and shoot from your seat, in the clothing you will wear.

    Safety is not optional

    Falls from tree stands are among the most common serious hunting injuries. Follow the manufacturer’s instructions and these habits:

    1. Wear a full-body harness, not just a belt.
    2. Stay connected from the ground to the stand and back down, using a lineman’s rope or climbing system.
    3. Inspect straps, ratchets, and cables each season.
    4. Never climb with a loaded firearm. Use a haul line, and unload first.
    5. Keep three points of contact on the ladder or sticks.
    6. Tell someone your location and return time.

    Ground blinds

    • Brush them in: use natural cover to break up shapes, and set the blind a few weeks early if you can so animals get used to it.
    • Keep the inside dark: wear dark clothing, and keep windows to the size you need.
    • Plan ventilation and scent: blinds do not remove scent. Wind still matters.
    • Mind your shot angles: make sure you can get a clean shot from a seated position.

    Ground blinds can work well for bowhunters and kids. Waterfowl blinds follow the same ideas but depend on cover along the shore, wind, and flight lines.

    Public land and permissions

    Rules for stands, blinds, and trail cameras on public lands differ by property type. Some properties limit how long stands may stay, require marking, or restrict what you can attach to a tree. Ask the landowner on private land. Verify what is allowed on public land through the Wisconsin DNR before installing anything.

    Common mistakes

    • Putting stands where you want to hunt, not where animals travel
    • Setting up with the wind blowing your scent toward where you expect deer
    • Cutting too many shooting lanes, which can change travel patterns
    • Walking through the setup area repeatedly
    • Skipping safety equipment because the stand is “low”
    • Not testing the setup with a practice shot

    Quick placement checklist

    1. Is there evidence of recent travel?
    2. Do I have a quiet approach and exit?
    3. Which wind directions are safe, and how often does that wind blow?
    4. Can I shoot comfortably in all expected directions?
    5. Am I well hidden against a background?

    FAQ

    How many stands should I have?

    Enough that you can match the wind. Having two or three options per area is often more useful than one “perfect” stand.

    Can I hang a stand early?

    On private land, generally yes with permission. Setting early gives animals time to adjust. On public land, follow the property’s rules.

    How far should I be from a trail?

    There is no set number. Back far enough to be out of the animal’s immediate scent and line of sight while keeping the shot within your effective range.

    Rudy hunts and fishes in southwest Wisconsin and has for 35+ years.
  • Scouting basics

    Scouting basics

    Scouting is information gathering. The goal is to learn where animals feed, where they bed, and how they move between the two, then to leave without teaching them anything. This guide covers the finding part: maps, sign, and a low-pressure way to walk. Once you know where the animals are, the next questions are covered in stand and blind placement, wind and weather decisions, and in-season hunting decisions.

    Buck walking through fall timber, trail camera photo

    Start at the kitchen table

    Good scouting begins before you put boots on the ground. Pull up aerial imagery and a topographic map of the property, or of the public land you plan to hunt, and mark what stands out.

    • Food: crop fields, food plots, oak ridges, fruit trees, and brushy edges where browse is thick.
    • Cover: thick regrowth, cedar or pine stands, cattail and tamarack swamps, and overgrown fence lines where animals can bed unseen.
    • Terrain features: ridge saddles, creek crossings, benches on hillsides, field corners, and narrow strips of timber that connect larger blocks. Southwest Wisconsin’s hills and coulees funnel movement more than flat country does.
    • Access: parking spots, roads, trails, and neighboring property lines.

    Mark two or three spots per map that deserve a look. Walking a whole property “to see what is there” mostly produces noise.

    What to look for on the ground

    Trails and travel routes

    Look for narrow, packed paths with worn dirt or flattened grass, especially where two terrain features meet. A trail with fresh tracks after a rain tells you more than one that looks old and grown over.

    Tracks and droppings

    Tracks show size, direction, and a rough age. Droppings that are dark, moist, and shiny are fresh. Dry, pale, or crumbling droppings are old. Freshness matters more than quantity.

    Rubs and scrapes

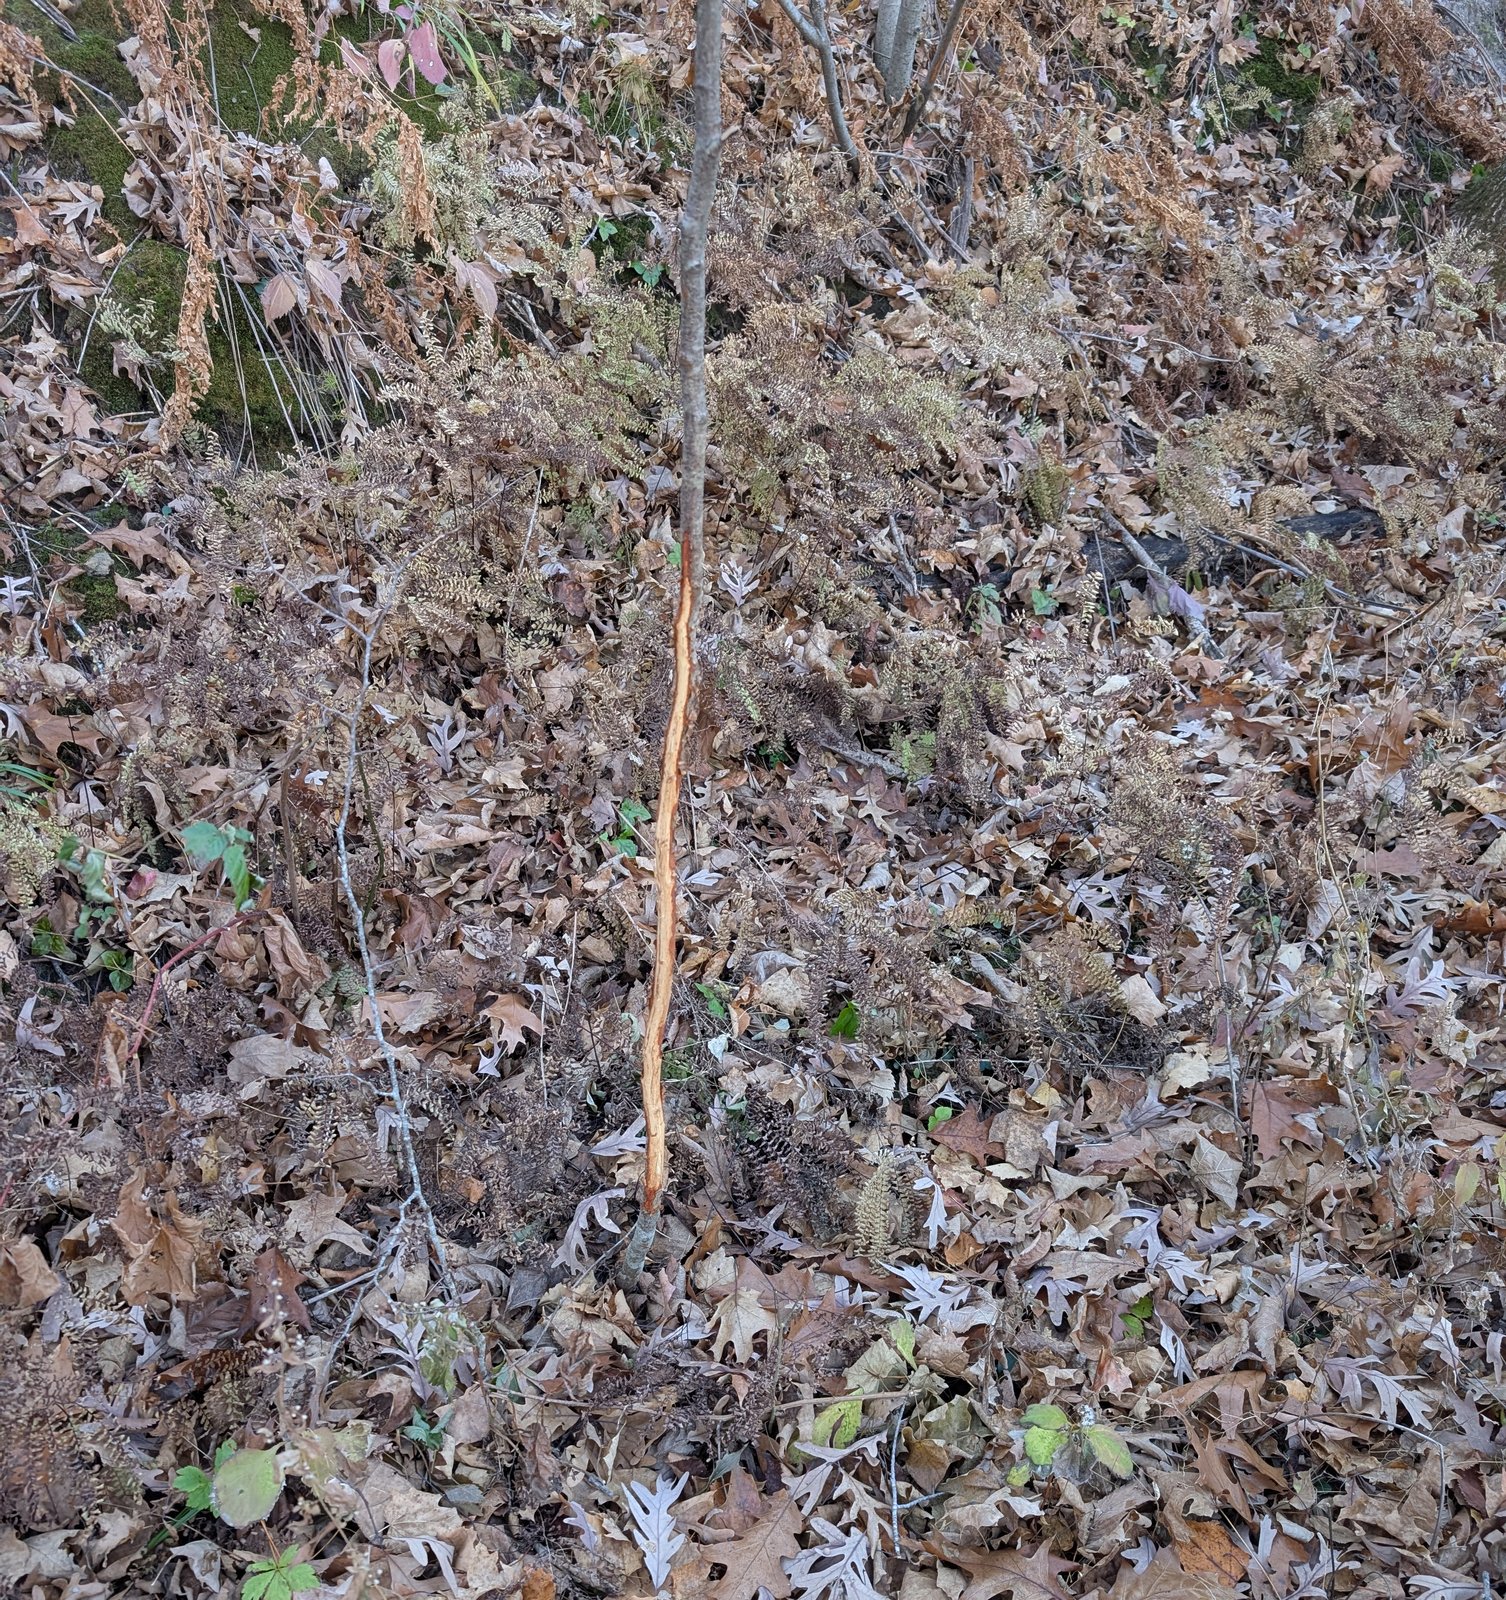
    Rubs are stripped bark on small trees and saplings. They show travel direction and general activity but do not prove a particular animal is nearby right now. Scrapes are pawed ground under an overhanging branch. Treat both as clues to be confirmed with fresh tracks or trail camera data, not as guarantees.

    Food sources

    Check what is actually being eaten. Acorn drop varies by year and by tree. Look for chewed browse, cracked nuts, and trampled crop edges. Food use changes through the season, so a spot that was hot in September can be empty in November.

    Bedding areas

    Oval flattened spots in thick cover, often with a view downwind or a steep slope behind, are bedding sign. Look but do not linger. Bumping animals out of their beds is the fastest way to ruin a spot.

    Scout with low pressure

    • Scout in the middle of the day when animals are least likely to be moving.
    • Walk the edges of cover, not through its middle. Use binoculars from a distance first. See optics that earn a spot.
    • Keep the wind in your face or crosswind when approaching likely bedding.
    • Walk slowly and stop often. Most sign is found by looking, not walking.
    • Wear rubber boots or boots you keep clean of strong scents.
    • If you bump animals from bed, back out, note the location, and rewrite your plan.
    • Limit trips. Once you know the layout, stay out until the season.
    Buck rub on a small sapling

    Use trail cameras as a scouting tool

    Cameras scout for you without adding pressure. Place them on trails, field edges, or mineral sites where legal, and check them sparingly. Setup, settings, and ethics are in trail cam basics.

    Species notes

    • Deer: focus on food-to-bedding routes and on where animals travel in the last hour of light and the first hour after sunrise.
    • Squirrel: find hickory, oak, and walnut with fresh cuttings on the ground, and den or leaf nests overhead. Sit quietly at first light.
    • Waterfowl: scout water, not ground sign. Watch where birds loaf, feed, and fly in the morning and evening. Water levels and ice change from week to week, so recheck close to your hunt.

    Keep simple notes

    After each trip, write down the date, weather, wind direction, what you saw, and a one-line plan. Notes turn scattered observations into a pattern you can use. A basic notes app or a paper notebook works.

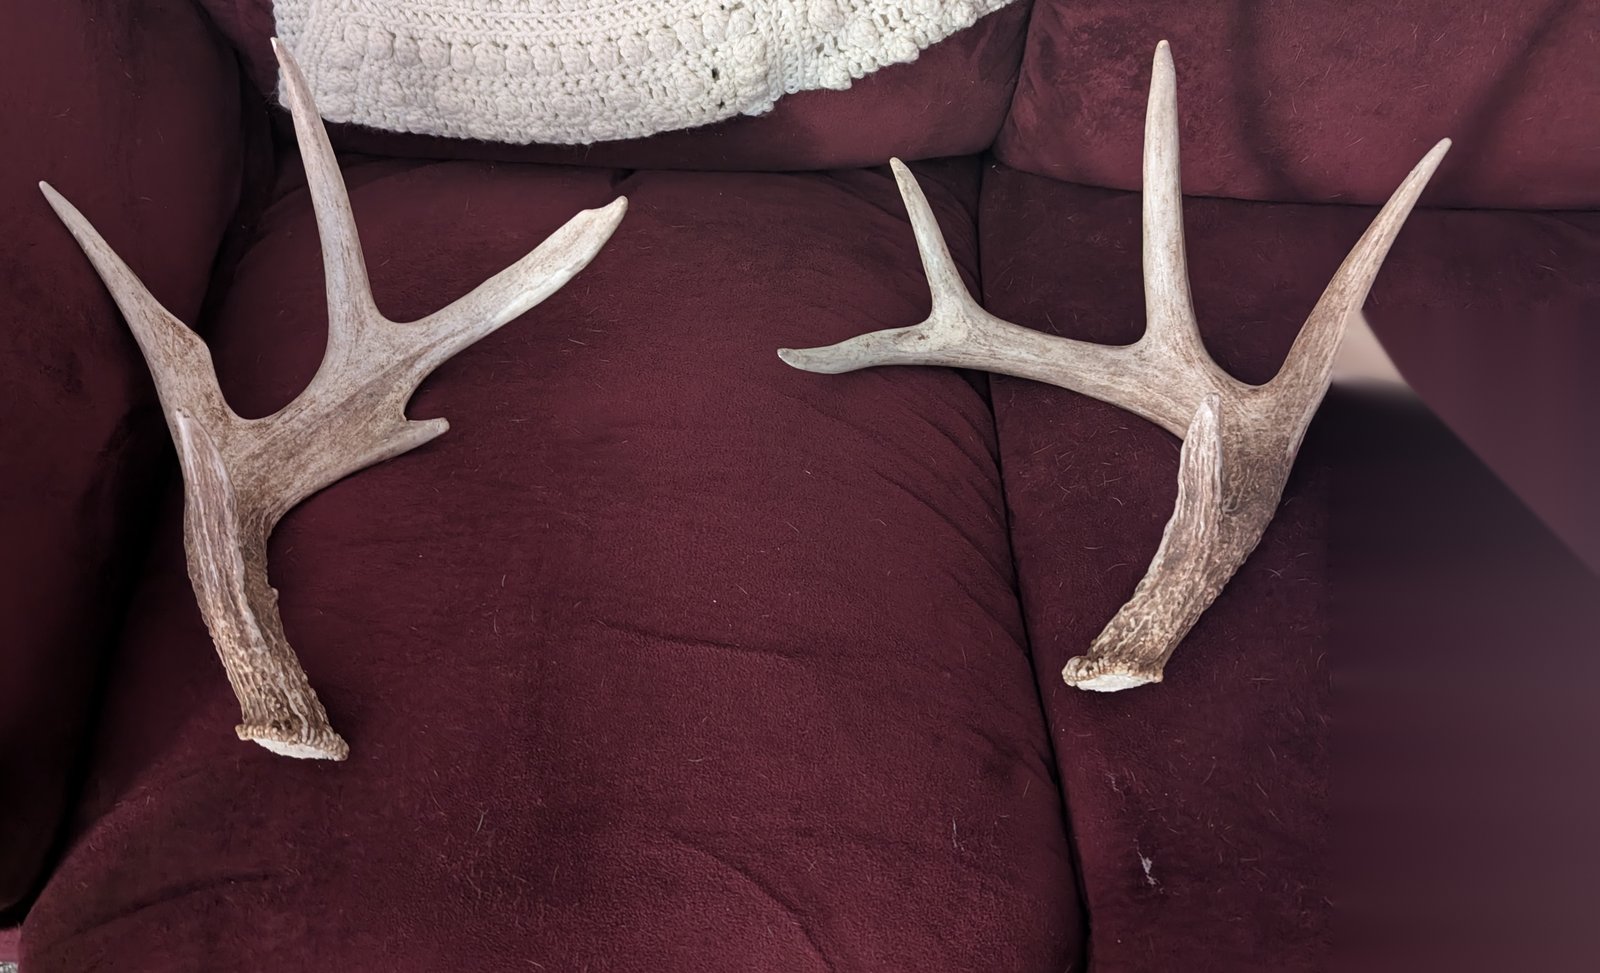
    Matched pair of shed whitetail antlers

    Common mistakes

    • Over-scouting the best spot and teaching animals to avoid it
    • Reading old sign as current activity
    • Walking through bedding cover in the middle of the day
    • Ignoring neighboring land, where animals may spend much of their time
    • Skipping notes and trusting memory

    Rules and permission

    Always get permission before scouting private land, and know the boundaries on public land. Rules on trail cameras, baiting, stands, and access differ by property type and by county. Check current regulations at dnr.wisconsin.gov before you set anything up.

    FAQ

    How often should I scout?

    Do most of it in the off-season and early pre-season. During the season, scout only when new information is worth the pressure it adds.

    Is scouting from the truck useful?

    Yes. Glassing fields from the road at dusk can show feeding patterns at no cost to your hunting spots.

    What do I do on public land?

    Use online maps to identify access points and walk-in areas that are far from parking lots. Pressure is often lighter a few hundred yards farther in.

    Rudy hunts and fishes in southwest Wisconsin and has for 35+ years.
  • Trail cam basics

    Trail cam basics

    A trail camera lets you learn what is on the land without being there. Used well, it tells you what animals use an area and roughly when. Used poorly, it adds pressure and wastes batteries. This guide covers camera choice, placement, settings, checking schedules, and how to read what you get. It works alongside scouting basics and feeds into your stand placement.

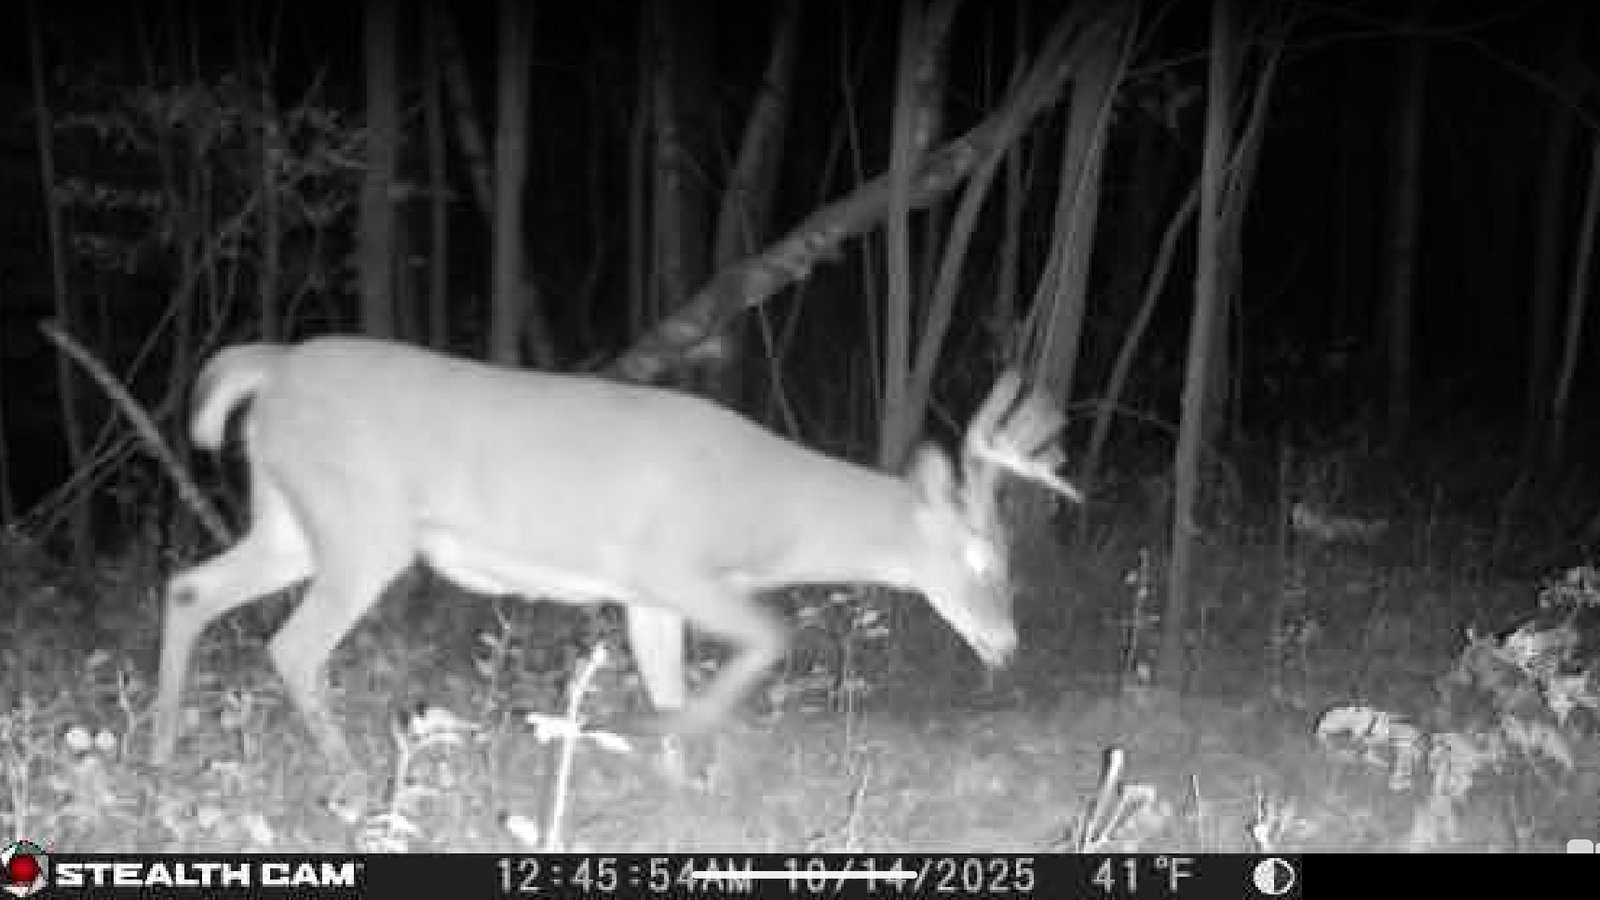
    Buck walking past a trail camera at night, black-and-white infrared

    Choosing a camera

    You do not need the most expensive model. Look for:

    • Fast trigger speed: reduces photos of empty frames and animal backsides.
    • Reliable battery life: lithium batteries often last longer in cold weather. Check the manufacturer’s recommendation.
    • Low-glow or no-glow infrared: less likely to spook animals at night.
    • SD card support: a decent-sized card from a known brand.
    • Strong housing and a way to lock it: a security box or cable lock.
    • Optional cellular models: these send images to your phone and reduce visits. They require a data plan, and rules on their use may vary, so check regulations.

    Where to place cameras

    Good locations

    • Trails and travel corridors, especially near pinch points
    • Field edges and food sources
    • Creek crossings and water
    • Scrapes and mineral sites, where legal

    Setup

    1. Mount the camera on a sturdy tree, about waist to chest height, angled slightly down.
    2. Face it north or south, when possible, to avoid sun glare at sunrise and sunset.
    3. Clear branches and tall grass in front of the lens, which can trigger false photos.
    4. Aim across the trail instead of straight down it, so animals stay in frame longer.
    5. Place it 10 to 20 feet from where you expect animals to walk.
    6. Take a test photo while at the camera to confirm the view.

    Settings

    Defaults vary by brand, but these are a good starting point:

    • Mode: photo, or photo with a short video for behavior.
    • Burst or multi-shot: 2 to 3 photos per trigger.
    • Delay: short, such as 10 to 30 seconds, to avoid filling the card with the same animal.
    • Sensitivity: medium, and lower it if wind and moving branches create false triggers.
    • Time and date stamp: turn it on, and check it is correct.
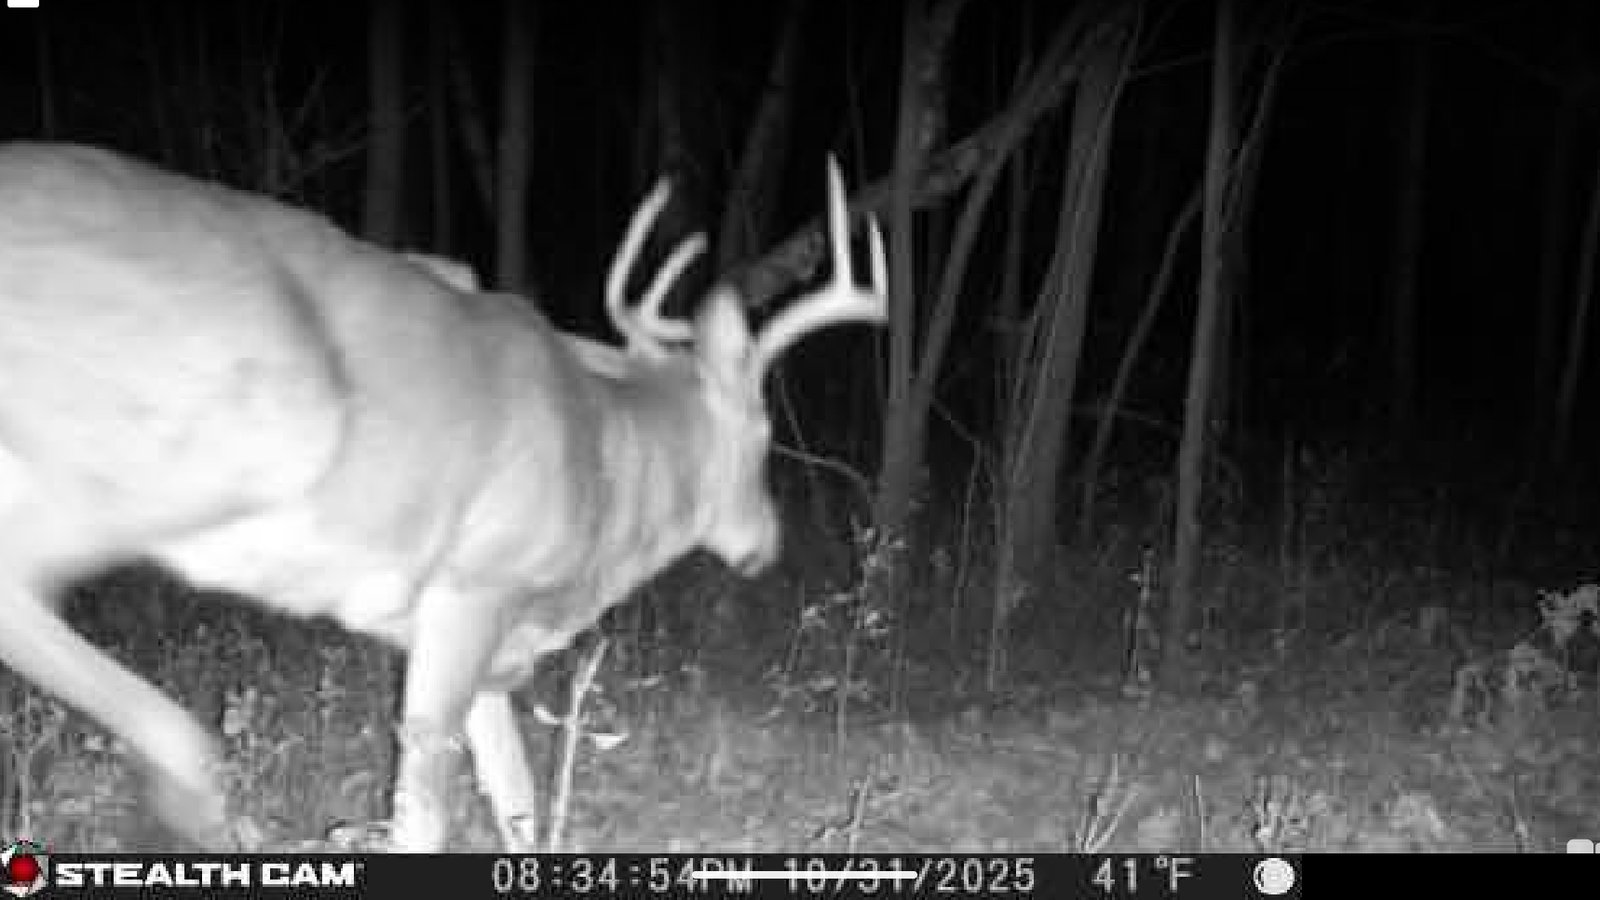
    Large buck passing close to a trail camera at night

    Check them sparingly

    Every visit leaves scent and disturbance. Decide on a schedule and stick to it.

    • Check cameras every few weeks, not every few days.
    • Visit at midday when animals are least likely to be nearby.
    • Approach from downwind.
    • Swap cards quickly, and review photos on a phone, tablet, or computer at home.
    • Carry spare batteries and cards.

    Cellular cameras reduce trips, but they also tempt you to hunt on every photo. Use them as information, not instructions.

    Reading photos

    • Time of day: shows when animals use an area. Look for patterns, not single events.
    • Direction of travel: helps you see where animals come from and go to.
    • Number and type: buck-to-doe ratios and fawn counts across the area help with management decisions.
    • Condition: body condition, antler growth, and any signs of illness.
    • Moon and weather: you may notice patterns tied to temperature or wind.

    Take care when interpreting results. A camera shows one spot, and animals can avoid cameras. A few photos do not prove how many animals are present.

    Keep records

    Use a simple spreadsheet with columns for camera name, location, date, time, species, count, and notes. After a season you will have a record you can use in planning.

    Buck feeding in fall timber, trail camera photo

    Rules and etiquette

    • Get permission from the landowner before placing a camera on private property.
    • Rules for cameras on public land differ by property. Some require identification on the camera, limit the time it may remain, or restrict use during certain seasons. Check DNR regulations and the specific property.
    • Do not point cameras at areas where people expect privacy, such as neighbors’ yards.
    • Do not post identifiable images of other people.
    • Lock cameras to a tree where theft is a concern, and record the serial number.
    • Be careful about sharing images that reveal exact hunting locations.

    Common mistakes

    • Placing a camera in direct sun, causing false photos and bad exposure
    • Using old batteries, then finding a dead camera
    • Checking too often and leaving scent on every visit
    • Setting too many cameras and not reviewing the data
    • Forgetting to remove cameras at the end of the season or when required

    FAQ

    How many cameras do I need?

    Start with one or two in the best places. More cameras mean more data, but also more work and more disturbance.

    When should I set cameras?

    Before the season, to learn about patterns without pressuring animals, and again later if you need updated information.

    Do cameras scare deer?

    Some animals notice them, especially with flashing or noisy models. No-glow models and quiet checks reduce this.

    Rudy hunts and fishes in southwest Wisconsin and has for 35+ years.
  • Clothing and layering for day hunts

    Clothing and layering for day hunts

    Staying comfortable is part of staying safe and staying quiet. If you are cold, you fidget, you leave early, and in the worst case you face hypothermia. If you are overheated and sweaty, you chill when you stop. This guide explains a simple layering system for a day hunt in Wisconsin weather, from early-season warmth to late-season cold. It fits with the packing ideas in day-hunt pack essentials and the forecast checks in wind and weather decisions.

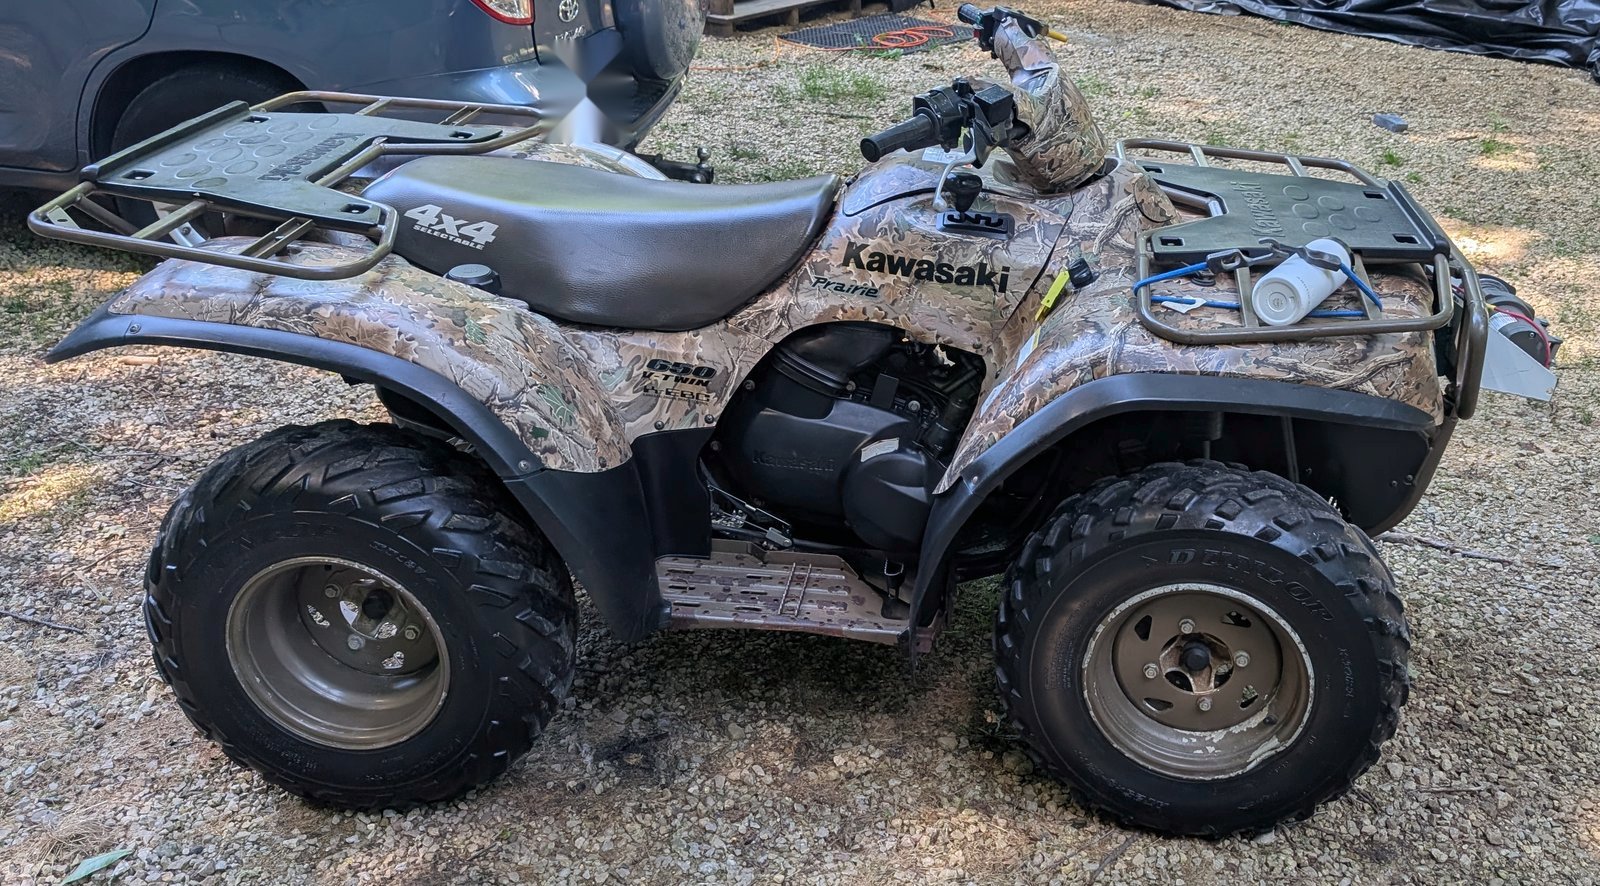
    Camo ATV used for getting gear in and out

    The layering idea

    Think of clothing as a system with three jobs:

    1. Base layer: moves moisture away from your skin.
    2. Insulation layer: traps warm air.
    3. Shell layer: blocks wind and rain, and offers quiet protection.

    You adjust the system by adding and removing layers as you move and sit. The aim is to avoid sweating on the walk in and to stay warm on stand.

    Base layer

    Choose merino wool or a synthetic fabric. Both manage moisture. Avoid cotton, which holds sweat and chills you.

    • Fit should be snug but not tight.
    • Pack a spare pair of socks, which are the first thing to get damp.
    • Bring a light base layer in warm weather, and heavier ones in the late season.

    Insulation layer

    This is where you control warmth.

    • Fleece or wool: quiet, warm, and breathes well.
    • Down: very warm for its weight but loses insulation when wet. Use it under a shell or in dry conditions.
    • Synthetic insulation: warm when damp and dries quickly.
    • Multiple thin layers: easier to adjust than one heavy layer.

    Shell layer

    The outer layer protects from wind and rain.

    • Quiet fabric: avoid stiff or noisy materials that swish when you move.
    • Wind and water resistance: a waterproof shell is helpful in rain or snow. A softshell is quieter and breathes better in drier weather.
    • Vents or zippers: open them to dump heat on the walk.
    • Pockets: large enough for gloves and a phone, and reachable when seated.

    Head, hands, and feet

    Head

    A warm hat holds a lot of heat. In gun seasons, make sure your headwear meets blaze requirements.

    Hands

    • Thin gloves for dexterity, with warmer mitts or hand warmers over them.
    • Keep a dry spare pair.
    • Archery hunters may prefer a muff to keep fingers warm until they draw.

    Feet

    Cold feet end more hunts than any other issue.

    • Wear moisture-wicking socks, such as wool, and avoid thick socks that squeeze the foot and reduce circulation.
    • Use insulated boots rated for the temperature if sitting. Rubber boots keep feet dry but may not be warm.
    • Leave a little room in the boot for air.
    • Bring boot insulation or toe warmers for long, cold sits.

    Blaze orange and visibility

    During gun deer seasons, Wisconsin requires blaze orange or fluorescent pink. The rules specify how much to wear and where. Hunters in other seasons may not be required but may choose to wear it anyway. Check the current requirements at dnr.wisconsin.gov. Even when not required, wearing orange during busy seasons can reduce risk.

    Walking in without sweating

    A common mistake is dressing for the sit and overheating on the walk.

    • Start a little cool. You should be slightly cold at the truck.
    • Carry your heavy layers in the pack and put them on at the stand.
    • Slow down and take shorter steps.
    • Open zippers and take off the hat if you start to sweat.
    • Change out damp base layers if you can.

    Sitting still: adding warmth

    • Put on your insulation and shell when you reach your spot.
    • Use a seat pad.
    • Place hand warmers in gloves and boots.
    • Keep your core warm. If your body is warm, your hands and feet follow.
    • Eat a snack and drink water. Fuel helps your body make heat.

    Waterfowl and wet conditions

    Waterfowl hunters often face wet and cold conditions.

    • Choose waterproof outerwear and neoprene or insulated waders.
    • Wear a life jacket on the water.
    • Watch for signs of hypothermia, such as shivering, slurred speech, and confusion. Get warm and dry immediately.

    Care of clothing

    • Wash with unscented detergent.
    • Store clothes in a sealed bag or tote to keep them free of household odors.
    • Dry gear fully between hunts.
    • Check zippers and seams before the season.

    Quick layering by season

    • Early season: light base layer, light shell, cap, and insect protection.
    • Mid-season: midweight base, fleece or wool, and a quiet shell.
    • Late season: heavier base, insulated layers, windproof shell, warm hat, mitts, and insulated boots.

    Common mistakes

    • Wearing cotton
    • Overdressing for the walk
    • Forgetting spare socks and gloves
    • Ignoring the wind chill
    • Waiting until it is cold to test your gear

    FAQ

    Is camouflage necessary?

    Pattern matters less than movement and fit with the background. Quiet clothes and good concealment help more than a brand.

    What about scent control?

    Washing with unscented detergent is a reasonable step, but wind management is more important. See wind and weather decisions.

    How do I know if I am dressed enough?

    If you are slightly cool at the start of your walk and comfortably warm in the stand, you are probably close.

    Rudy hunts and fishes in southwest Wisconsin and has for 35+ years.
  • Optics that earn a spot

    Optics that earn a spot

    Optics can improve your hunting a lot, but only the few that fit how and where you hunt. Spending on glass you do not use, or buying specs that do not suit your terrain, wastes money. This guide ranks what matters, explains the numbers on the box, and suggests how to test gear. For where optics fit in your pack, see day-hunt pack essentials. For using binoculars to scout without pressure, read scouting basics.

    Crossbow resting in a tree stand overlooking fall woods

    Binoculars: the first thing to buy

    Binoculars let you check fields, edges, and hillsides from a distance, spot animals before they spot you, and identify targets before a shot. If you buy only one optic, make it binoculars.

    Reading the numbers

    A pair marked 8×42 has 8x magnification and 42 mm objective lenses.

    • Magnification: 8x is a good all-around choice. It is steadier to hold than 10x and has a wider field of view. 10x brings game closer but magnifies shake.
    • Objective size: 42 mm gathers more light for dawn and dusk. 32 mm is lighter and smaller, with less light.
    • Field of view: wider helps in thick cover where you scan quickly.
    • Eye relief: matters if you wear glasses. Look for twist-up eyecups and enough relief to see the whole image.

    What to look for

    • Clear, bright image without color fringing at the edges
    • Waterproof and fogproof construction
    • Comfortable weight and a good harness or strap. A chest harness keeps them from swinging.
    • A focus wheel you can use with gloves

    Test before buying

    Try several pairs at a store or borrow from friends. Look at a distant branch at dusk if possible, and check for sharp edges and brightness. Walk around with them for a few minutes to see how they feel. Pay for good glass over extra features.

    Rangefinders

    A rangefinder tells you the distance to a target, which matters for bow hunters and for rifle hunters who may shoot across fields or ravines. In hilly country, angles can change the effective distance. Many models compensate for angle.

    • Range and accuracy: a model that reads reliably to the distances you hunt, not the largest number on the box.
    • Reflectivity: many struggle to read deer-sized targets at longer ranges. Test on non-reflective objects.
    • Speed and display: a clear display in low light is important.
    • Ease of use: big buttons you can press with gloves.

    Practice using it before the season, and ranging landmarks around your stand ahead of time. A rangefinder is not a license to shoot farther. Know your limit.

    Riflescopes

    A scope should match the firearm and how you hunt.

    • Magnification: a low-power variable such as 1-4x or 3-9x covers most Wisconsin deer hunting in woods and fields. Higher magnification is useful for open fields but harder to use at close range.
    • Objective size: a moderate size gives good light without sitting too high.
    • Mounting: good rings and bases matter as much as the scope. Make sure everything is tight and zeroed.
    • Eye relief and eye box: forgiving ones are easier to use in the field.
    • Reticle: keep it simple. A basic crosshair works for most.

    Re-check zero when you change ammunition, remove the scope, or after a hard knock. Scopes and bows are covered in the pre-season checklist.

    What to skip, at least at first

    • Spotting scopes, unless you hunt open country or waterfowl
    • Overly high magnification
    • Complicated reticles you will not use
    • Costly cameras and gadgets that duplicate what your binoculars do

    Care and storage

    • Keep lens caps on when not in use.
    • Use a lens pen or microfiber cloth. Blow dust away before wiping, so you do not scratch coatings.
    • Do not leave optics in a hot vehicle or in direct sunlight.
    • Store in a dry, padded case.
    • Keep batteries fresh and carry spares for electronics.
    • Rain guards and objective covers help in wet weather.

    Safety

    Never use a rifle scope as a substitute for binoculars. A scope should only be pointed at something you are willing to shoot, so use binoculars to identify a target, then raise the firearm. Always identify your target and what is beyond it.

    Rules to check

    Some optics, such as thermal and night vision devices, may be restricted or prohibited for hunting. Verify what is legal for your species and season at dnr.wisconsin.gov.

    Common mistakes

    • Buying high magnification to compensate for poor glass quality
    • Not testing in low light
    • Forgetting to check zero after bumping the scope
    • Using a rangefinder for the first time on opening day

    FAQ

    What magnification is best for binoculars?

    8x is a safe choice for most hunters.

    Do I need a rangefinder with a rifle?

    Not always. In wooded areas with short shots, you may not. Open fields and hills are where it helps most.

    How much should I spend?

    Spend what you can afford on binoculars first. Mid-range glass is a solid value, and you can upgrade later.

    Rudy hunts and fishes in southwest Wisconsin and has for 35+ years.
  • Knives and field processing kit

    Knives and field processing kit

    A good knife and a few basic supplies make field care faster, cleaner, and safer. You do not need a big collection. This guide covers what to carry, how to keep blades sharp, and how to handle tools safely. It connects directly to field care after the shot, and the kit sits inside your day-hunt pack.

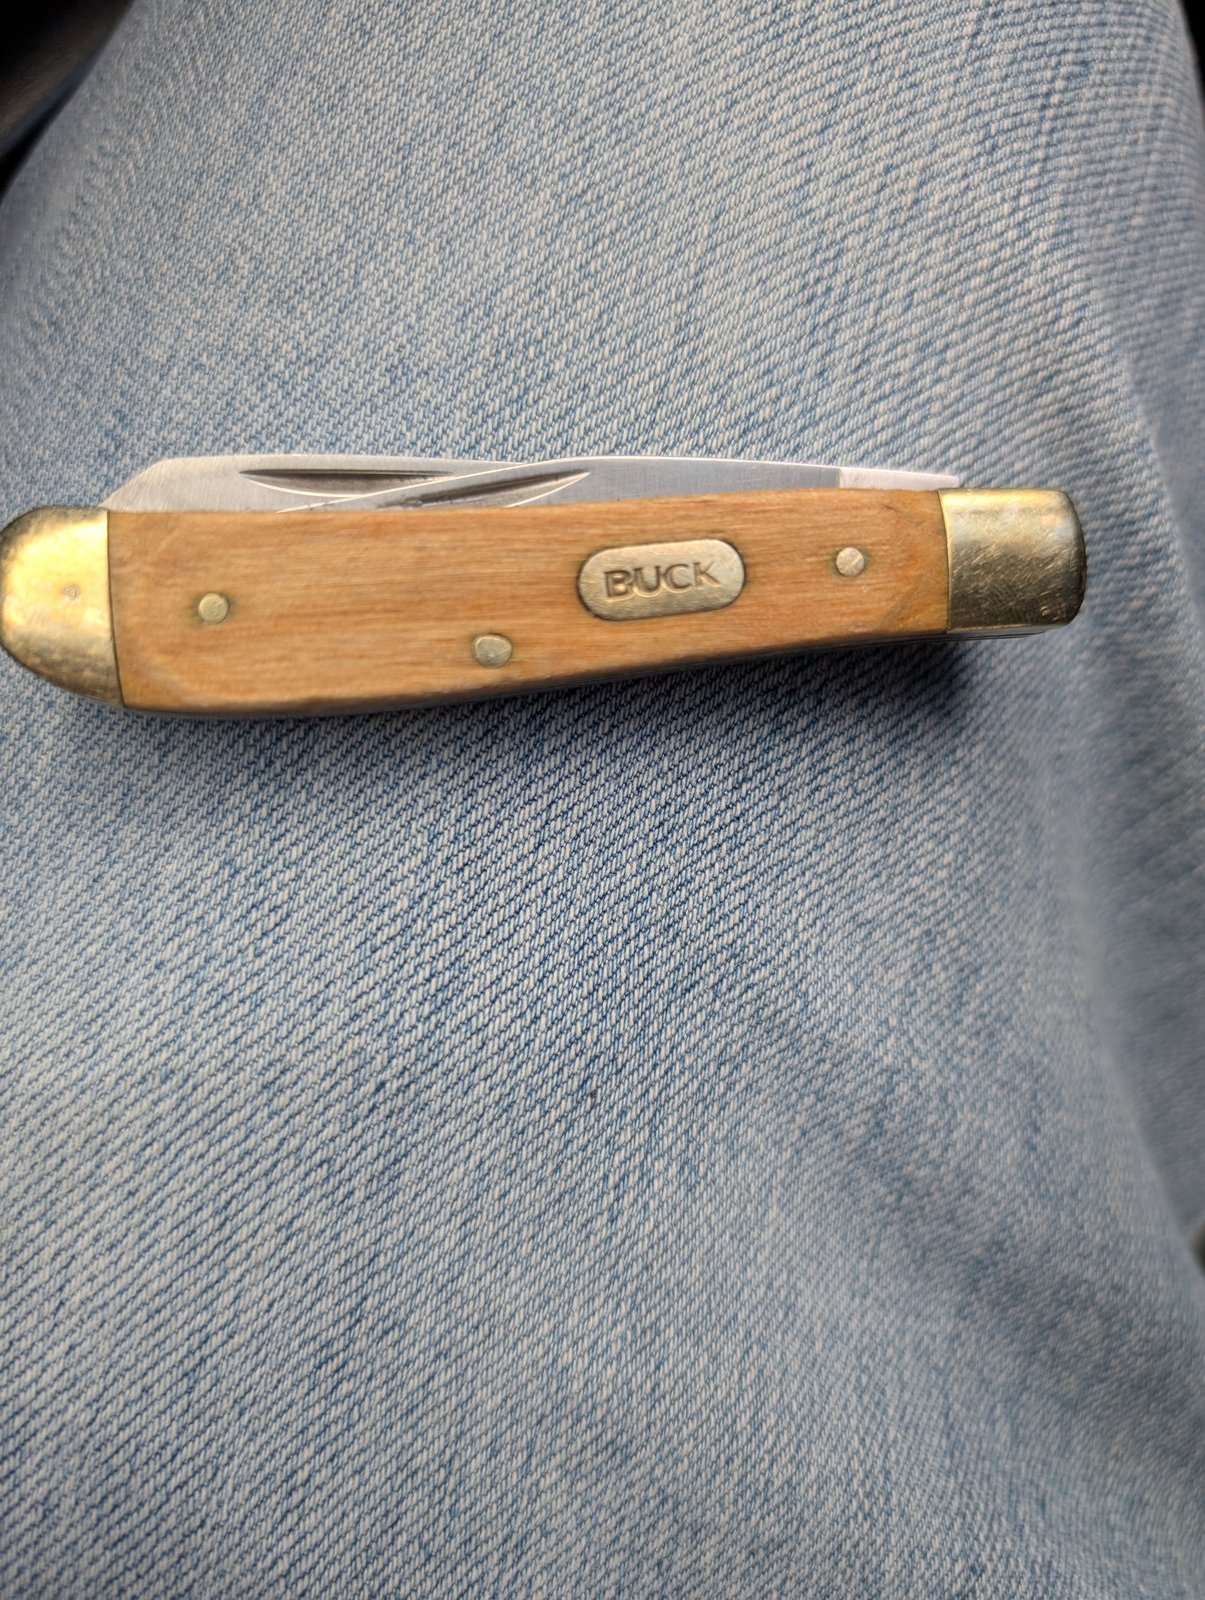
    Wood-handled Buck pocketknife

    Choosing a knife

    Fixed blade or folding

    • Fixed blade: strong, easy to clean, and has no moving parts. Many hunters prefer it for dressing a deer. Carry it in a sheath.
    • Folding knife with a lock: compact and convenient. Make sure the lock is solid, and keep the pivot area clean.

    Blade shape

    • Drop point: a versatile shape for field dressing and skinning. A good general choice.
    • Gut hook: helps open the belly without piercing organs. Some find it unnecessary.
    • Skinning blade: a curved belly shape speeds up skinning, but may be a second knife.
    • Small detail blade: helpful for small game and fine trimming.

    Handles and steel

    Choose a handle that is grippy when wet and bloody. Steel type matters less than keeping it sharp. Stainless resists rust, but carbon steel often sharpens easier and needs care to prevent rust. Avoid very long blades. A 3 to 4 inch blade is easier to control inside a cavity.

    Sharpening

    A sharp knife is safer than a dull one because it needs less force and slips less.

    • Sharpen at home before the season.
    • Carry a small field sharpener, such as a ceramic rod or a pocket stone, to touch up the edge.
    • Test by cutting paper or shaving a few hairs from your arm. If it doesn’t cut cleanly, sharpen again.
    • Follow the maker’s guidance on angles. Consistent angle matters more than special gear.
    • Pull-through sharpeners are quick but can remove metal. Use sparingly.

    The field processing kit

    Pack these in a zip bag or small pouch.

    • Knife and spare blades: if you use replaceable-blade knives, bring extra.
    • Disposable gloves: several pairs, long-sleeve if possible. Gloves help with cleanliness and protect you from contact with fluids.
    • Game bags: breathable cloth bags to protect quartered meat. Cheesecloth-style bags let air in and keep flies out.
    • Rope or paracord: for hanging, dragging, or tying legs.
    • Bone saw or small hatchet: only if you plan to quarter or split in the field.
    • Water bottle and paper towels: for cleaning hands and tools.
    • Hand wipes or sanitizer: for cleanup before eating.
    • Zip-top bags: for heart, liver, and tags.
    • Tag and pen: keep your tag handy and follow current rules on attaching or recording it.
    • Headlamp: a necessity for low light.

    Handling safely

    • Cut away from your body and hands.
    • Keep your off-hand out of the path of the blade.
    • Do not use a knife with wet, slippery gloves unless you have good grip.
    • Keep the knife in a sheath when not cutting.
    • Use a cut-resistant glove if you are prone to accidents.
    • If you cut yourself, stop, apply pressure, and treat the wound before continuing.
    • Do not wash or clean blades while holding the sharp edge toward you.

    Cleaning and storage

    1. Wipe the blade clean in the field with paper towels.
    2. At home, wash with warm soapy water and dry thoroughly.
    3. Lightly oil carbon steel blades.
    4. Store in a dry place. Leather sheaths can trap moisture, so remove the knife for long-term storage.
    5. Wash and dry game bags in unscented detergent, and replace torn ones.

    Hygiene and meat safety

    Keep tools and surfaces clean to reduce the chance of contamination.

    • Do not cut open the stomach or intestines.
    • Wipe the knife if it touches contents.
    • Use clean tools for butchering at home, and sanitize surfaces.
    • Keep meat cold. See field care after the shot.

    Legal notes

    Knife laws can vary by location and setting, so know the rules for where you carry. Hunting regulations may also limit equipment for some activities. For rules specific to hunting, check dnr.wisconsin.gov.

    Common mistakes

    • Carrying a large knife that is hard to control
    • Skipping sharpening before the season
    • Forgetting gloves and a headlamp
    • Leaving a knife wet and rusty in a sheath
    • Using a dull knife and applying too much force

    FAQ

    How many knives do I need?

    One sturdy knife and one small backup are enough for most hunts.

    Do I need a bone saw?

    Only if you plan to quarter in the field. Many hunters use knives alone.

    Are replaceable-blade knives good?

    They stay sharp, and many hunters like them. Handle blades with care, and dispose of used ones safely.

    Rudy hunts and fishes in southwest Wisconsin and has for 35+ years.